Effortlessly Split an Excel Sheet into Two

Have you ever been tasked with splitting a large Excel worksheet into smaller, more manageable pieces? Whether you're dealing with extensive datasets or just need to share parts of your spreadsheet with different users, knowing how to split an Excel sheet into two or more is a vital skill. In this comprehensive guide, we'll explore various methods to achieve this, including manual techniques, automation through VBA scripting, and using third-party tools. Not only will you learn how to do it, but you'll also discover when and why these methods might be the best choice for your workflow.
Why Split an Excel Sheet?
Splitting an Excel sheet can be beneficial for several reasons:
- To simplify sharing specific data with others
- To make large datasets more manageable
- To analyze or process different parts of the data separately
- To comply with organizational data handling policies
Methods to Split an Excel Sheet

Manual Method

The simplest way to split your sheet involves copying and pasting data into new sheets. Here’s how you do it:
- Select the cells or rows you want to split. Use Ctrl + A to select all, if needed.
- Right-click and choose Cut or press Ctrl + X.
- Right-click on the worksheet tabs at the bottom and select New Sheet, or press Shift + F11 to create a new one.
- Paste the data into this new sheet by right-clicking and selecting Paste or using Ctrl + V.
- Repeat the process for the remainder or other parts of your data.
💡 Note: This method is ideal for small datasets or when you need to manually organize the data.
VBA Macro for Splitting Worksheets
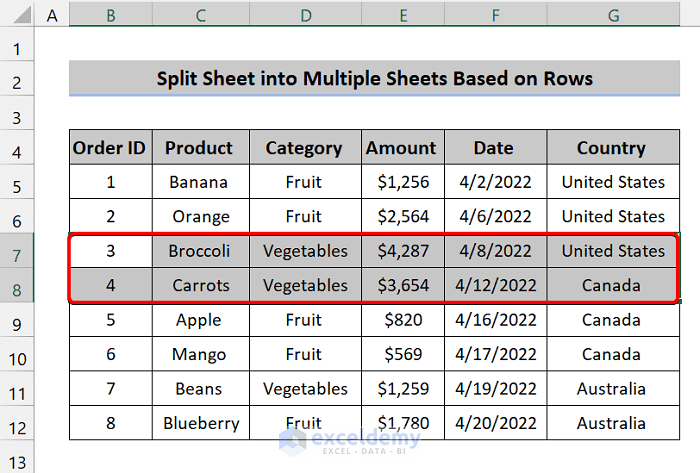
For automation, especially with large datasets, VBA (Visual Basic for Applications) scripting can be very efficient. Here’s a basic VBA macro to split your worksheet:
Sub SplitWorkbook() Dim ws As Worksheet Dim wsCopy As Worksheet Dim lRow As Long Dim lCol As Long Dim xRg As RangeSet ws = ThisWorkbook.ActiveSheet lRow = ws.Range("A" & ws.Rows.Count).End(xlUp).Row lCol = ws.Cells(1, Columns.Count).End(xlToLeft).Column 'Define range Set xRg = ws.Range("A1").Resize(lRow, lCol) Application.ScreenUpdating = False xRg.Copy With Workbooks.Add(xlWBATWorksheet) Set wsCopy = .Sheets(1) wsCopy.Name = "SplitSheet" wsCopy.Paste .Close SaveChanges:=True End With Application.CutCopyMode = False Application.ScreenUpdating = True MsgBox "Your sheet has been split into a new workbook!"
End Sub
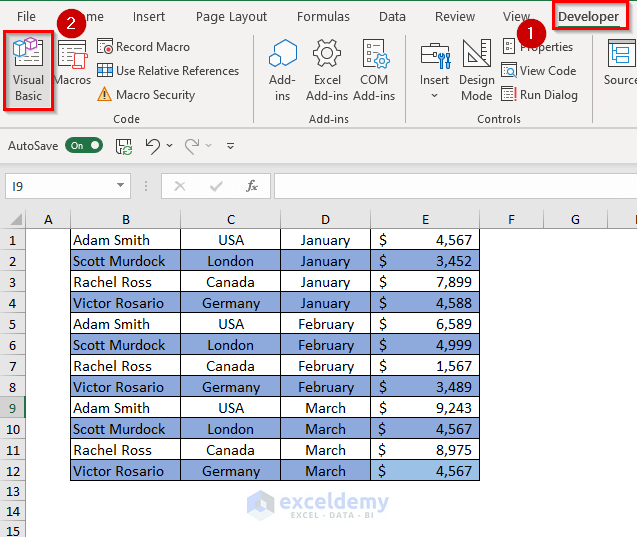
💡 Note: To use this VBA macro, you'll need to enable the Developer tab and add the macro to your Excel workbook.
Using Excel Power Query
Power Query is part of Excel’s data transformation capabilities, allowing for more complex data splitting:
- Go to the Data tab and click Get Data > From Other Sources > From Workbook.
- Select your data source and load the data into Power Query Editor.
- Use the Advanced Editor to write a query that filters your data into separate tables.
- Load each of these filtered tables into new Excel sheets.
Choosing the Right Method

Here’s a quick comparison to help you choose:
| Method | Complexity | Best for |
|---|---|---|
| Manual | Low | Small datasets, simple splitting needs |
| VBA Macro | Medium to High | Automating splits with specific conditions |
| Power Query | High | Complex data manipulation, repeated tasks |

Considerations When Splitting Excel Sheets

- Data Integrity: Ensure no data is lost or duplicated during the split.
- Referential Integrity: If your data has relationships, consider how these will be maintained across multiple sheets.
- Worksheet Limits: Excel has limits on the number of sheets in a workbook, so plan accordingly.
- Performance: Large splits or frequent use of macros might impact workbook performance.
Tips for Seamless Splitting

- Always back up your Excel file before making significant changes.
- If you’re using macros, ensure you’ve saved your work before running them.
- Understand the structure of your data before splitting to avoid creating complex merging issues later.
In wrapping up, the ability to split an Excel sheet effectively enhances productivity, facilitates data management, and enables smoother collaboration. Each method discussed here—from manual splitting to using advanced tools like Power Query—offers unique advantages depending on the size of your dataset and the complexity of your task. Whether you’re tackling a one-time split or automating the process for regular reports, you now have a toolkit to efficiently manage your Excel data. Keep in mind the considerations for data integrity and performance to ensure your splits are clean and functional.
Can I split an Excel sheet without losing formulas?
+
Yes, when using manual methods or VBA macros, formulas can be preserved in the new sheets. However, with Power Query, formulas might not transfer automatically and might need to be reapplied.
How can I split an Excel sheet into multiple sheets based on a criterion?

+
Power Query is excellent for this; you can filter data based on specific criteria, then load each filtered set into a new sheet.
What happens to the original sheet after splitting?

+
Depending on the method, the original sheet might remain untouched, or data can be removed from it as it’s moved to the new sheets. Ensure you back up your work before splitting.
Is there a limit to how many times I can split an Excel sheet?

+
The practical limit depends on Excel’s worksheet limits, which is 255 sheets per workbook. Plan your data splits to stay within this limit if necessary.


