Print Excel Sheet Vertically: Simple Guide

Have you ever needed to print an Excel spreadsheet and found yourself struggling with how to fit all the data neatly onto the printed page? Whether you're presenting data to your colleagues, providing reports, or organizing your own work, printing an Excel sheet vertically can make your documents much more readable and professional. Here's a straightforward guide to help you navigate the often-overlooked feature of Excel printing: vertical orientation.
Understanding Excel Printing Options

Before diving into the specific steps of printing vertically, it’s helpful to have a basic understanding of the printing options available in Excel:
- Page Orientation: This sets the direction in which your content is printed. Excel offers both portrait (taller than wide) and landscape (wider than tall) modes.
- Scaling: Allows you to adjust the size of your content to fit the paper size you’re using.
- Print Area: You can define which part of the worksheet you want to print.
- Headers/Footers: Customizable sections that appear at the top or bottom of every printed page.
How to Print an Excel Sheet Vertically

Let’s go through the process of printing your Excel sheet vertically:
1. Open Your Excel Document

Open the Excel file that contains the worksheet you want to print.
2. Select the Range You Want to Print

If you’re not planning to print the entire sheet, select the range of cells you wish to print. Remember, you can set a print area if you need to print the same selection regularly:
- Go to the “Page Layout” tab on the ribbon.
- Click on “Print Area” and then “Set Print Area.”
3. Access the Page Layout Options

Now, navigate to the Page Layout tab in Excel to adjust how your data will appear on the printed page:
- Click on “Page Layout” in the ribbon.
- In the “Page Setup” group, click the dialog launcher in the bottom-right corner of the group.
4. Choose Vertical Page Orientation

Within the Page Setup dialog box:
- Go to the “Page” tab.
- Under “Orientation,” click on “Portrait” to ensure your printout is vertical.

5. Adjust Other Settings as Needed

While in the Page Setup dialog, you can also:
- Change the paper size to match your printer settings.
- Adjust the margins or change the scaling to fit your content properly.
- Set up headers and footers for consistency across pages.
6. Preview Your Print Layout

Before you send your worksheet to the printer, review how it will look:
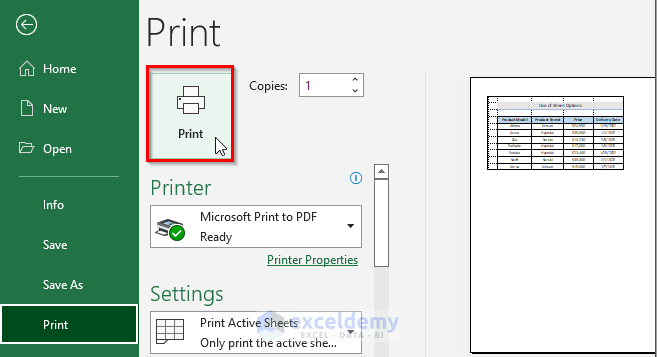
- Go to the “File” tab and select “Print.”
- Use the “Print Preview” pane to check the layout, ensuring everything fits as expected.
7. Print Your Document

Once you are satisfied with the preview:
- Select your printer if it’s not already set.
- Click on “Print.”
⚙️ Note: When printing large datasets, consider using Fit to Page scaling if your printer supports it, to ensure all data fits on the page without manual resizing.
Advanced Tips for Better Printing

Here are some additional tips to enhance your Excel printing experience:
- Printing Multiple Pages: If your data spans multiple pages, make sure to configure how page breaks will appear in the “Page Break Preview” view.
- Row and Column Titles: Use the “Print Titles” option in the Page Setup to repeat headers or titles on every page for clarity.
- Manual Page Breaks: You can insert manual page breaks where necessary to control where your data will split across pages.

What if my printer does not support vertical printing?

+
Most modern printers support both portrait and landscape orientations. If yours does not, you might need to rotate your printout manually after printing.
How can I make my printout look more professional?

+
Use headers and footers for titles, page numbers, and dates. Adjust margins for a clean, uncluttered look. Also, consider using Excel’s conditional formatting to highlight key data for quick readability.
Can I save these print settings for future use?

+
Yes, you can save your custom page settings as a template in Excel. This allows you to reuse your settings for documents with similar formatting needs.
What should I do if my data does not fit on one page?
+You can adjust the scaling to fit the data onto a single page or use the “Page Break Preview” to set manual page breaks, ensuring important data isn’t cut off or stretched.


