5 Ways to Print Excel Sheets on One Page

Printing Excel sheets can be a challenging task, especially when you want to ensure everything fits onto a single page without compromising the readability. Whether it's for a presentation, a meeting, or simply to share information in a compact form, knowing how to print Excel sheets on one page effectively is a key skill for any Excel user. Let's dive into the five methods you can use to accomplish this goal.
Method 1: Adjust Page Layout and Margins

Before jumping into advanced Excel settings, you should first ensure your worksheet’s Page Layout is optimized for printing:
- Navigate to the Page Layout tab.
- Click on Margins and choose Custom Margins.... Here you can minimize the margins to save space, but ensure you still leave enough for your printer's capabilities.
- Set Orientation to either Portrait or Landscape depending on which better suits your data.
- Adjust Width and Height under Scaling to shrink or fit your data onto the page.

Method 2: Use Scaling Options

Scaling your worksheet can significantly reduce the number of pages needed:
- In Page Layout, click on Scale to Fit.
- Set Width and Height to the number of pages you want. For example, setting both to 1 will attempt to fit everything on one page.
- Keep an eye on the preview; if the text becomes too small, adjust the scaling until you find a balance between readability and fitting everything onto one page.
🔍 Note: Scaling down too much can make the printout unreadable, so find a good balance between size and legibility.
Method 3: Hide Unnecessary Rows and Columns

If there are parts of your worksheet that are not crucial for the printout:
- Right-click on the row or column number and select Hide.
- Once you've hidden what you don't need, check the Page Break Preview under the View tab to see how many pages your document now occupies.
Method 4: Adjusting Column Width and Row Height

Sometimes, simply resizing cells can help:
- Double-click the right border of a column header or the bottom border of a row header to automatically adjust to the longest entry or highest content.
- Alternatively, manually adjust the width and height to fit content more closely, reducing unnecessary whitespace.
Method 5: Printing Only Selected Ranges

If you want to print specific parts of your worksheet:
- Select the range you wish to print.
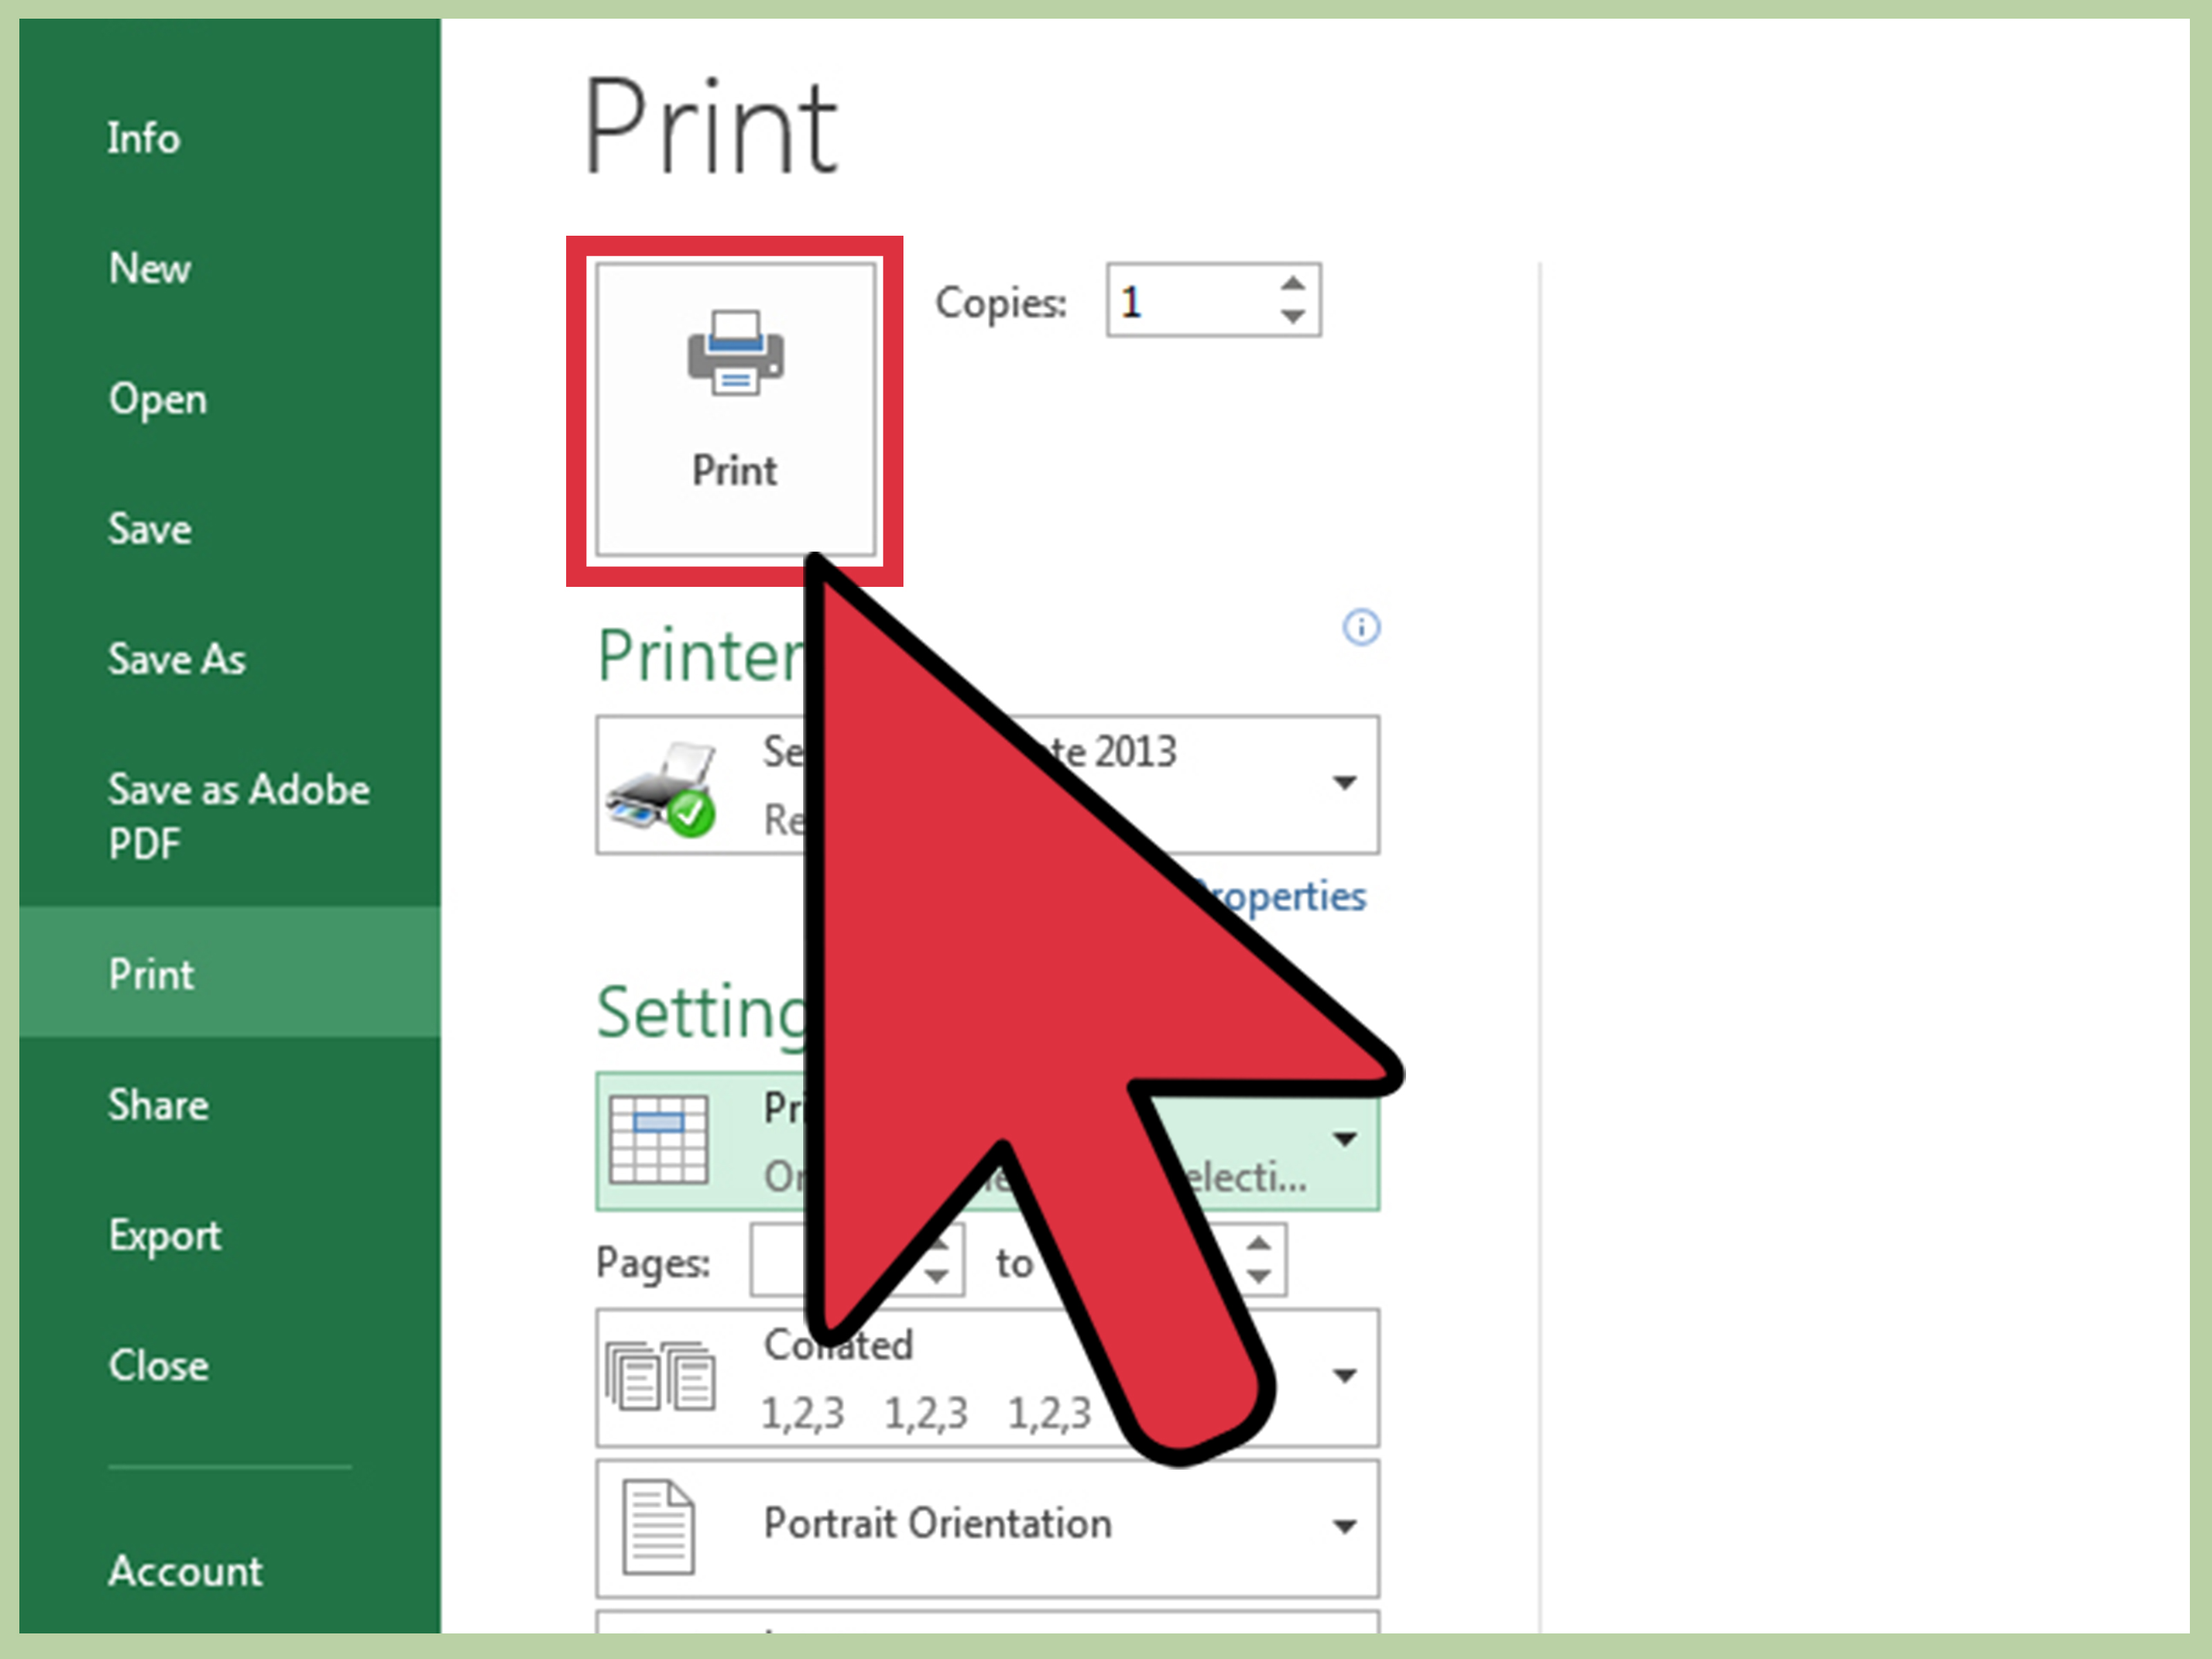
- Go to File > Print. Under Settings, choose Print Selection.
- Verify in the preview that your selection fits on one page.
By following these five methods, you can ensure that your Excel sheets print neatly and efficiently on a single page, saving time and paper. Remember, each Excel workbook is unique, so experimenting with different combinations of these techniques might be necessary to achieve the best results.
To conclude, printing Excel sheets on one page involves a balance of scaling, layout adjustments, and strategic data presentation. By mastering these methods, you can make your printed documents more compact, organized, and easier to share, enhancing both productivity and communication. Experiment with these settings to find what works best for your specific needs, ensuring that your data is presented in the most efficient and professional manner possible.
Why does my Excel sheet print on multiple pages even after scaling?

+
If your data is still spilling over multiple pages after scaling, you might have rows or columns set to repeat or have page breaks in inconvenient places. Check your settings for repeated headers or footers, and adjust page breaks manually if needed.
Can I print an Excel sheet to fit one page regardless of the content size?

+
Yes, but the text might become too small to read. Use scaling or adjust print quality settings to increase the resolution for better readability.
How do I print a range that includes hidden rows or columns?

+
Hidden rows or columns won’t print by default. You can either unhide them before printing or ensure your print area includes these sections if they’re essential to your document.


