Capture Your Excel Sheets: Easy Screenshot Guide

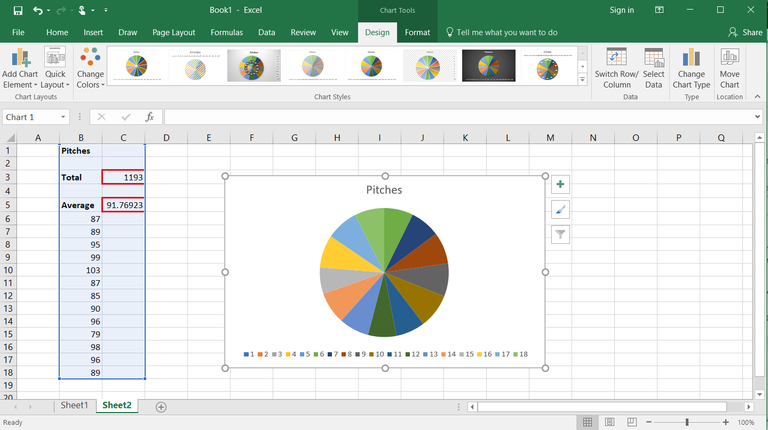
Want to showcase your Excel work with others? Screenshots are an excellent way to capture and share data, charts, and tables from your Excel spreadsheets. Whether you're highlighting a particular analysis, sharing your findings with a team, or creating instructional content, taking a screenshot in Excel can be immensely helpful. Here's a simple guide on how to make the most out of Excel screenshots, tailored for both beginners and seasoned users.
Step-by-Step Guide to Taking Screenshots in Excel

Excel's screenshot feature allows you to capture the entire screen, a specific window, or a selected region of your workbook. Here's how you can do it:
Using Built-in Screen Capture Tools

- Windows: Press Windows key + PrtScn to capture the entire screen. The screenshot will be saved in your Screenshots folder within Pictures.
- Mac: To capture the entire screen, press Command + Shift + 3. This screenshot will appear as a file on your desktop.
For Partial Screen Capture
- Windows: Use Windows key + Shift + S (for Windows 10 and later), which activates Snip & Sketch. You can then select the area you want to capture.
- Mac: Press Command + Shift + 4. The cursor turns into a crosshair. Drag it to select the region you want to capture.
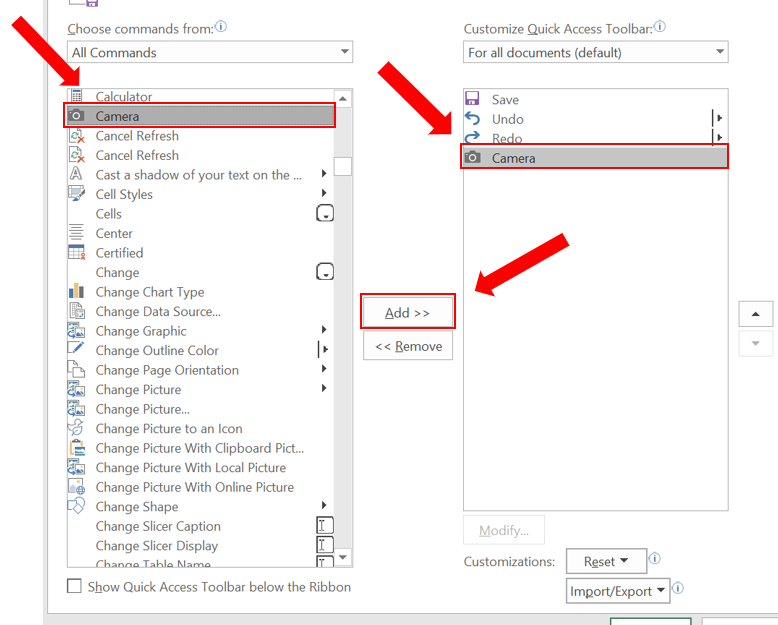
Using Excel's Screenshot Functionality

Excel has its own method for capturing screenshots, especially useful for capturing parts of the same workbook:
- Navigate to the Insert tab in your Excel ribbon.
- Click on Screenshot from the Illustrations group.
- Choose Screen Clipping or select a screenshot from the available list if you've captured screens recently.
Customizing Your Screenshots

Once you have captured your screenshot, you might want to customize it for clarity or to highlight specific data:
Trimming and Resizing

You can trim your screenshot by using the crop tool in Excel:
- Select your screenshot image.
- From the Format tab, click on Crop.
- Drag the edges to trim the screenshot to your desired size.
Similarly, to resize, click and drag the corners of the image to scale it up or down.
Adding Annotations

Annotations can help guide the viewer's attention to key data points or explain certain details:
- Use Excel's drawing tools to add shapes, lines, arrows, or text boxes.
- Select your screenshot, then choose from the Draw or Insert tab options to add annotations.
Sharing and Embedding Screenshots

After customizing your screenshots, you can share or embed them in various ways:
Sharing via File

The simplest way is to save the screenshot as an image file and share it:
- Right-click on the screenshot in Excel.
- Select Save as Picture....
- Choose your preferred file format like PNG or JPEG, and save it to a desired location.
Embedding in Other Documents

Excel screenshots can be used in PowerPoint presentations, Word documents, or even web pages:
- Select and copy the screenshot in Excel.
- Paste it into your document or presentation with options like Paste as Picture or Keep Source Formatting.
Conclusion: Why Screenshots in Excel Matter

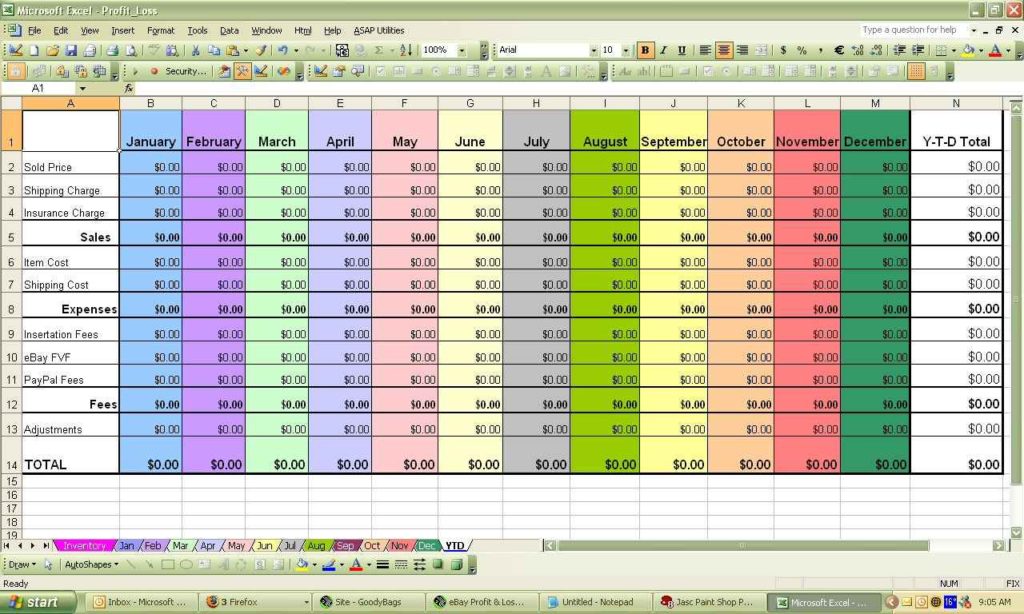
Excel screenshots are invaluable for various purposes—from creating tutorial content and sharing insights to enhancing your presentations. They allow you to capture exact data visualizations, formulas, or entire sheets, making communication and collaboration easier. By following this guide, you'll be able to capture, customize, and share your Excel work effectively, ensuring that your data tells its story in the best possible way.
How can I capture a screenshot of a single cell in Excel?

+
To capture a single cell, use Excel’s Screen Clipping feature under the Insert tab. Select the cell, then capture the exact region you want. This method allows for precise capturing.
Can I take multiple screenshots in Excel at once?

+
While Excel doesn’t support taking multiple screenshots simultaneously, you can capture different parts of the workbook one at a time using the Screen Clipping tool.
What should I do if my screenshot looks too small or too large?

+
After taking the screenshot, use Excel’s resizing tools. Click on the image, then drag the corner handles to adjust the size. Alternatively, use the Format tab to set specific dimensions.


