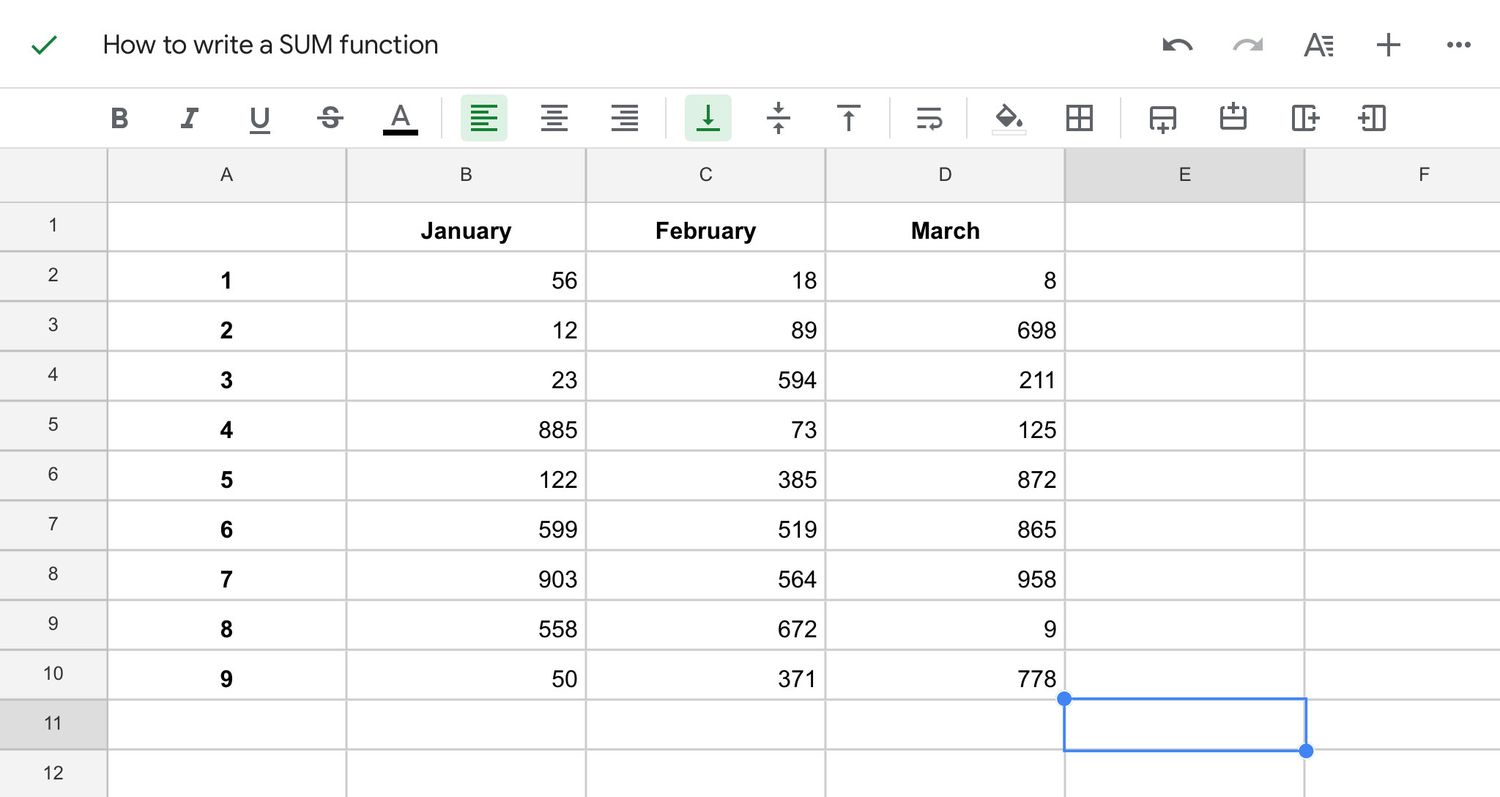
Display Excel Sheet in GridView in ASP.NET: Simple Steps

The integration of Microsoft Excel sheets with ASP.NET applications offers numerous benefits, particularly in data management and presentation. One of the most common requirements for developers working with Excel is to display data from an Excel sheet within an ASP.NET GridView control. This guide will walk you through the process, outlining the simple steps to achieve this integration effectively.
Prerequisites

Before diving into the implementation, here are the prerequisites:
- Microsoft Visual Studio
- .NET Framework installed
- Knowledge of C# and ASP.NET
Setting Up Your Environment

First, let’s set up the environment for your ASP.NET application:
- Create a New ASP.NET Web Application: Open Visual Studio, select “Create a new project”, then choose “ASP.NET Web Application” and click “Next”.
- Choose Framework: Select “.NET Framework” and your preferred .NET version, then click “Create”.
- Project Template: Opt for “Web Forms” or “MVC” depending on your needs. For simplicity, we’ll use Web Forms.
⚠️ Note: Ensure you have the latest updates for Visual Studio to avoid compatibility issues.
Adding Required Libraries

To manipulate Excel files, you’ll need additional libraries:
- EPPlus: A library to read, write, and manipulate Excel files in .NET.
- Download EPPlus from NuGet Package Manager in Visual Studio by searching for “EPPlus” and installing it.
Creating the Upload Interface

Now, let’s create an interface for users to upload their Excel files:
- Add File Upload Control: In your Default.aspx or any page, add the following HTML:
- Bind Upload Button: This will trigger the upload process when clicked.
Handling the Upload and Data Binding

Here’s how you can handle the file upload and bind the data to a GridView:
- Server-Side Upload: In your code-behind (Default.aspx.cs), add the following:
- Add GridView: In Default.aspx, add a GridView control after the upload controls:
protected void UploadButton_Click(object sender, EventArgs e) { if (FileUpload1.HasFile) { string fileName = Path.GetFileName(FileUpload1.FileName); string fileExtension = Path.GetExtension(FileUpload1.FileName); string fileLocation = Server.MapPath(“~/App_Data/” + fileName); FileUpload1.SaveAs(fileLocation);using (var package = new ExcelPackage(new FileInfo(fileLocation))) { var worksheet = package.Workbook.Worksheets[1]; var rowCount = worksheet.Dimension.Rows; var columnCount = worksheet.Dimension.Columns; // Create DataTable to load data DataTable dt = new DataTable(); for (int column = 1; column <= columnCount; column++) { dt.Columns.Add(worksheet.Cells[1, column].Value.ToString()); } // Load data from the worksheet into DataTable for (int row = 2; row <= rowCount; row++) { DataRow dr = dt.NewRow(); for (int column = 1; column <= columnCount; column++) { dr[column - 1] = worksheet.Cells[row, column].Value?.ToString(); } dt.Rows.Add(dr); } GridView1.DataSource = dt; GridView1.DataBind(); } }
}
Enhancing the GridView

To improve user experience, you might want to enhance the GridView:
- Paging: Add paging to display data in manageable chunks.
- Sorting: Allow users to sort data columns.
- Customization: Modify the look and feel with CSS or theme.
Final Thoughts

This blog post has provided you with a comprehensive guide to integrate and display an Excel sheet in an ASP.NET GridView. By following these steps, you can streamline data presentation from Excel files in your web applications, making data analysis and reporting more accessible and efficient.
Can I use different Excel file formats?

+
Yes, with libraries like EPPlus, you can work with .xls, .xlsx, and even .xlsm formats.
How do I handle large Excel files?

+
For large files, consider using server-side processing or optimizing your code to load data in chunks or by streaming.
What if my Excel sheet has headers in rows other than the first row?

+
Modify the code to skip rows or adjust the starting point for reading data from the sheet.


