Mastering Excel: Print Your Sheet in One Page Easily

In today's fast-paced business world, efficiency and accuracy are paramount, especially when dealing with data management. Microsoft Excel, a stalwart in the suite of Microsoft Office products, provides users with countless features to streamline data presentation, analysis, and communication. One common task users face is printing Excel sheets in a manner that ensures clarity and readability without wasting unnecessary resources like paper. This article will guide you through the process of printing your Excel worksheet on a single page, making your data presentation not just effective but also environmentally conscious.
Understanding Page Setup for Printing
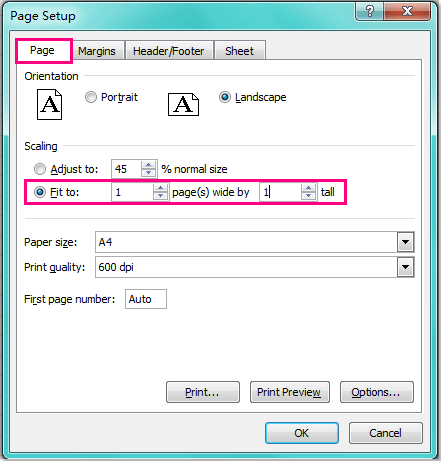
Before you dive into the actual printing process, it’s crucial to understand how Excel handles page setup:
- Margins: Define the white space around your printed content.
- Orientation: Choose between landscape (wider than tall) or portrait (taller than wide).
- Scaling: Adjust the size of your worksheet to fit on the page.
- Print Area: Specify which part of the worksheet you want to print.
Setting Up Your Print Area
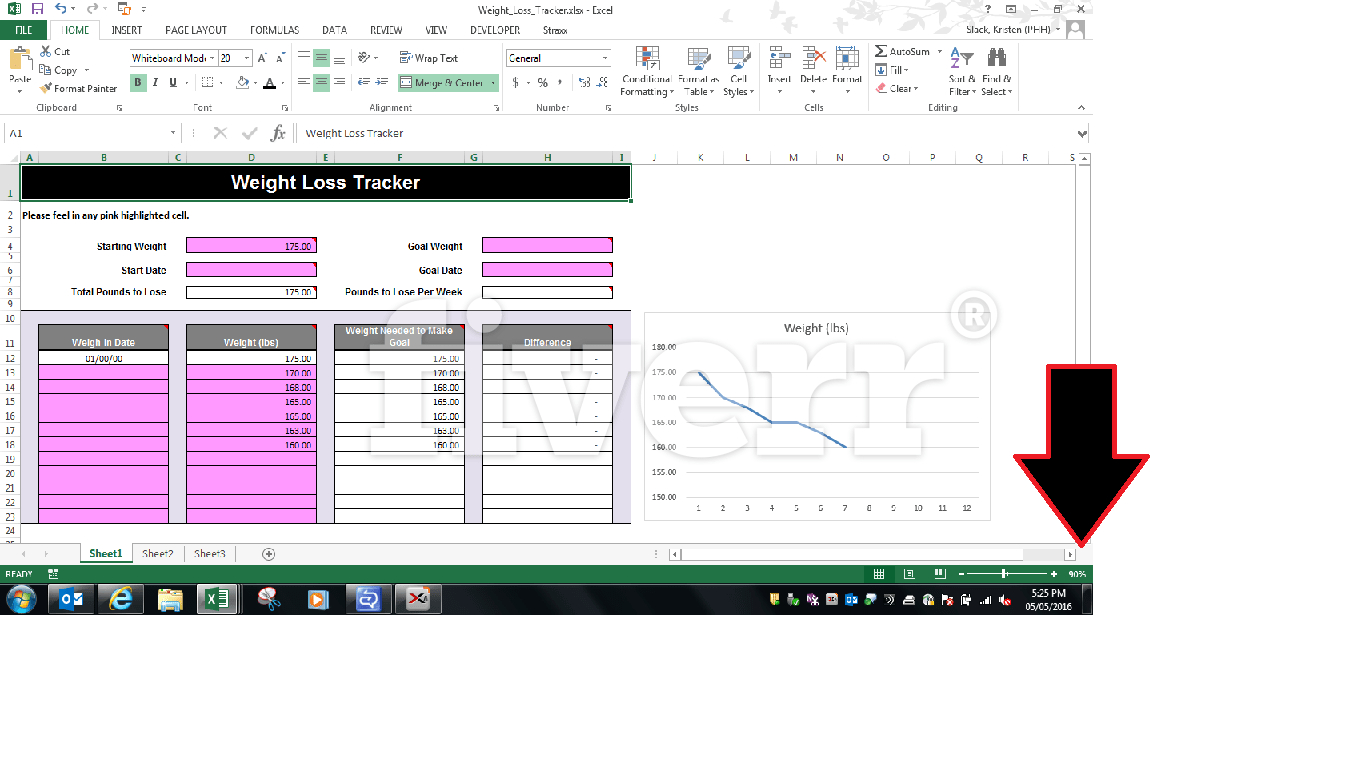
If your Excel workbook contains more than one sheet or you only need to print a portion of your data:
- Select the cells or ranges you want to print.
- Go to Page Layout tab, click on the Print Area button, and then choose Set Print Area.
✅ Note: If you’re dealing with a large dataset, consider breaking it into manageable chunks to print more efficiently.
Adjusting Orientation and Scaling
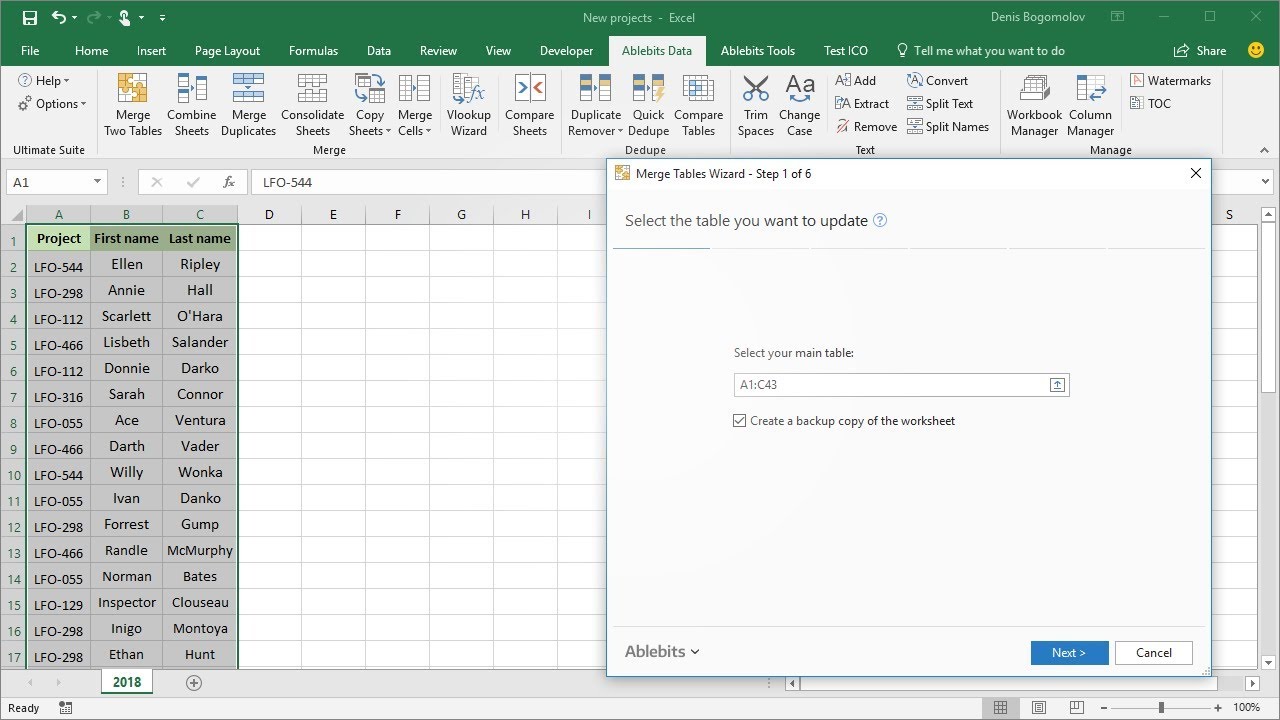
Follow these steps to ensure your worksheet fits onto one page:
- Click the Page Layout tab.
- Under the Orientation group, choose either Landscape or Portrait based on the layout of your data.
- Go to the Scale to Fit group. Here:
- Select 1 page from the Width dropdown.
- Select 1 page from the Height dropdown.
Excel will automatically shrink or expand your worksheet to fit onto a single page. Keep in mind that excessive scaling might reduce readability.
Viewing Before Printing

It’s always wise to see how your worksheet will look when printed:
- Navigate to the File tab, click on Print.
- The right panel shows a preview of how your worksheet will appear when printed.
This step allows you to make any last-minute adjustments to margins, print area, or scaling to ensure your worksheet fits on one page while maintaining readability.
Handling Excess Data

If your worksheet still doesn’t fit on one page despite adjustments:
- Consider reducing font sizes or using a smaller font like Calibri or Arial Narrow.
- Decrease margin sizes from the Page Layout tab.
- Hide less important columns or rows temporarily.
- Ensure your data is as compact as possible by removing extra spaces, empty rows, or columns.
Final Touches
Before printing, consider these final touches:
- Headers and Footers: Add titles, page numbers, or a logo from the Page Setup dialog box.
- Gridlines and Headings: Choose to print or hide them through the Page Layout tab to enhance readability or minimize clutter.
- Print Quality: Adjust the print quality settings if your printer supports it.
To print your Excel worksheet on one page effectively, you must master the delicate balance of adjusting settings for optimal presentation. By fine-tuning the print area, choosing the right orientation, and scaling your worksheet, you not only save paper but also present your data in a manner that is both professional and user-friendly. Remember to always preview your work before printing to ensure you’re getting the desired output. Through this process, you’ll find that Excel offers flexibility and control over how your data is disseminated, ensuring that your next meeting or report is backed by well-organized, neatly presented information.
How do I ensure my Excel sheet doesn’t exceed one page while maintaining readability?

+
Use the ‘Scale to Fit’ feature in the Page Layout tab to shrink your worksheet to one page. Ensure font sizes and margins are appropriately sized to maintain readability.
Can I print headers and footers in Excel?
+
Yes, you can add headers and footers to your printed sheets from the Page Setup dialog box.
What if some data gets cut off when I adjust the print settings?

+
If data is cut off, check your print area settings. You might need to expand the print area, adjust font size or row/column heights, or split your data into multiple pages if necessary.
How do I set my print area in Excel?

+
To set a print area, select the range you want to print, go to the Page Layout tab, and choose ‘Set Print Area’ under the Print Area button.


