5 Simple Steps to Sort Excel by Date Easily

In today's fast-paced world, mastering Excel is essential for data analysis. A common task that can save time and streamline your work involves sorting by date in Excel. Here, we will guide you through 5 simple steps to easily sort your data by date, transforming your workflow into an efficient system. Whether for inventory management, tracking project deadlines, or organizing your personal schedule, sorting by date in Excel is a fundamental skill that can be achieved with just a few clicks.
Why Sorting by Date is Important

Sorting data by date in Excel helps in:
- Chronological organization
- Easier tracking of trends over time
- Quick identification of due dates or expiries
- Analysis of time-based data
Step 1: Preparing Your Data for Sorting

Before you can sort your Excel spreadsheet by date, you need to ensure that the data in your date column is consistently formatted:
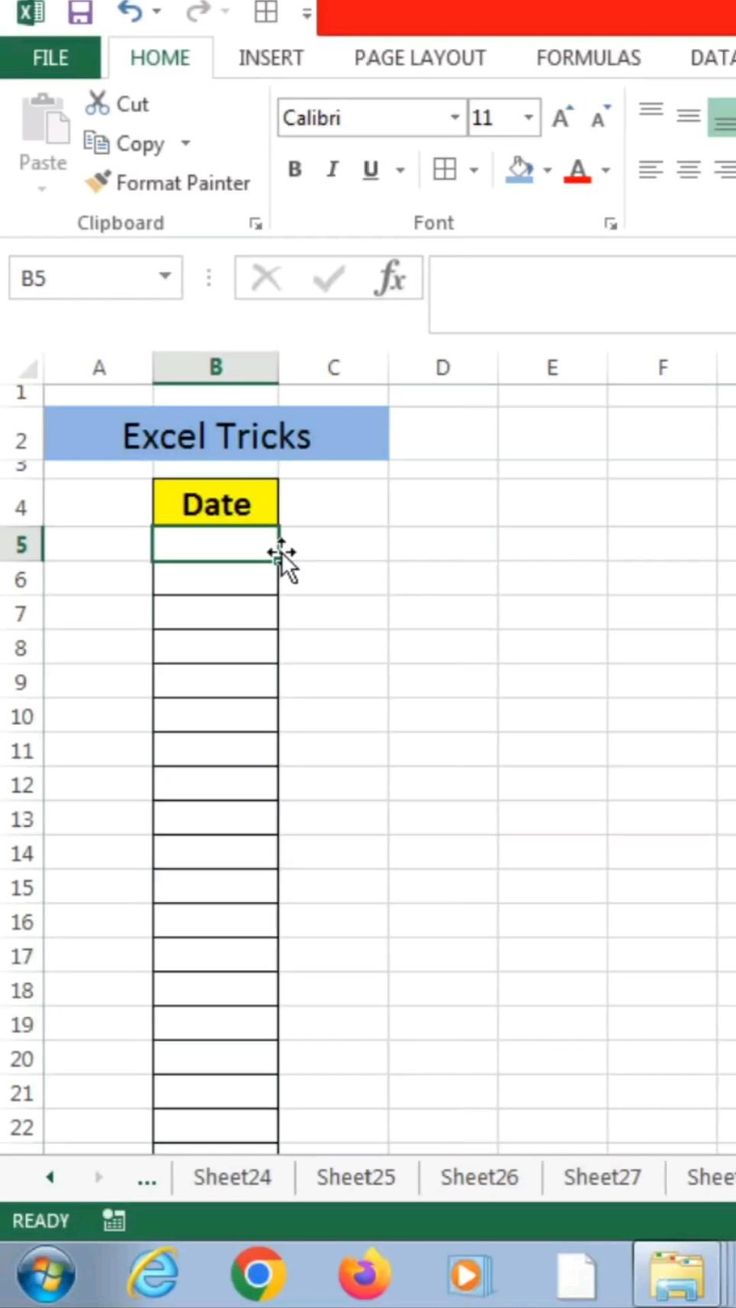
- Select the entire column containing the dates you wish to sort.
- Right-click and choose “Format Cells.”
- In the “Number” tab, select “Date” and pick the appropriate date format.
- Click “OK.”
🔍 Note: Excel might not recognize dates if they are entered as text or in non-standard formats. To convert text to date, use the =DATEVALUE() function or paste special with 'Values and Number Formats' option.
Step 2: Sorting Your Data

Now that your dates are formatted correctly, follow these steps to sort:
- Select any cell within your date column to activate Excel’s sorting options.
- From the Excel ribbon, go to the “Data” tab.
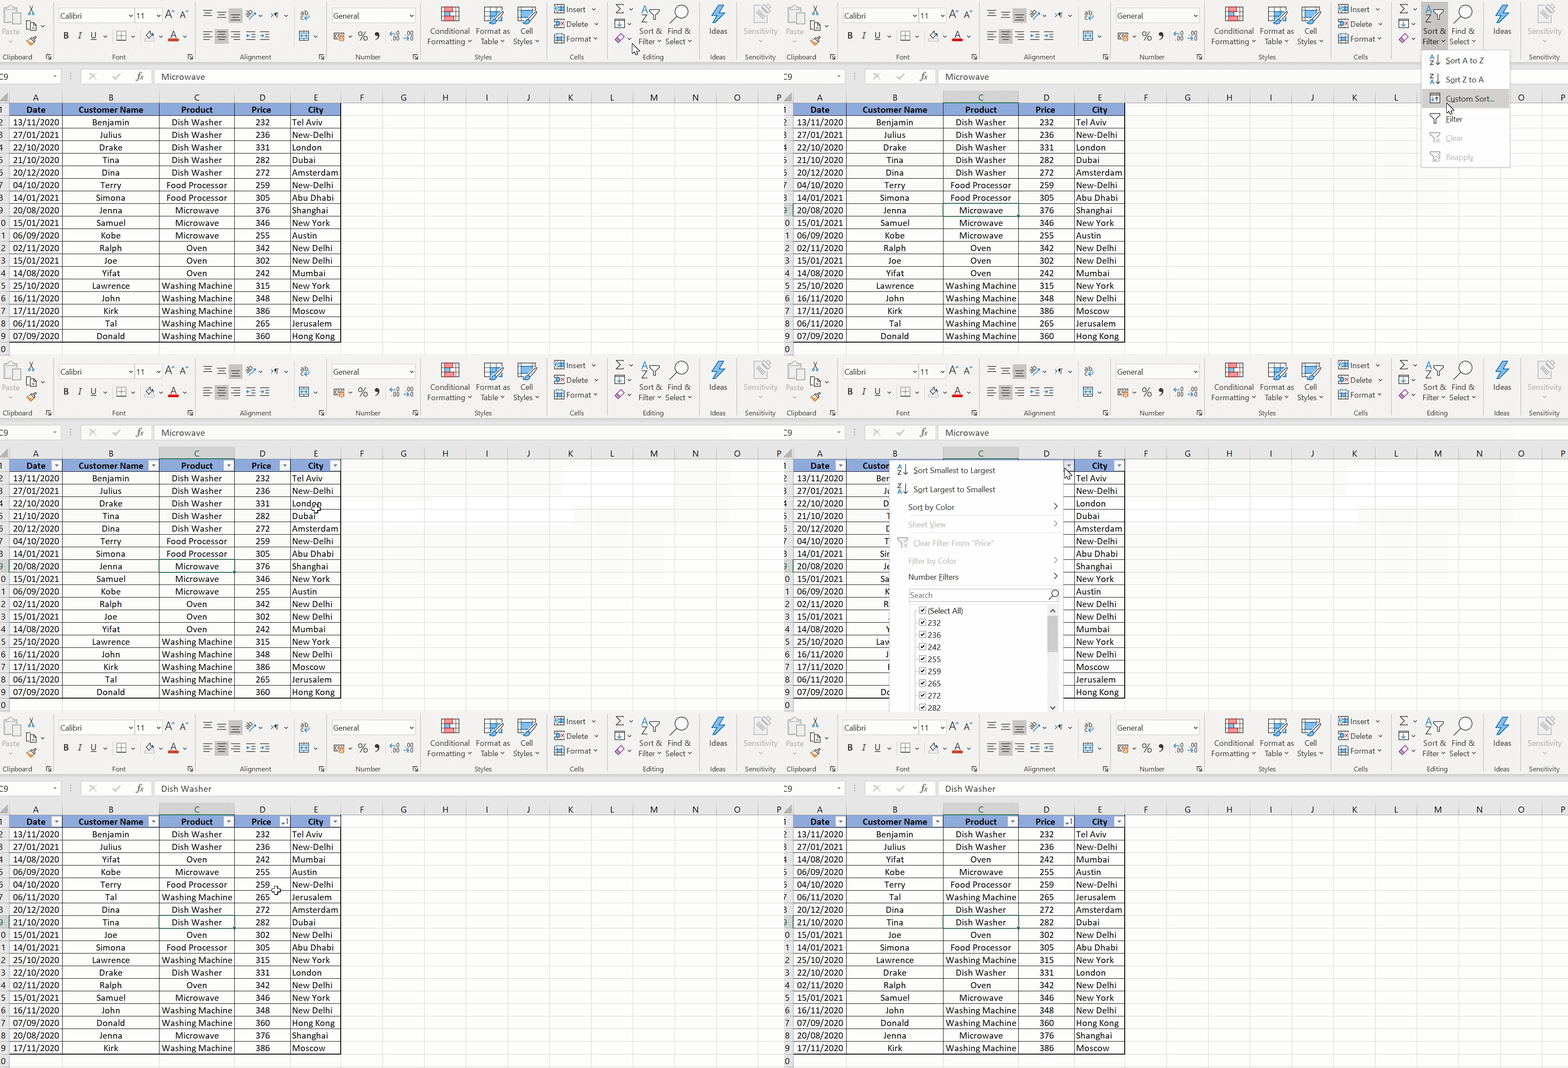
- Click on “Sort A to Z” or “Sort Z to A” under the “Sort & Filter” group for ascending or descending order respectively.
- Excel will prompt you if you’re sorting multiple columns. Click “Expand the selection” if you want to sort the entire table based on the date column.
Step 3: Handling Blank Cells and Errors

If your spreadsheet has blank cells or errors within the date column, these can affect the sorting process:
- Blank cells will be sorted to the bottom in ascending order.
- Error values will be sorted to the top in descending order.
💡 Note: To handle this, you might consider filtering out or temporarily removing these cells before sorting or using conditional formatting to highlight problematic cells.
Step 4: Using Advanced Sorting Options

Excel provides advanced sorting options for more complex data structures:
- Go to “Data” > “Sort” to open the Sort dialog box.
- Choose the column containing the dates from the “Column” dropdown menu.
- Select “Cell Values” under the “Sort On” drop-down.
- Choose “Oldest to Newest” or “Newest to Oldest” from the “Order” drop-down.
- If necessary, add more levels to sort by other criteria, then click “OK.”
Step 5: Verifying the Sorted Results

After sorting, it’s a good practice to:
- Scroll through the sorted data to check if it’s in the correct order.
- Ensure no rows have been misplaced or lost.
- Check for any anomalies in the sorting results.
By now, you should have a cleanly sorted Excel sheet by date. This newfound organization can make it easier to locate information, analyze trends, and keep on top of critical dates. Sorting by date in Excel is not only about arranging data; it’s about giving your data structure, making it more accessible and usable for quick decision-making.
What should I do if Excel doesn’t recognize my dates?

+
If Excel doesn’t recognize your dates, try using the DATEVALUE() function to convert text to date or check for leading or trailing spaces in your date entries.
Can I sort by multiple criteria?

+
Yes, Excel allows you to add multiple sort levels. After sorting by date, you can sort by other columns as well, with each criterion having its own sorting order.
How can I sort dates in a custom order?

+
Excel supports custom lists for sorting. Create a custom list, then select it from the “Order” dropdown in the Sort dialog box.


