Unlock the Secret: Password-Protect Excel Sheets Easily

Security is paramount when it comes to handling sensitive data within Excel spreadsheets. Whether you're dealing with financial records, personal information, or confidential project details, knowing how to lock a spreadsheet with a password can provide peace of mind. This article guides you through the process of password-protecting Excel sheets, ensuring your data remains secure from prying eyes.
Understanding Excel’s Security Features

Before diving into the steps to secure your sheets, let’s understand what Excel offers in terms of security:
- Workbook Protection: Prevents others from making changes to the workbook structure, such as adding or deleting sheets.
- Sheet Protection: Restricts what can be altered on a specific worksheet. This can include cell locking, formula editing, and formatting.
- File Encryption: When you set a password, Excel encrypts the file, providing robust protection for your entire workbook.
How to Password-Protect an Excel Workbook

Here’s how to set up a password for your entire Excel workbook:
- Open your Excel workbook.
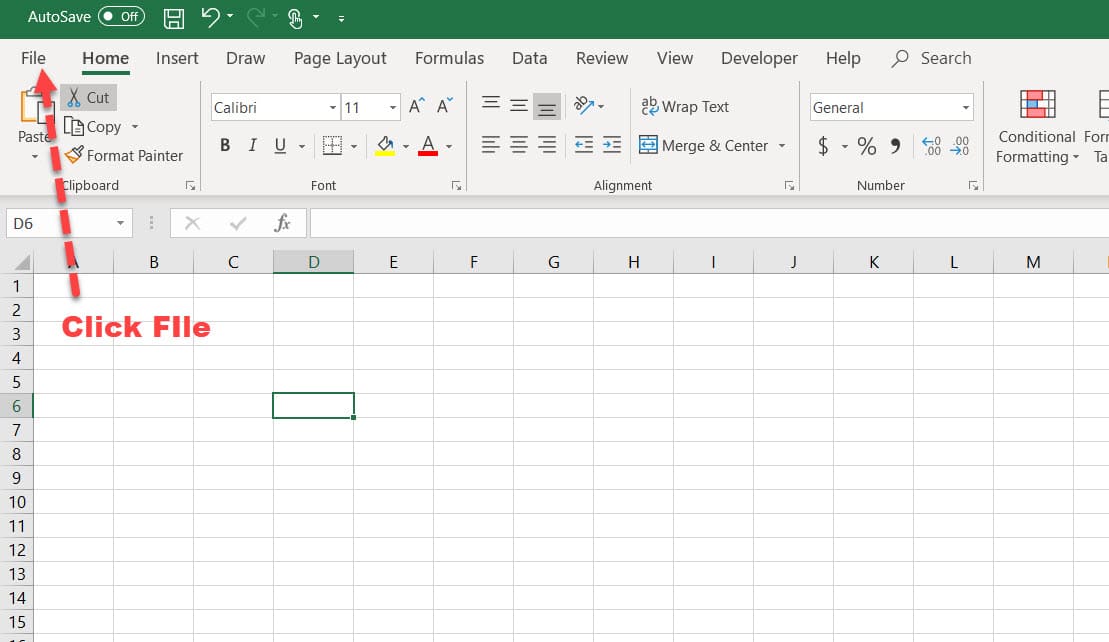
- Go to File > Info > Protect Workbook > Encrypt with Password.
- In the dialog box, enter your password and confirm it in the next field. Remember, this password will be needed to open the workbook.
- Press OK.
🔒 Note: Make sure to remember your password as there is no recovery tool available for lost passwords.
Locking Specific Sheets within an Excel Workbook

If you need to lock certain sheets instead of the whole workbook, follow these steps:
- Select the sheet you want to protect.
- Go to the Review tab and click on Protect Sheet.
- You’ll have options to allow certain actions like selecting locked or unlocked cells or formatting cells.
- Set a password if you want to prevent others from unprotecting the sheet. This isn’t mandatory but adds another layer of security.
- Click OK to finalize the protection.
🔒 Note: If you don’t enter a password, users can still unprotect the sheet by selecting ‘Unprotect Sheet’ without any prompt.
Additional Security Measures in Excel

Beyond password protection, consider these additional steps:
- Lock Cells: Lock specific cells to prevent editing. This can be done by selecting cells, right-clicking, choosing ‘Format Cells’, then going to the ‘Protection’ tab, and checking ‘Locked’.
- Workbook Structure: Protect the structure of your workbook to prevent adding, deleting, or renaming sheets by going to File > Info > Protect Workbook > Protect Structure and Windows.
- Hidden Cells: Use the ‘Format Cells’ dialog box to hide formulas to keep your data secure.
Wrapping Up Your Excel Security

Implementing password protection in Excel is a straightforward yet effective way to secure your data. By understanding and applying the various protection options, you safeguard your sensitive information from unauthorized access. Remember to always save a secure copy of your passwords in a safe location, as Excel cannot recover lost passwords.
Can I protect only certain sheets in an Excel workbook?

+
Yes, you can protect individual sheets within an Excel workbook. This allows you to keep some sheets open for editing while securing others.
What happens if I forget the password to unlock an Excel sheet?

+
If you forget the password, you will be unable to access or edit the protected sheet. Excel does not provide any built-in recovery tool for lost passwords.
Is it possible to set multiple passwords for different users?

+
Excel does not support setting different passwords for different users out-of-the-box. However, you can use VBA to create a multi-user password system.
Can I protect my Excel file from being opened by unauthorized users?

+
Yes, by using the ‘Encrypt with Password’ feature, you can ensure that only users with the correct password can open the file.


