5 Easy Ways to Print Excel Sheets 2019

Introduction
In the bustling world of data management, spreadsheets are invaluable tools for businesses and individuals alike. Microsoft Excel, being one of the leading spreadsheet software, offers numerous features to manage, analyze, and present data effectively. A common need among Excel users is to print their work for sharing, presentations, or record-keeping. However, printing from Excel isn’t always as straightforward as one might hope due to the software’s complexity. This blog post will guide you through five easy ways to print Excel sheets in 2019, ensuring you can get your data onto paper with minimal hassle.
1. Quick Printing via the Print Icon
The simplest way to print an Excel sheet is by using the print icon located in the Quick Access Toolbar:
- Click the Print icon in the top left corner of Excel.
- Your default printer will start printing the active worksheet with the current print settings.
⚠️ Note: This method prints the worksheet as it appears on your screen, without any customization options.
2. Using the File Menu for Printing

For more control over how your Excel sheet is printed, navigate through the File menu:
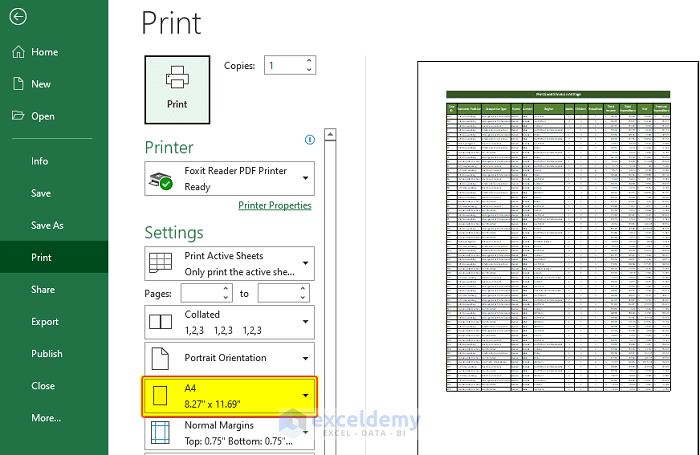
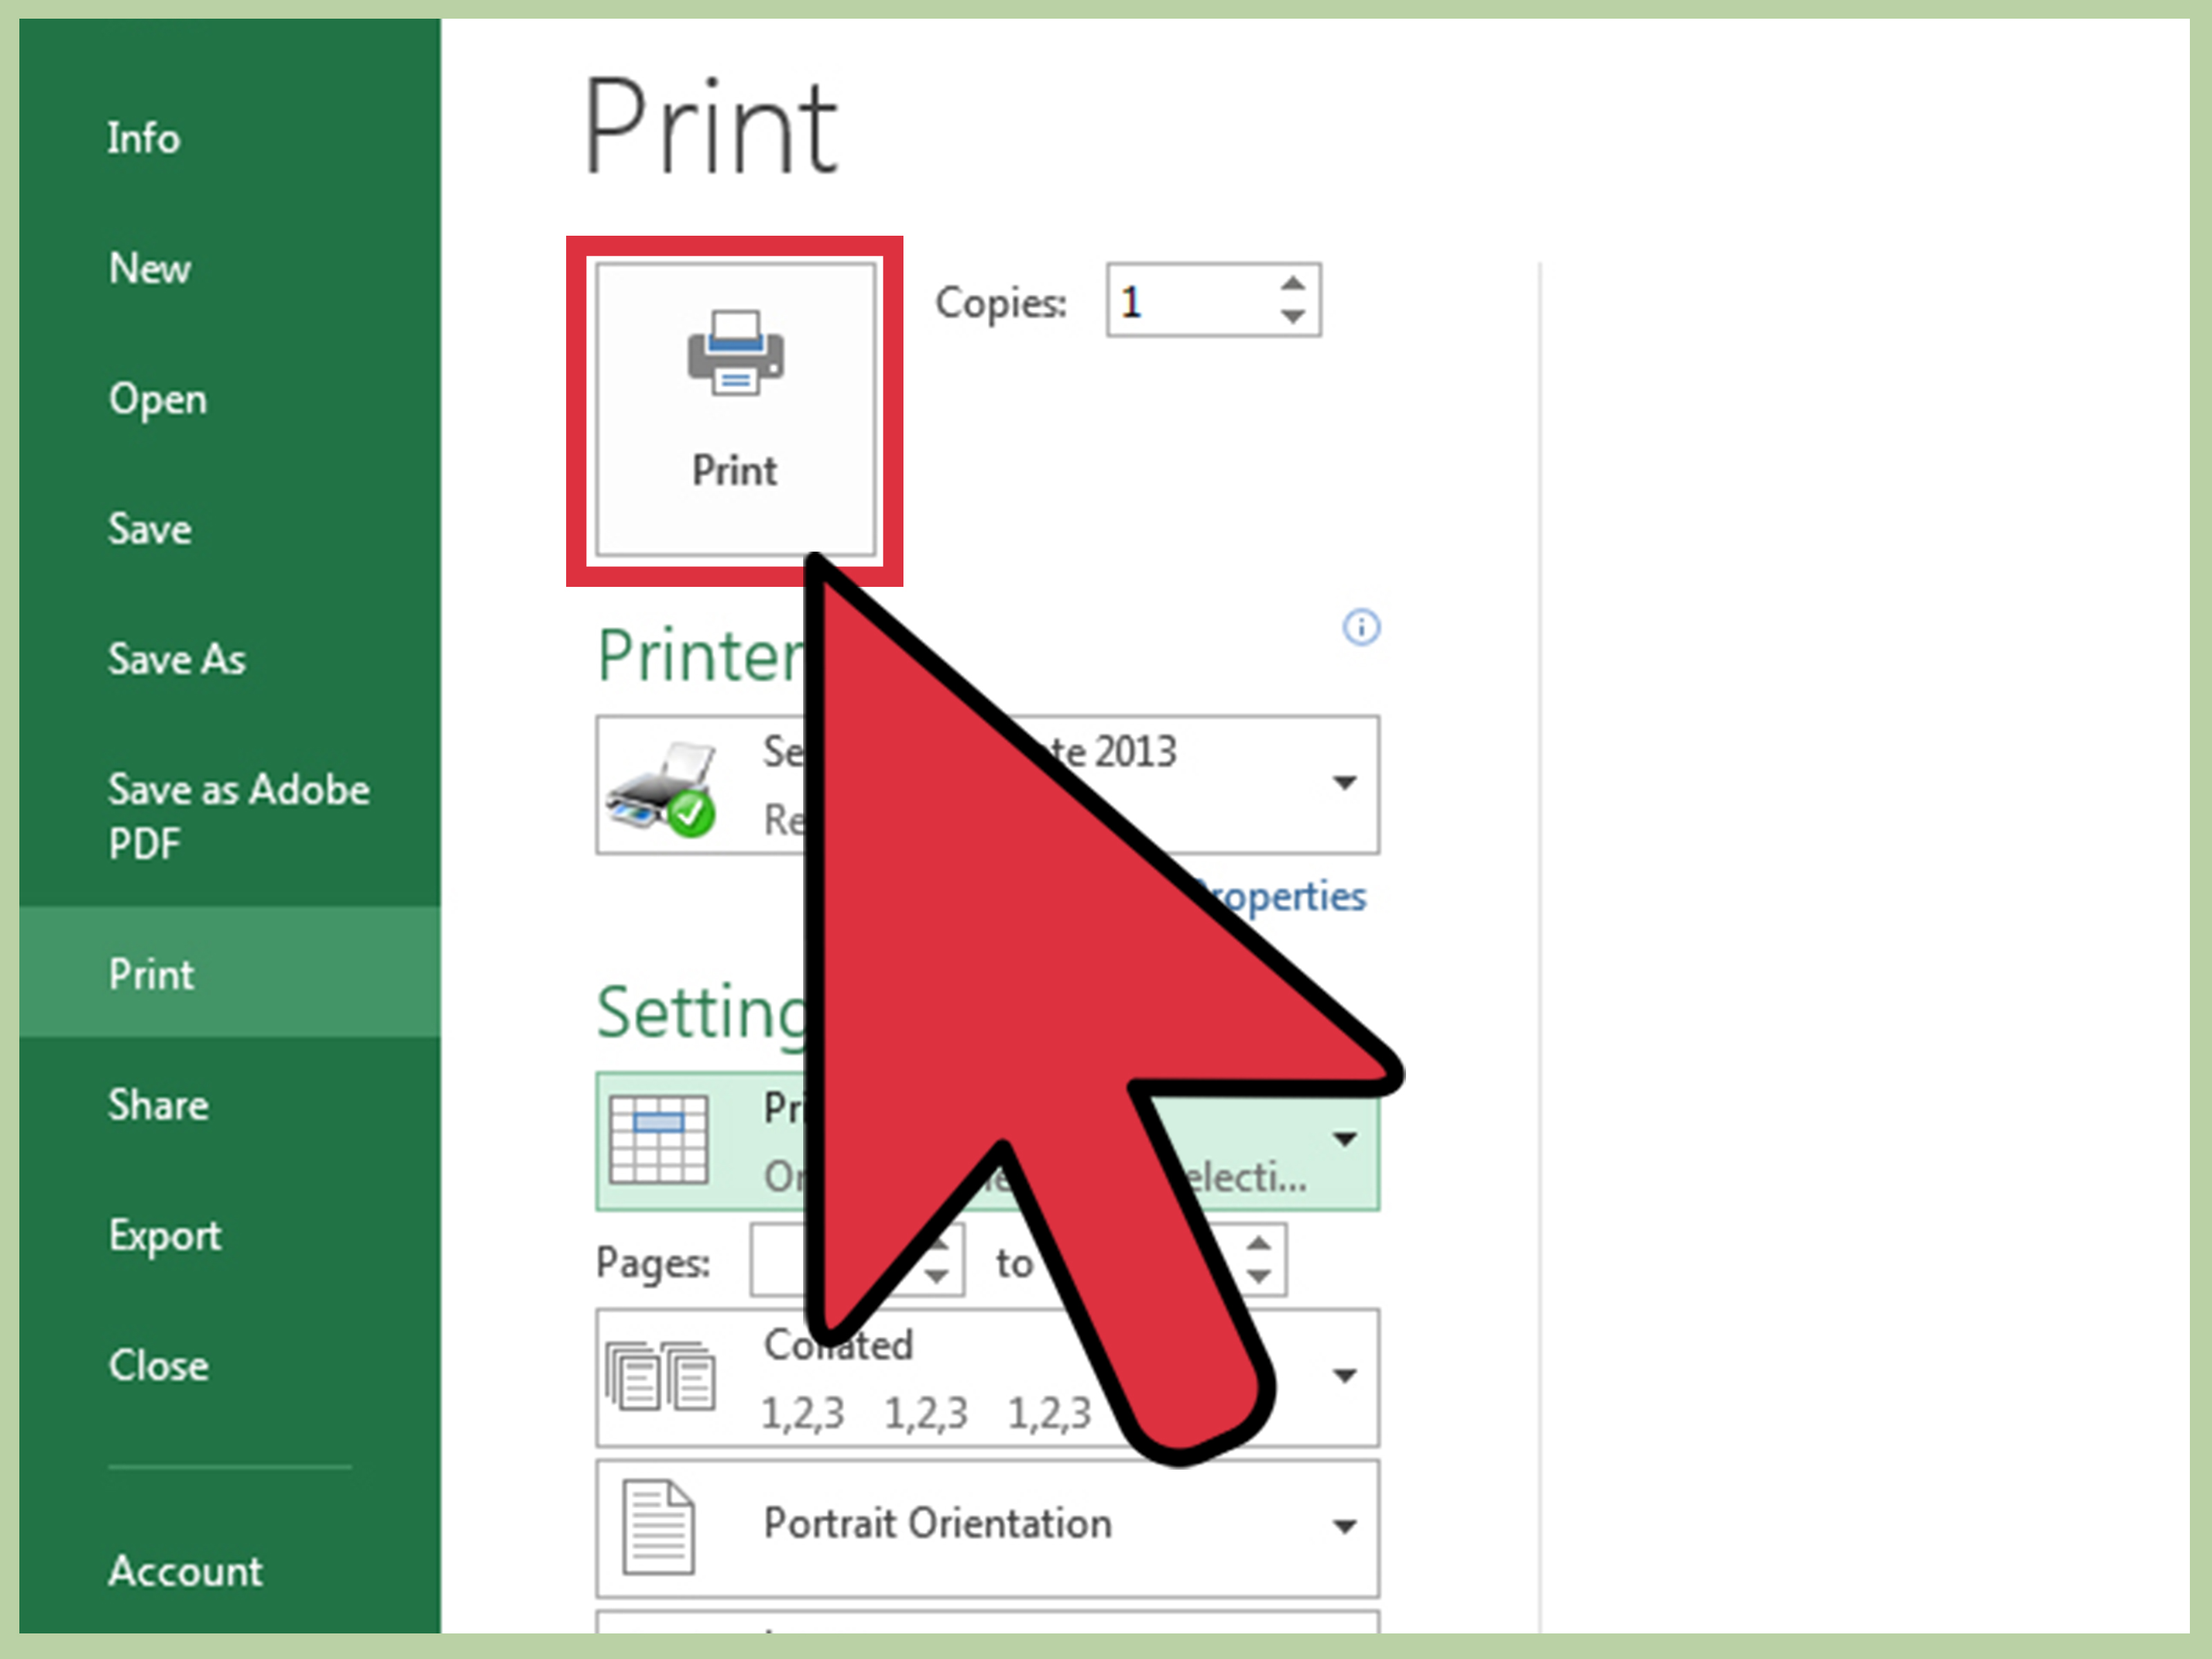
- Go to File > Print or use the shortcut Ctrl+P.
- The Print Preview window will open, allowing you to:
- Select the printer.
- Choose what to print (active sheets, selection, entire workbook, etc.).
- Adjust page settings like orientation, paper size, margins, and scaling.
- After configuring, click Print to proceed.
3. Printing Specific Ranges with Print Area

If you want to print only specific data:
- Select the range of cells you want to print.
- Go to Page Layout > Print Area > Set Print Area.
- Then use the Print command through File or Quick Access Toolbar.
| Action | Description |
|---|---|
| Set Print Area | Lets you define a range of cells to print. |
| Clear Print Area | Removes the previously set print area. |

4. Customizing Page Layout for Better Prints

Before printing, you might need to adjust the page layout:
- Page Break Preview: View and adjust page breaks visually (under View tab).
- Print Titles: Set rows or columns to repeat on each printed page (Page Layout > Print Titles).
- Gridlines and Headings: Optionally print gridlines or row/column headings for clarity (Page Layout > Sheet Options).
💡 Note: Adjusting the page layout settings can significantly improve the readability of your printed spreadsheet.
5. Using Print Options to Handle Large Spreadsheets
For large spreadsheets, consider these print options:
- Page Fit: Scale your sheet to fit on one page (available in Print Preview).
- Multiple Pages: Print on multiple pages if scaling would reduce readability.
- Print Entire Workbook: Useful for comprehensive reports (File > Print > Workbook).
- Selective Printing: Opt to print selected tables, charts, or data ranges.
By following these methods, you can ensure your Excel sheets are printed efficiently and effectively. Each approach offers different levels of control over how your data appears on paper, catering to various needs and printing scenarios.
Hopefully, these tips will help streamline your printing process, whether you're preparing for a meeting or archiving important data. Excel's versatility in handling data output for printing is one of its many strengths, ensuring you can communicate your spreadsheets' insights accurately and visually appealingly.
How can I print only certain columns in Excel?

+
To print only certain columns, first, highlight the columns you want to print. Then, set them as the Print Area via Page Layout > Print Area > Set Print Area.
Can I print comments and notes in Excel?

+
Yes, you can. Go to File > Print > Page Setup, and in the Sheet tab, check the box for “Comments” or “Notes” to print alongside your data.
What if I need to print an Excel sheet with headers on every page?

+
Use the Print Titles feature. Go to Page Layout > Print Titles and specify the rows you want to repeat on each printed page in the Rows to repeat at top section.
