3 Simple Tips to Print Excel Sheets Perfectly

Excel spreadsheets are a fundamental tool for businesses and personal data organization, but printing them correctly can sometimes be a frustrating task. Whether you're aiming to print Excel sheets for presentations, data analysis, or record-keeping, ensuring that your spreadsheets are presented clearly and professionally is crucial. In this blog post, we'll explore three simple yet effective tips to help you print your Excel sheets perfectly every time.
Understand Excel’s Print Options

Before diving into specific tips, let’s first understand the basic print settings in Excel:
- Page Layout: You can switch between different orientations like landscape or portrait, adjust margins, and set the print area for your sheet.
- Print Titles: For documents spanning multiple pages, set rows or columns to repeat at the top or side of each page.
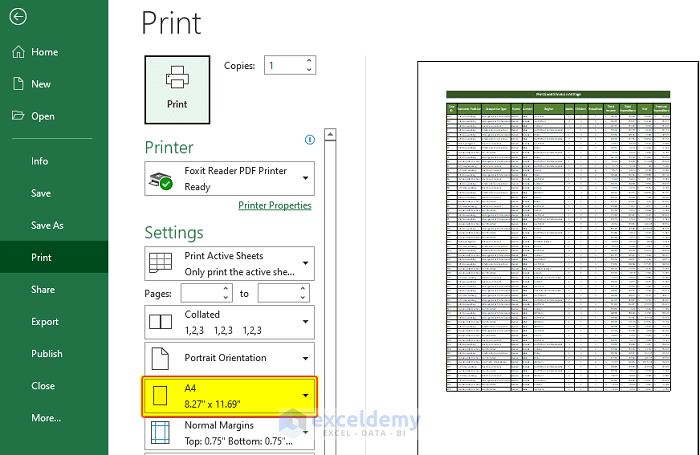
- Page Setup: This includes settings for paper size, print quality, and header/footer information.
- Page Break Preview: A unique view where you can manually adjust where pages break.
💡 Note: Always review your document in print preview before finalizing your settings.
Tip 1: Proper Page Setup

Configuring your Excel sheet’s page setup is vital for printing:
- Orientation: Consider what you want to emphasize. Landscape often works well for wide datasets, whereas portrait might be better for documents with fewer columns.
- Margins: Set appropriate margins. Excel defaults are often too generous, leading to unnecessary blank spaces.
- Scaling: Use 'Fit to page' to automatically scale your spreadsheet to fit on a single page or multiple pages without cutting off information.
- Headers and Footers: Add information like page numbers, date, and file name to keep track of your printouts.
- Print Area: If you only need to print a specific section, set the print area to avoid printing irrelevant data.
⚠️ Note: When you change the print area, remember to check the print preview to ensure everything is visible.

Tip 2: Optimize Data for Printing

Here’s how you can prepare your Excel data for optimal printing:
- Hide Unnecessary Rows/Columns: If your data contains extraneous columns or rows, hide them to streamline your printout.
- Freeze Panes: Set frozen panes to keep headers or key data in view when working with large datasets.
- AutoFit Columns/Rows: Adjust column widths and row heights to fit all content without overlapping or cutting off data.
- Conditional Formatting: Use this to highlight key data, but consider turning off or reducing the intensity for print, as color may not show up on monochrome printers.
- Cell Alignment: Align content for better readability. Wrap text in cells that contain longer text strings.
💡 Note: Don't overuse formatting to maintain clarity when printing.
Tip 3: Use Print Preview and Adjust Accordingly

Print Preview is your best friend when it comes to printing:
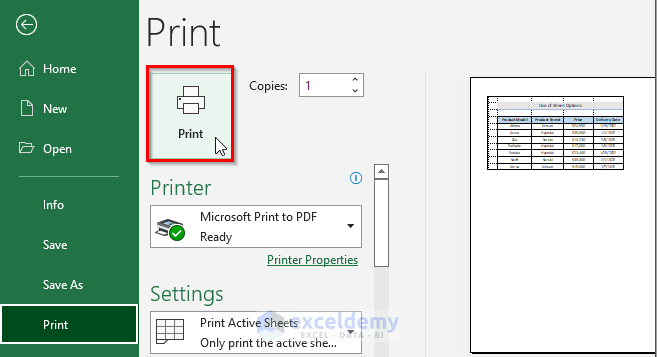
- Preview: Use this feature to check how your data will appear on paper.
- Page Layout View: This view helps in manually adjusting page breaks.
- Adjust Breaks: Manually move page breaks if necessary to avoid splitting tables or charts awkwardly.
- Check Printing Zones: Ensure no essential data falls into non-print zones.
| Print Setting | Why it's Important |
|---|---|
| Orientation | Determines how much data fits on a page horizontally or vertically. |
| Margins | Impacts page utilization and prevents content cut-off. |
| Headers/Footers | Provides context and keeps multi-page documents organized. |

⚠️ Note: It's a good practice to save your workbook with the print settings configured if you often print the same document.
By following these three tips, you're well on your way to printing Excel sheets that are both clear and professional. Remember to take advantage of Excel's extensive print options, prepare your data appropriately, and always check the print preview to make last-minute adjustments. With these strategies, your printed Excel sheets will look as polished as your digital versions.
How can I print only a specific range in Excel?

+
Select the range you want to print, go to Page Layout > Print Area > Set Print Area. Now, only this selected area will print when you choose to print.
What if my Excel data spreads across multiple pages?

+
Set print titles under Page Layout > Print Titles to repeat headers or labels on each page. Also, consider manually adjusting page breaks for better data flow.
Is there a way to print with a watermark in Excel?

+
Excel does not natively support printing watermarks, but you can insert a text box or image, format it to be semi-transparent, and send it behind the text for a similar effect.
Can I change the paper size from standard letter to A4 or others?

+
Yes, under Page Layout > Size, you can select from various paper sizes including A4.
How do I ensure that my Excel charts or graphs print correctly?

+
Make sure your chart is part of the print area or selected before you initiate printing. Adjust the scaling in print settings if necessary to fit the chart appropriately on the page.


