5 Easy Tips for Printing Excel Sheets with Images

If you often work with spreadsheets in Microsoft Excel and need to print them out with images, you might have encountered issues where images don't appear or the layout gets messed up. Here, we provide five easy tips to ensure your Excel sheets print with images exactly as you want them, improving both productivity and professionalism in your documents.
1. Optimize Images for Printing

Before you start, ensure your images are optimized for printing:
- Resolution: Use images with a resolution of at least 150 DPI for clear printing.
- Size: Resize images within Excel to prevent cropping or distortion. You can adjust the size by dragging the image borders or right-clicking and selecting “Size and Properties”.
- Quality: Reduce image quality if necessary to decrease file size without sacrificing print quality.

2. Adjust Print Area

Set your print area to include the necessary cells, rows, and columns:
- Select the range you want to print.
- Go to the “Page Layout” tab.
- Click on “Print Area” and then “Set Print Area”.
📌 Note: Remember to expand the print area if you add more images or data to ensure everything is included.
3. Set Proper Image Placement

To print images exactly where you need them:
- Drag the images to the desired locations within the cells.
- Right-click the image and choose “Format Picture” to adjust placement settings.
- Select “Move but don’t size with cells” to keep the image fixed when adjusting the sheet.
| Image Format | Best Settings |
|---|---|
| Print Layout | Lock Aspect Ratio & “With shape, move and size with cells” |
| Static Position | “Don’t move or size with cells” |

4. Use Print Preview

Before finalizing, always check the print preview:
- Navigate to “File” > “Print”.
- Check for alignment, sizing, and placement of images.
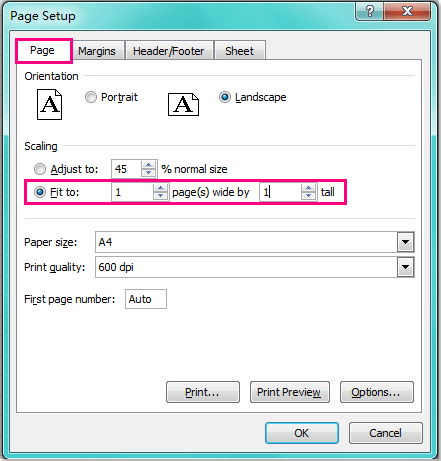
- Adjust page setup options like margins, scaling, and orientation if necessary.

5. Set Printer Quality Settings

Adjust your printer settings for the best results:
- Access printer properties from the print dialog.
- Choose the highest quality settings your printer allows.
- Enable any specific features for graphic-intensive printing if available.
By following these five tips, your Excel sheets will print with images intact, maintaining the integrity of your documents. This approach not only ensures your work looks professional but also saves time and reduces errors, making your work with Excel more efficient.
When you incorporate these practices into your routine, you're setting yourself up for success in producing high-quality printouts every time. Whether for presentations, reports, or data analysis, these tips help you make the most out of Microsoft Excel’s printing capabilities.
Why do my images not print when I print from Excel?

+
Images might not print if they are outside the defined print area or if they have inappropriate settings related to movement with cells.
How can I ensure images fit on one page?

+
Adjust the scale in the print preview or manually resize images in Excel to fit within the boundaries of your print area.
Can I print Excel sheets with transparent backgrounds?

+
Yes, but ensure your printer supports transparency and that your images have transparent backgrounds to avoid color fill issues.


