5 Quick Tips to Print Excel Gridlines in 2003

Printing gridlines from an Excel 2003 spreadsheet can be an essential task for many professionals and students. Whether you're presenting financial data, tracking inventory, or sharing research results, ensuring that your printed documents are clear and readable is crucial. Here are five quick tips to make sure your gridlines print effectively:
1. Adjust Page Layout Settings

The first step to ensure gridlines print is to check the Page Layout settings. Here’s how:
- Go to File > Page Setup or use the shortcut Alt + P, S to open the Page Setup dialog box.
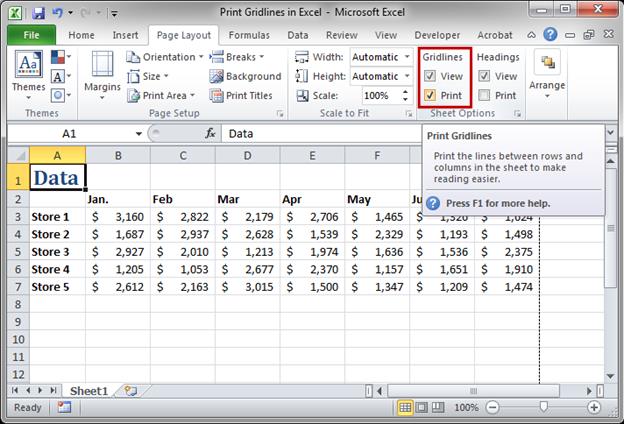
- In the Sheet tab, make sure the Gridlines checkbox is ticked. This ensures that gridlines will be included in the printout.
- Adjust other settings like print quality and scaling if necessary.
💡 Note: If you're using a different version of Excel, the steps might vary slightly, but the general concept remains the same.
2. Use Print Preview to Check Output

Before sending your document to the printer, it’s always a good idea to use the Print Preview feature to ensure everything looks right:
- Click File > Print Preview or use the shortcut Ctrl + F2.
- In the Print Preview window, you can zoom in to see the gridlines more clearly. If you don’t see them, they won’t print either.
3. Ensure Gridline Color Visibility

If the gridlines in your spreadsheet aren’t printing clearly, check the color settings:
- Go to Tools > Options, and in the View tab, ensure that the Gridlines color is set to a color that prints well (usually black or dark grey).
- The printer settings should match the paper color and type to ensure the gridlines are visible on paper.
4. Use Page Break Preview

Sometimes, page breaks can cut through the middle of your data, making gridlines less effective. Here’s how to manage this:
- Go to View > Page Break Preview. This feature allows you to see where the pages will break and adjust as needed.
- Drag the page break lines to ensure your data fits nicely on each page, avoiding cuts in crucial areas.
✅ Note: Adjusting page breaks can significantly improve the readability of your printout by ensuring gridlines are aligned with your data.
5. Print in Landscape or Adjust Margins

Sometimes, the orientation of your print or margins can make a big difference:
- Switch to Landscape orientation in Page Setup if you’re dealing with wide tables. This can help accommodate more columns within the gridlines.
- Adjust the margins in the Page Setup dialog box to give more room to the actual content and gridlines.
By following these tips, you can ensure that your Excel 2003 spreadsheets print with clear, visible gridlines, making your data presentation much more professional and readable. Remember, the goal is not just to get your data on paper but to communicate it effectively. Take the time to set up your document correctly before printing, and you'll save both time and resources on reprinting.
After implementing these changes, your spreadsheets should now display gridlines in print, which can enhance the overall clarity of your data presentation. Remember that making small adjustments in Excel can lead to significant improvements in how your printed work is perceived.
Why don’t my gridlines show in Excel 2003?

+
The most common reason gridlines do not appear on your printout is because they might not be enabled in Page Setup under the Sheet tab. Ensure the checkbox for Gridlines is ticked.
Can I change the color of gridlines when printing?

+
Yes, you can change the color of gridlines in the View tab under Options. However, ensure the color is dark enough to print clearly on paper.
What if the gridlines still don’t appear after following these steps?

+
Check your printer settings for print quality, color settings, and paper type. Sometimes, printer limitations or settings can affect how gridlines are printed.


