5 Easy Ways to Print an Excel Spreadsheet

Print Your Excel Spreadsheet with Ease

Microsoft Excel is an indispensable tool for organizing and analyzing data, making it vital for various professional and personal uses. One of the fundamental functionalities of Excel that users need is the ability to print Excel spreadsheets accurately. Here are five straightforward methods to ensure your data looks perfect on paper:
1. Adjusting Print Settings

Before you start printing, ensure your Excel sheet is set up correctly:
- Page Layout: Go to the ‘Page Layout’ tab. Here you can select the page orientation, size, and margins. Choose between Portrait or Landscape for better readability.
- Print Area: If you need to print only a portion of your worksheet, select it and go to ‘Print Area’ under the ‘Page Layout’ tab to set or clear the print area.
- Scaling: Use ‘Width’ and ‘Height’ options in the Scale to Fit section to scale your data to fit on a single page.
2. Using Print Preview

It’s always a good idea to preview your spreadsheet before sending it to the printer:
- Click on ‘File’ and then ‘Print’ or press Ctrl + P to open the print settings.
- Check how your document will look by reviewing the Print Preview. This helps to adjust print settings like layout or gridlines.
3. Print Multiple Sheets at Once

If your work involves managing several sheets, you can print them together:
- Hold down the Ctrl key and click on each tab you wish to print. Once selected, go to ‘File’ -> ‘Print’, where you can choose to print selected sheets.
4. Formatting for Printing

To ensure your data is presented clearly when printed:
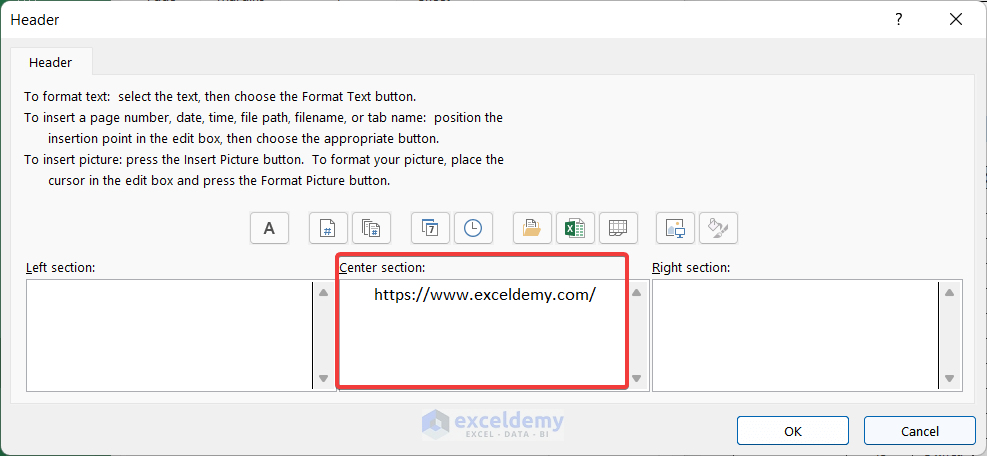
- Headers and Footers: Add custom headers or footers for context, like page numbers or document titles.
- Gridlines and Headings: Toggle these options in ‘Page Layout’ to either include or exclude them for better clarity on paper.
- Freeze Panes: If your document is wide or long, use Freeze Panes to keep headers visible when printing multiple pages.
5. Using Excel’s Print Options

Excel offers several print options for different scenarios:
- Print to Fit: Automatically adjust the scale to fit on one page.
- Print Titles: To repeat headers on every printed page, go to ‘Page Layout’ -> ‘Print Titles’.
- Paper Size and Source: Choose the appropriate paper size from ‘File’ -> ‘Print’ -> ‘Printer Properties’.
🔍 Note: Ensure your printer is properly configured and has enough ink or toner before starting to print.
In summary, printing an Excel spreadsheet can be made simple with these steps. By setting up the print environment, reviewing your document in preview mode, printing multiple sheets simultaneously, formatting your document, and utilizing Excel's built-in print options, you can print with confidence. These methods not only save time but also prevent common printing errors, ensuring your data looks professional and is easy to read when printed.
How do I print only part of an Excel spreadsheet?

+
Select the desired range of cells, go to ‘Page Layout’ -> ‘Print Area’ -> ‘Set Print Area’. This will define what part of the sheet to print.
Can I print my Excel sheet in color?

+
Yes, if your printer supports color printing. Ensure your printer is set to color mode in the printer properties, and that your document uses colors appropriately.
Why is my Excel not printing the full page?

+
This can happen if the scaling is set incorrectly. Adjust the ‘Width’ and ‘Height’ in ‘Page Setup’ under the ‘Page Layout’ tab to fit your data to one page or adjust the scale percentage.


