5 Ways to Print Excel Sheets on a 2015 PC

Printing Excel sheets on a PC from 2015 can seem like a daunting task if you're not familiar with the software's various settings. However, with a few tweaks and understanding of printer settings, it can be done smoothly and efficiently. Here are five ways to enhance your printing experience, ensuring your documents look professional and are easy to read.
1. Adjusting Page Layout

The first step in printing your Excel sheet effectively is to ensure that the layout is optimized for the print. Here’s how you can do it:
- Set Print Area: Go to the “Page Layout” tab and define the print area by selecting the range of cells you want to print.
- Orientation: Choose between portrait or landscape depending on how you want your data to appear on the page.
- Fit to Page: Use ‘Scaling’ options to fit your content on one page if necessary, without crowding the data.
2. Customizing Margins and Page Setup

Customizing margins can help fit more content on a page or leave room for notes. Follow these steps:
- Open the “Page Setup” dialog box from the “Page Layout” tab.
- Adjust margins under the ‘Margins’ tab. For example, reducing all margins slightly can give you more room.
- Check ‘Center on page’ horizontally and vertically to give your printed sheet a balanced look.
3. Print Titles and Headers

To keep your data organized, it’s beneficial to print row and column headings on every page. Here’s how:
- Navigate to the “Page Layout” tab.
- Click on ‘Print Titles’ and set which rows/columns should repeat at the top/left of each printed page.
- This feature ensures that your headers are consistently printed, making multi-page spreadsheets easier to navigate.
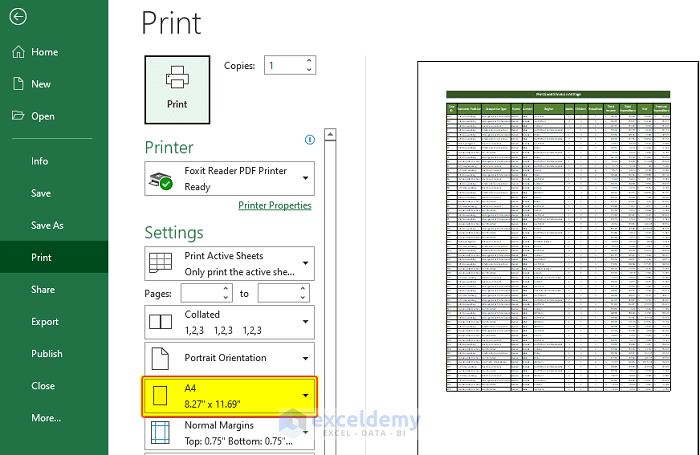
4. Using Print Preview

Before you hit the print button, always review how your sheet will look:
- Click on ‘Print Preview’ to see a virtual representation of your printout.
- Check for layout issues, adjust if needed, and ensure all data fits as intended.
- Look for any overlapping elements or cut-off data which might require further adjustment in layout.
5. Utilizing Quick Print Options

If you’re in a hurry or need to print frequently, setting up quick print options can save time:
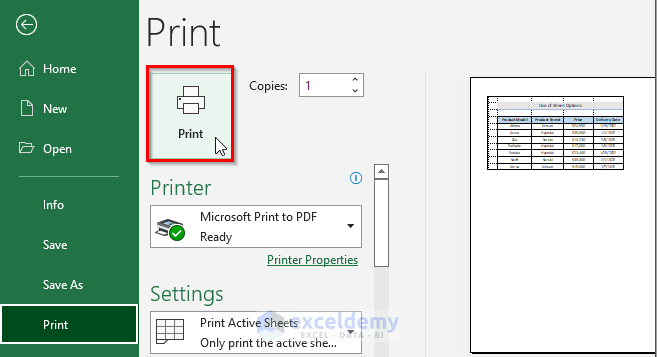
- Use the ‘Quick Print’ button directly from Excel for instant printing with pre-set configurations.
- Alternatively, set up a custom print button on your Quick Access Toolbar for streamlined printing access.
⚠️ Note: Make sure your printer settings match the settings you've chosen in Excel. Mismatched settings can lead to unexpected results.
By following these steps, you can ensure that your Excel sheets are printed in a way that's both clear and professional. Each method targets different aspects of print preparation, from layout optimization to quick access printing, catering to various needs you might encounter when dealing with spreadsheets on an older PC. Remember, while newer software might provide more features, the principles remain constant, ensuring your documents look presentable no matter the hardware age.
Why does my Excel sheet not print as expected?

+
Ensure your printer settings match Excel’s settings, especially in terms of margins, orientation, and scaling. Mismatched settings can lead to unexpected print results.
Can I print multiple sheets at once in Excel?

+
Yes, you can print multiple sheets by holding down the Ctrl key and clicking each sheet tab you want to include in the print job, then printing as usual.
What if my spreadsheet is too large to fit on one page?

+
You can either adjust the scaling in the ‘Page Setup’ to fit the sheet to one page or allow it to print over multiple pages. Ensure headers or row titles repeat if necessary.


