5 Simple Ways to Print Excel Sheet Portions

Managing vast datasets and extracting meaningful insights from them can be daunting. When you're working with Microsoft Excel, often you need to share only specific parts of your spreadsheet with others. While Excel allows various methods for printing, knowing how to print only the required portions efficiently can save time, reduce paper wastage, and ensure clarity in your presentations or reports. Here are five straightforward techniques to achieve this:
1. Use the Print Area Feature

The Print Area feature in Excel allows you to set specific ranges for printing. Here’s how you do it:
- Select the range of cells you wish to print.
- Go to Page Layout tab > Print Area > Set Print Area.
- Now, when you print, only the selected range will be printed.
To clear the print area, you can go back to the Print Area dropdown and select Clear Print Area.
2. Hide Rows and Columns Before Printing

If your data contains rows or columns that you don’t need in your printout, you can hide them:
- Right-click on the row number or column letter you want to hide.
- Select Hide.
- These hidden rows or columns will not appear when you print the sheet.
📌 Note: Remember to unhide these when you’re done with printing to avoid confusion later.
3. Print Selection

Printing a selected range directly:
- Highlight the specific portion of your Excel sheet you want to print.
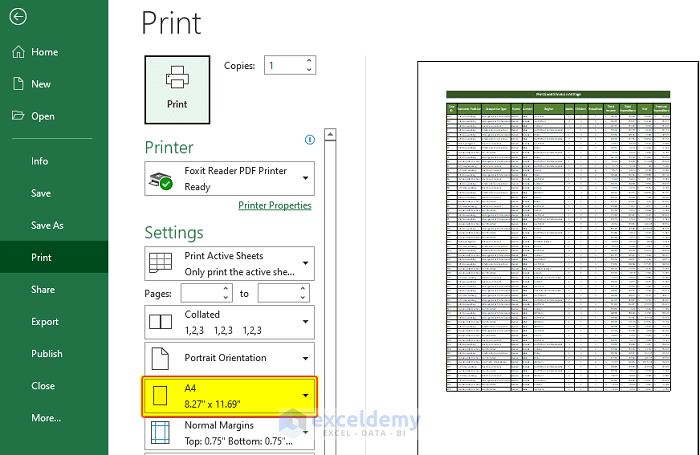
- Go to File > Print or press Ctrl + P.
- In the print settings, choose Print Selection under the Settings section.
4. Using Page Break Preview

This tool helps you visually manage where page breaks occur:
- Go to View tab > Workbook Views > Page Break Preview.
- You’ll see dashed blue lines indicating where Excel will break pages when printing.
- Drag these lines to adjust where you want the print to split.
- Return to Normal view to print or make further changes.
5. Print as PDF

Sometimes, instead of printing on paper, you might need a digital copy. Here’s how you can print to PDF:
- Select the area or the whole document you want to print.
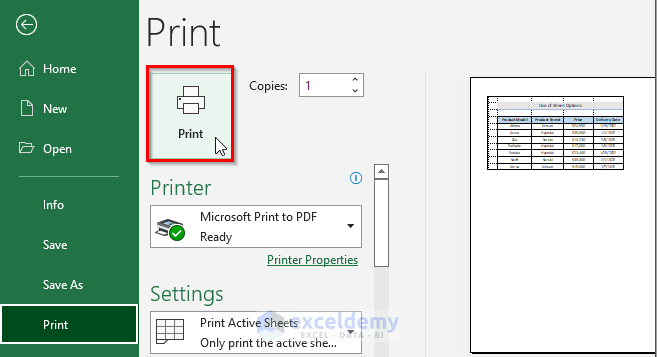
- Go to File > Print.
- Under Printer, select Save as PDF.
- Click Save, choose the location, and name your file.
Printing to PDF preserves all formatting, including hidden rows/columns, making it an excellent choice for sharing or archiving.
By employing these methods, you can tailor your Excel sheet for printing exactly as needed. Whether it's for a meeting, a presentation, or for personal records, these techniques ensure you print only what's necessary, making your life easier and your work more professional. These steps not only help in reducing waste but also in presenting your data more effectively, ensuring your focus is on what matters.
Can I print multiple, non-contiguous ranges on a single sheet?

+
Unfortunately, Excel does not support printing multiple, non-contiguous ranges on a single sheet directly. You would need to copy these ranges to a new sheet or use a work-around like printing each range separately or creating a new view for each range.
What if I want to print only selected cells without using the Print Area feature?

+
You can use the “Print Selection” option in the print menu. Highlight the cells you want, then go to File > Print > Print Selection. However, this method will only work for your current print job and won’t save the print area for future use.
How can I ensure that headers print on every page?

+
Go to Page Layout > Print Titles. Here, you can set rows or columns to repeat at the top of each page when printing.


