How to Print an Entire Excel Sheet on One Page Easily

Ever found yourself stuck trying to fit your Excel data onto just one page for print? It's a common challenge, but with the right approach, you can print your Excel sheet efficiently and effectively. In this comprehensive guide, we'll cover the steps to ensure you're not only printing your Excel sheet on one page but doing it with ease.
Why One Page Printing Matters?

Printing your Excel sheet on one page is crucial for:
- Space Efficiency: Saves on paper and ink.
- Clarity: Easier to comprehend the data as a whole.
- Presentation: Professional and neat output for reports, presentations, or documentation.
Steps to Print an Excel Sheet on One Page

1. Adjust Page Layout

The first step in making your Excel sheet fit onto one page involves setting up the page layout correctly.
- Go to the ‘Page Layout’ tab in Excel.
- Select ‘Margins’ and choose or customize a narrow setting.
- Set the orientation to Landscape or Portrait based on your sheet’s layout.
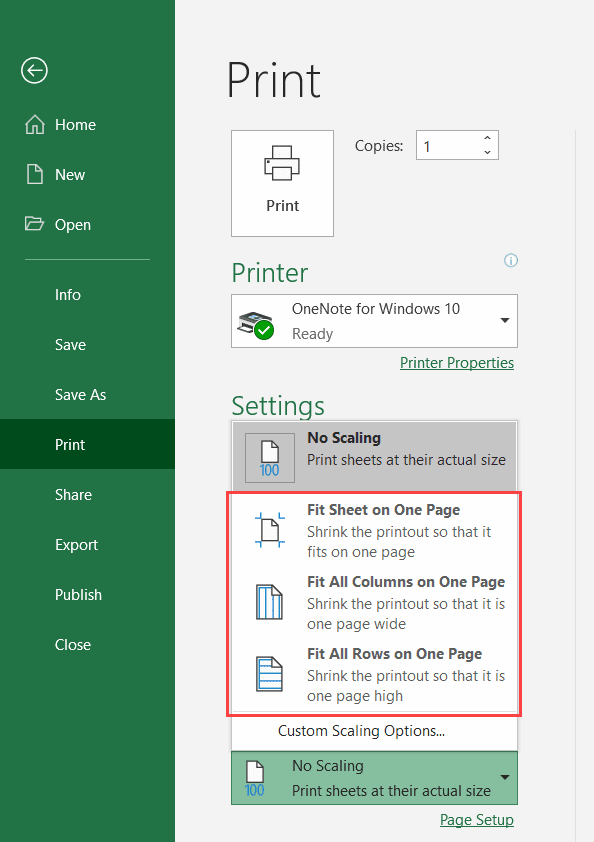
2. Scale to Fit One Page

After adjusting the page layout, you can force Excel to fit your content onto one page:
- Navigate to the ‘Page Layout’ tab.
- Click on ‘Scale to Fit’ group.
- Ensure that both Width and Height are set to 1 page.
🌟 Note: Scaling down can sometimes make text less legible; you might need to adjust font size or decrease margins further if this occurs.
3. Utilize Page Break Preview

This feature helps you visualize how your sheet will be printed:
- From the ‘View’ tab, select ‘Page Break Preview’.
- Here, you can manually adjust where page breaks occur by dragging the blue lines.
4. Manual Formatting Adjustments

Sometimes, scaling alone won’t solve all your printing issues:
- Reduce font sizes.
- Narrow down columns.
- Remove extra blank cells or rows.
- Use ‘Print Titles’ to repeat headers on each printed page if necessary.
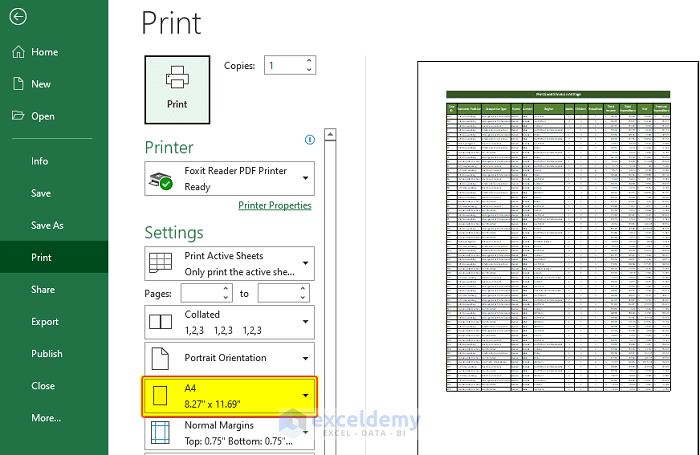
5. Using Print Preview

Always check how your document will look:
- Hit ‘File’ > ‘Print’ to view the print preview.
- Ensure content fits within the margins without being cut off.
6. Advanced Options for Perfect Fit

For more control over your printing:
- In ‘Page Layout’, click on ‘Print Area’ and ‘Set Print Area’ to print only selected areas.
- Under ‘Sheet Options’, check ‘Gridlines’ or ‘Headings’ to print these if required.
By following these steps, you ensure your Excel sheet prints as a single-page document, maintaining readability and presentation quality. Remember, the goal is to strike a balance between fitting content onto one page while ensuring that the information remains legible.
Can I adjust the scale for only some sheets?

+
Yes, you can. In Excel, right-click on the sheet tab, choose ‘Page Setup’, and adjust the scale for that sheet alone.
Why does my printout look different from the preview?

+
Make sure all settings like margins, scaling, and print area are consistent between the print preview and your final print settings.
How do I ensure charts and images fit on one page?

+
Adjust the size of charts and images before scaling, or you might need to print them separately to maintain visibility.


