5 Ways to Transfer Excel Sheet to New Workbook

Exploring the Foundations of Excel Data Transfer

Transferring Excel data is a skill that every spreadsheet enthusiast or professional must master. Whether you’re moving datasets for analysis, reorganizing files, or simply backing up important data, knowing how to efficiently transfer Excel sheets to new workbooks can significantly boost productivity. This comprehensive guide explores five effective methods to transfer your Excel sheets effortlessly.
Method 1: Manual Copy and Paste

Manual copy and paste might seem basic, but it’s an essential technique for small-scale data transfers:
- Open both the source and destination workbooks.
- Select the sheet or data range you want to move.
- Right-click and choose 'Copy' or use Ctrl+C.
- Switch to the new workbook, select the desired location, and paste by right-clicking or pressing Ctrl+V.
💡 Note: This method is best for transferring small amounts of data where precise control is needed.
Method 2: Using the Move or Copy Feature

For transferring entire sheets, Excel’s built-in feature provides a robust solution:
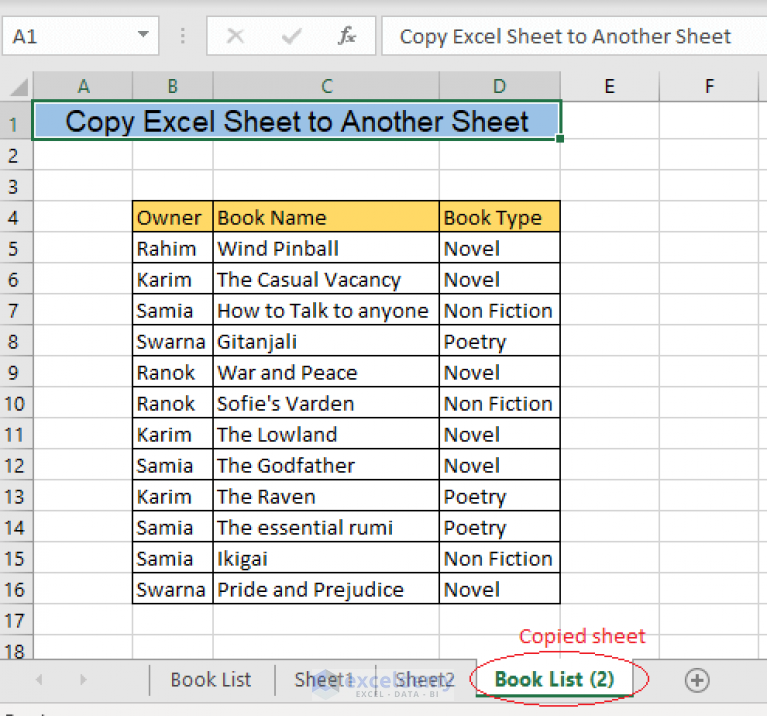
- Right-click on the sheet tab you want to transfer.
- Select 'Move or Copy...' from the menu.
- In the dialog box, choose the destination workbook from the dropdown list.
- Select the position where you want the sheet to appear.
- Check 'Create a copy' if you wish to duplicate the sheet rather than move it.
Method 3: VBA Macro Automation

When dealing with recurring transfers, Visual Basic for Applications (VBA) macros can automate the process:
Sub CopySheetToNewWorkbook()
    Dim SourceSheet As Worksheet
    Set SourceSheet = ThisWorkbook.Sheets("Sheet1")
    SourceSheet.Copy
    Set NewBook = ActiveWorkbook
    NewBook.SaveAs "C:\Users\Public\Documents\" & SourceSheet.Name & ".xlsx"
    NewBook.Close
End Sub
- Create a new module or use the existing one in VBA Editor.
- Paste the macro code, adjusting the sheet name and path as necessary.
- Run the macro to copy the sheet to a new workbook automatically.
Method 4: Power Query for Advanced Data Transfer

Power Query provides a flexible tool for data transformation:
- Open your source Excel file.
- Go to 'Data' tab, click 'Get Data' then 'From Other Sources' and select 'From Microsoft Excel'.
- Select the sheet or range of data you wish to transfer.
- Use Power Query Editor to transform or filter data if needed.
- Click 'Close & Load' to load the data into a new workbook.
💡 Note: Power Query is particularly useful when you need to clean, transform, or merge data before transferring it.
Method 5: Saving as CSV then Importing

This method is handy for data exchange between different systems:
- Save the desired Excel sheet as a CSV file.
- Open the new workbook, and use 'From Text/CSV' under the 'Data' tab to import the CSV file.
- Adjust the import settings to suit your needs, like delimiter and data types.
Summary

By now, you should have a thorough understanding of five effective ways to transfer Excel sheets to new workbooks. From manual copy-pasting for small datasets to utilizing advanced tools like Power Query for more complex operations, these methods cover a range of scenarios in Excel data management.
In practice, your choice of method will depend on the task at hand, the volume of data, and how often the transfer needs to be performed. Whether you’re looking for efficiency, accuracy, or scalability, Excel provides multiple avenues to achieve your data transfer goals seamlessly.
FAQ Section

What are the risks of manually copying data?

+
Manual copying can introduce errors through oversight or incorrect cell references. Automation reduces these risks.
How can I ensure data integrity during transfer?

+
Use validated methods like VBA or Power Query, verify checksums, or cross-reference data post-transfer to ensure accuracy.
Is there a way to automate the transfer process?

+
Yes, VBA scripting and Power Query offer solutions for automation, tailored to your specific data transfer needs.


