Merge Excel Data into Labels Effortlessly: A Step-by-Step Guide

Integrating data from Microsoft Excel into mailing labels is a routine task for many businesses and organizations. Whether you're preparing for a large mailout or organizing inventory labels, the process can be streamlined, making it easier and less time-consuming. Here's how you can merge your Excel data into labels effortlessly.
Why Use Excel for Labels?

Excel is not only a powerful tool for data analysis and calculations but also serves as an excellent database for label printing:
- Ease of Data Entry: With its familiar interface, you can quickly input and manage your data.
- Data Organization: Excel’s grid-like layout makes sorting and filtering straightforward, ensuring your data is accurately prepared for labels.
- Integration with Microsoft Word: Excel can directly interface with Word to pull data into label sheets, making the label creation process more efficient.

Preparing Your Excel Sheet

Before you start merging your data into labels, ensure your Excel sheet is ready:
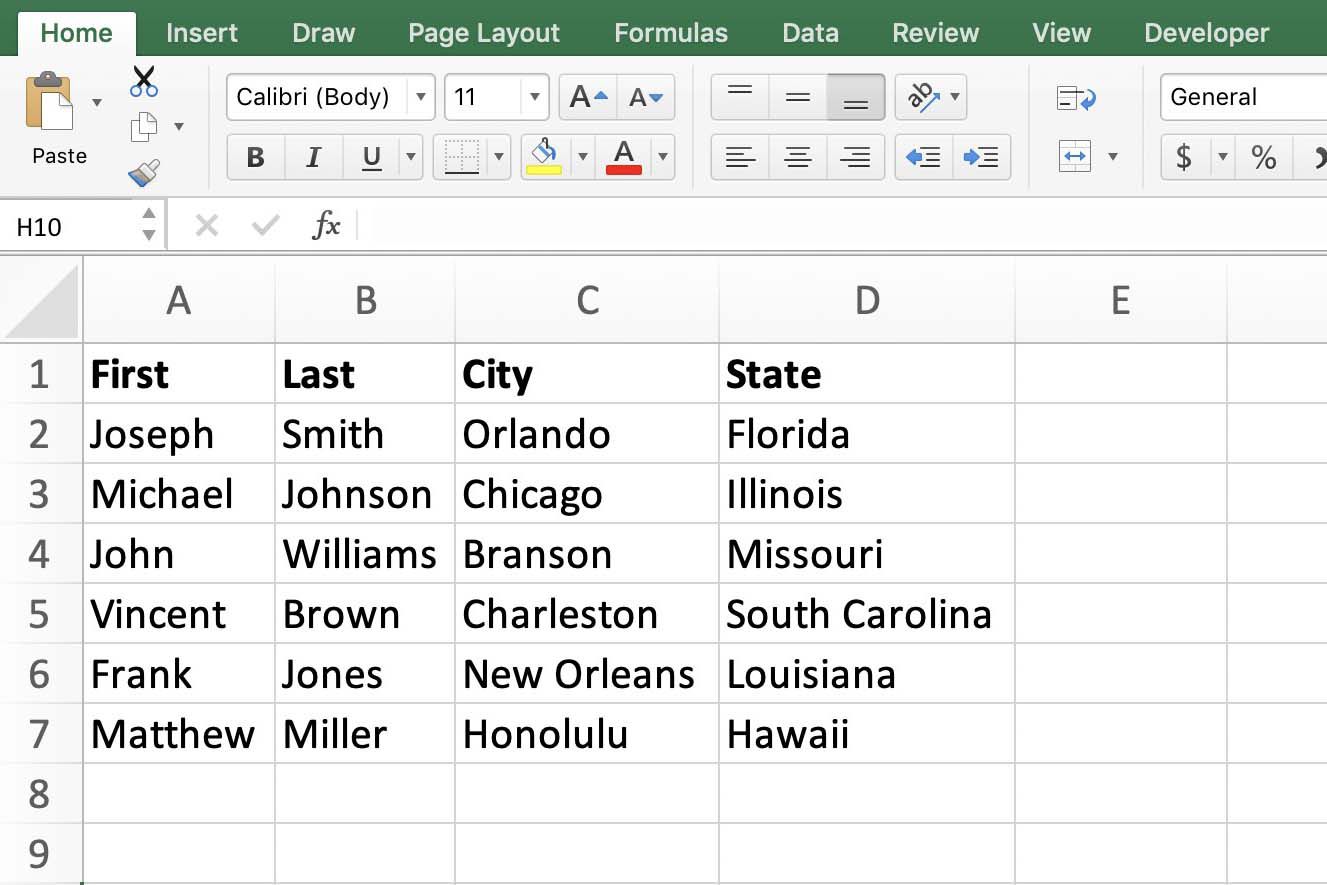
- Structure your data so that each column represents a field you want on the label. For instance:
Name Address City State Zip Code John Doe 123 Example St. Anytown NY 12345 
- Remove any extra rows, columns, or cells that contain data irrelevant to the labels.
- Check for and correct any spelling errors or formatting issues.
💡 Note: Make sure the first row of your spreadsheet contains field names. These will be used when creating labels in Word.
Merging Excel Data into Labels

Follow these steps to merge your data into labels:
- Open Microsoft Word: Start with a blank document.
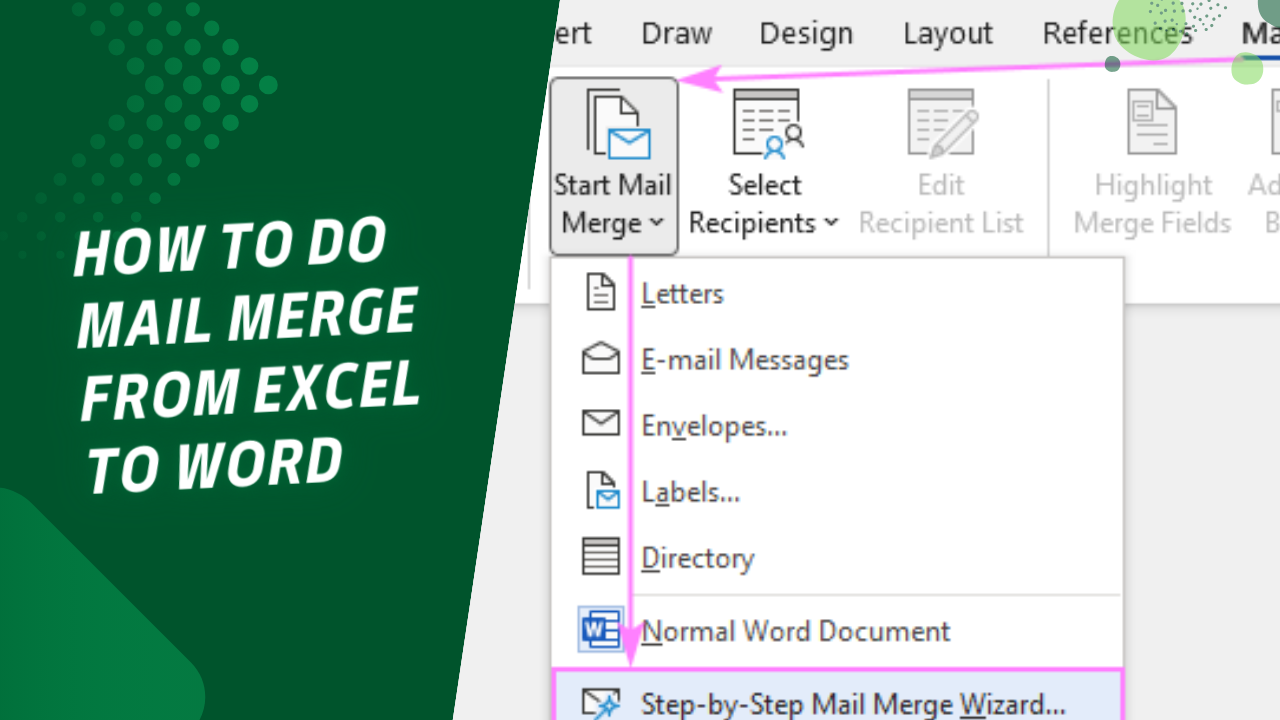
- Access Mail Merge: Go to the Mailings tab, then click on Start Mail Merge and select Labels.
- Choose Label Size: Select the label brand and product number. If not listed, you can use a generic size or define a new label.
- Link to Excel: Click Select Recipients then Use an Existing List. Navigate to your Excel file, and select the sheet with your data.
- Insert Merge Fields:
- In the document, click where you want the first label field to appear, then select Insert Merge Field from the toolbar. Choose the corresponding field from your Excel sheet.
- Repeat for all fields you want to include on the label. Ensure to format line breaks with paragraph marks (Enter key).
- Complete the Merge: Use Preview Results to review the layout. If satisfied, click Finish & Merge to print or save your labels.
📌 Note: Always preview your labels before printing to catch any errors or formatting issues.
Tips for Perfect Label Creation

- Formatting Consistency: Use consistent formatting (font, size, spacing) across all labels for a professional look.
- Field Verification: Double-check that all fields are correctly aligned and appear as expected in the preview.
- Printing Tips: Use high-quality paper and print a test sheet to ensure the alignment is perfect before printing all labels.
- Save for Future Use: Save your Word document as a template with merged fields intact for future label printouts.
Common Pitfalls and Solutions

Here are some issues you might face:
- Field Mismatch: Ensure your field names in Excel match those in Word for a smooth merge. Use exact names or use the “Match Fields” feature in Word.
- Labels Not Printing Correctly: Verify that your printer settings align with the label dimensions. Misalignment can occur if paper size or margins are incorrect.
- Data Formatting Issues: Fields with improper data types might cause problems. For example, ensure zip codes are not formatted as numbers to avoid leading zeros.
By following this guide, integrating your Excel data into labels should become a simple and repeatable task. The process not only saves time but also minimizes errors, ensuring your labels are accurate and professionally presented. Through the power of Excel and Word's integration, you can turn hours of tedious work into mere minutes of setup, allowing you to focus on other important tasks.
What should I do if my Excel data doesn’t match Word’s expected fields?

+
Use the “Match Fields” option in Word to manually match your Excel column headers to the Word fields.
Can I edit data directly in Word while creating labels?

+
Yes, you can edit data in the Word document; however, these changes won’t update your original Excel file. Consider updating your Excel source before re-merging if changes are significant.
What if my labels are not printing in the right size or format?

+
Ensure you have selected the correct label type in Word. Check your printer settings for proper paper size and margins. If issues persist, consider printing a test page to adjust settings manually.


