Create Your Expense Sheet in Excel: Easy Guide

Creating an expense sheet in Excel can transform how you manage your finances, providing a clear, organized view of your expenditures. Whether for personal use or for tracking business expenses, Excel offers tools to make this task straightforward and efficient. This guide will walk you through setting up your own expense sheet, optimizing it for both functionality and design.
Setting Up Your Excel Workbook

1. Opening Excel

Start by opening Microsoft Excel on your computer. Excel comes pre-installed in many office suites, making it accessible for most users.
2. Creating a New Workbook

Select "New Workbook" to begin with a fresh spreadsheet. Your workbook will have multiple sheets; typically, you might start with three named "Sheet1", "Sheet2", and "Sheet3".
💡 Note: We will use only the first sheet for our expense tracker, renaming it for clarity.
Naming and Organizing Your Expense Sheet

3. Renaming the Sheet

Click on the tab labeled "Sheet1" at the bottom of Excel. Right-click and select "Rename". Name it something like "Monthly Expenses" or "2023 Expenses" for better organization.
4. Setting Up Headers

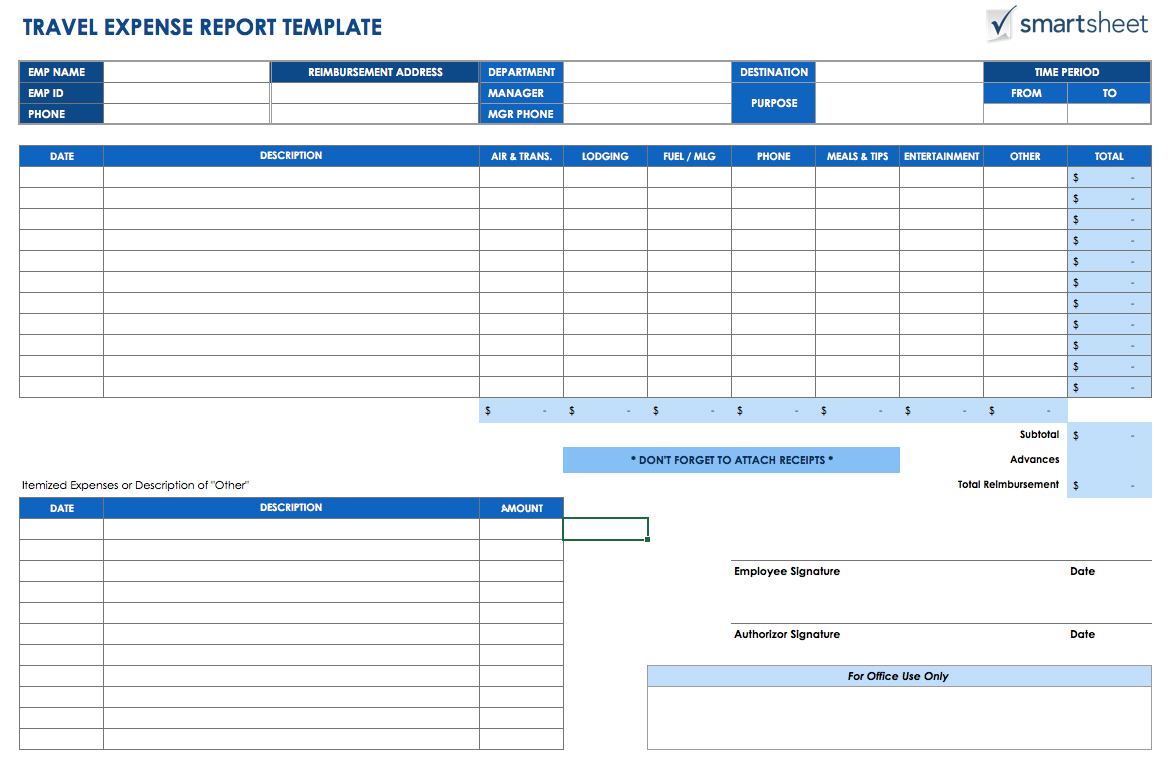
In cell A1, enter "Category". In B1, type "Date". Follow this with "Description", "Amount", and "Total" in cells C1, D1, and E1 respectively. These headers will form the top of your expense table:
| Category | Date | Description | Amount | Total |
|---|
Use the Format Cells dialog box (Ctrl+1) to format the Date column to display dates as you prefer, and the Amount column to show currency symbols or decimal places.
Entering Data into Your Expense Sheet

5. Entering Your First Expense
Under the "Date" column, enter today's date or the date of the expense. For example, in cell B2, you might type "10/10/2023".
- Under "Category", categorize your expense (e.g., Groceries, Utilities, Entertainment).
- In the "Description" column, briefly describe what the expense is for.
- Enter the amount spent in the "Amount" column.
Repeat this for each expense. The "Total" column can be automatically calculated by using the SUM function. In cell E2, enter the formula =SUM(D2:D2), then drag the formula down to cover all rows.
6. Categorizing Expenses

Create a list of common categories:
- Groceries
- Rent/Mortgage
- Utilities
- Transportation
- Entertainment
- Healthcare
These categories can be adjusted or expanded based on your spending habits.
7. Formatting Your Sheet for Clarity

Make use of Excel's formatting tools:
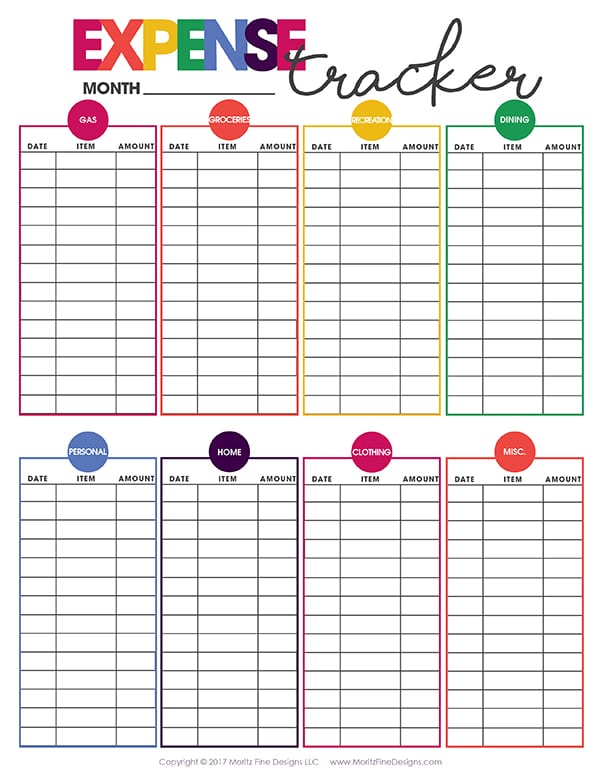
- Use different colors for different categories to visually distinguish expenses.
- Apply conditional formatting to highlight over-budget items or high-value transactions.
- Adjust the column width for better visibility of data.
📚 Note: Regular formatting keeps your expense sheet neat and understandable at a glance.
Advanced Features for Better Tracking

8. Using Filters for Easy Sorting

Go to the Data tab and click Filter. This allows you to sort or filter your expense sheet by any column, making it easier to analyze spending patterns.
9. Creating Charts to Visualize Data

Select your expense data and insert a chart by going to the Insert tab. Pie charts or bar graphs can show how much you spend on different categories, helping with budget planning.
10. Using Functions for Deeper Analysis

Excel offers numerous functions for financial tracking:
- AVERAGE to find the average monthly expense for a category.
- MAX and MIN to identify your highest and lowest expenses.
- COUNTIF to count how many times you've purchased from a specific category.
Final Touches and Maintenance

Your expense sheet should now be functional, but here are a few final enhancements:
- Lock cells with formulas to prevent accidental changes.
- Set up conditional formatting rules to automatically highlight urgent items or overspending.
- Save your workbook with a date in the filename for easy archiving (e.g., "2023_Monthly_Expenses_Oct").
By following this guide, you've crafted an Excel expense sheet that will serve you well in tracking your expenditures. It's not just about the numbers; it's about understanding your financial habits, making informed decisions, and ultimately, achieving financial peace of mind. Regularly updating this sheet will give you real-time insights into your spending, allowing for proactive financial management. Remember, the key to success with this tool is consistency and accuracy in recording your data. With practice, this Excel expense sheet will become an indispensable part of your financial toolkit, guiding you towards a healthier and more organized financial life.
How often should I update my expense sheet?
+It’s best to update your expense sheet at least once a week to maintain accuracy. Daily updates can provide even more detailed insights.
Can I share this expense sheet with others?
+Yes, Excel allows you to share workbooks via OneDrive or through email. You can set permissions to view or edit as needed.
What if I need more categories?
+Excel is flexible; you can add more columns or rows to include additional categories as your needs change. Use the insert menu to add new columns when necessary.


