5 Simple Tips to Alphabetize Excel Rows Easily

Organizing data is fundamental in efficient data management. For Microsoft Excel users, sorting data in a way that makes analysis and reporting seamless can be a game changer. In this extensive guide, we'll delve into five simple tips to alphabetize Excel rows easily to streamline your work with Excel.
Understanding Excel’s Sorting Capabilities


Excel’s sorting tools provide numerous options for organizing your data. Before jumping into the tips, it’s vital to understand how sorting in Excel works:
- Data Consistency: Ensure your data is consistent for accurate sorting.
- Data Range: Select the range you want to sort or choose the entire worksheet if needed.
- Header Row: Excel can recognize headers; always indicate if your data has one.
Tip 1: Using the Quick Sort Feature

Excel’s Quick Sort feature is perhaps the most straightforward method to alphabetize your rows:
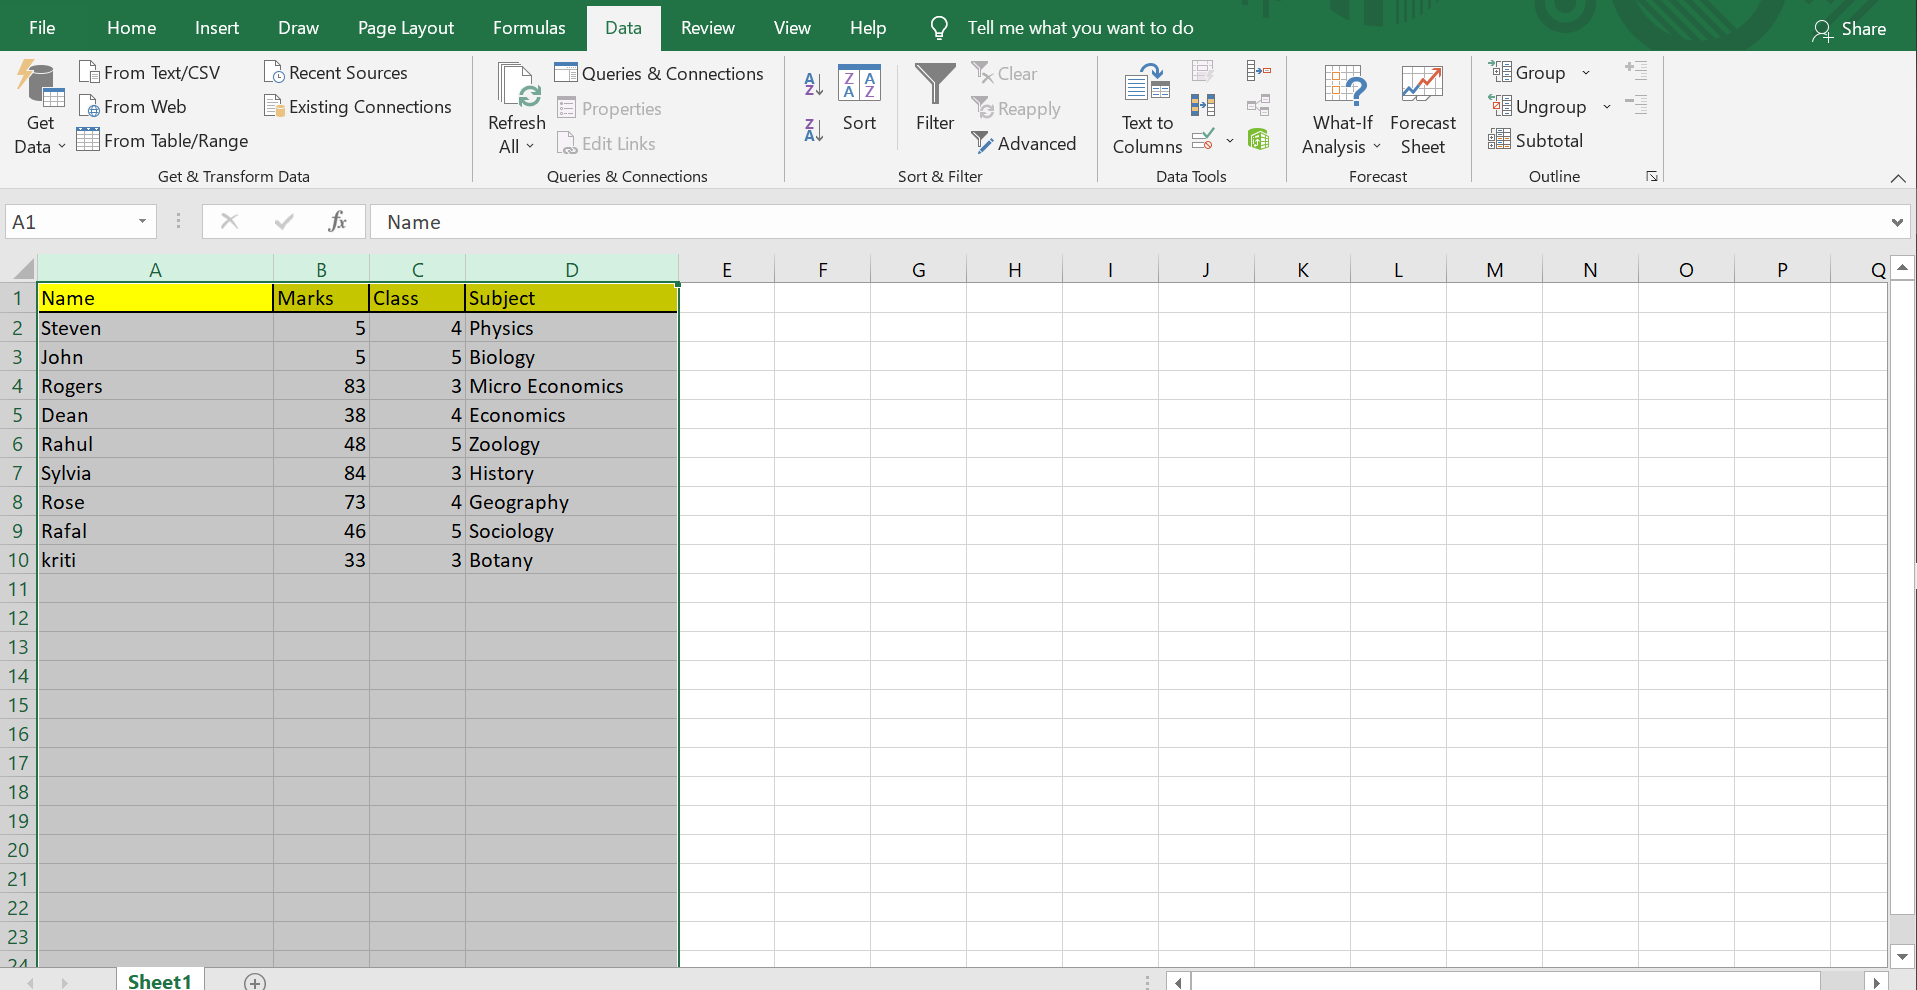
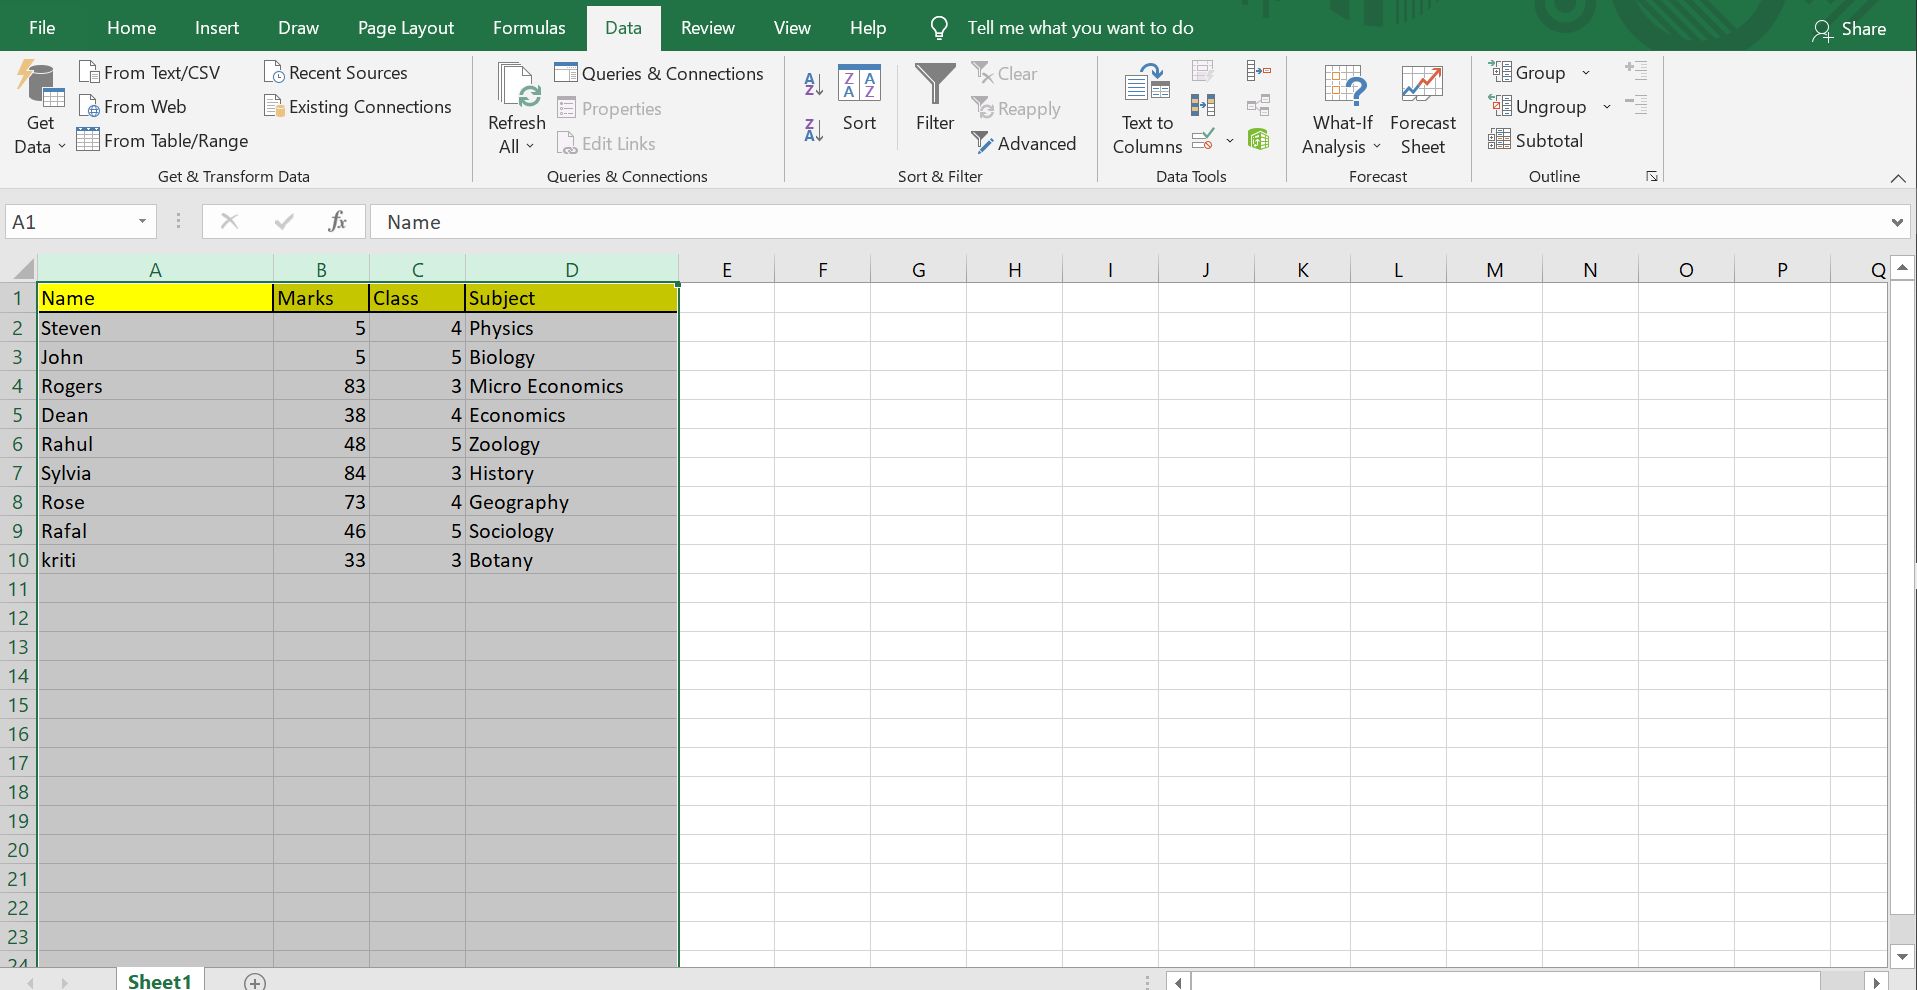
- Select the range of cells or the entire worksheet you want to sort.
- Go to the Home tab, and in the Editing group, click on Sort & Filter.
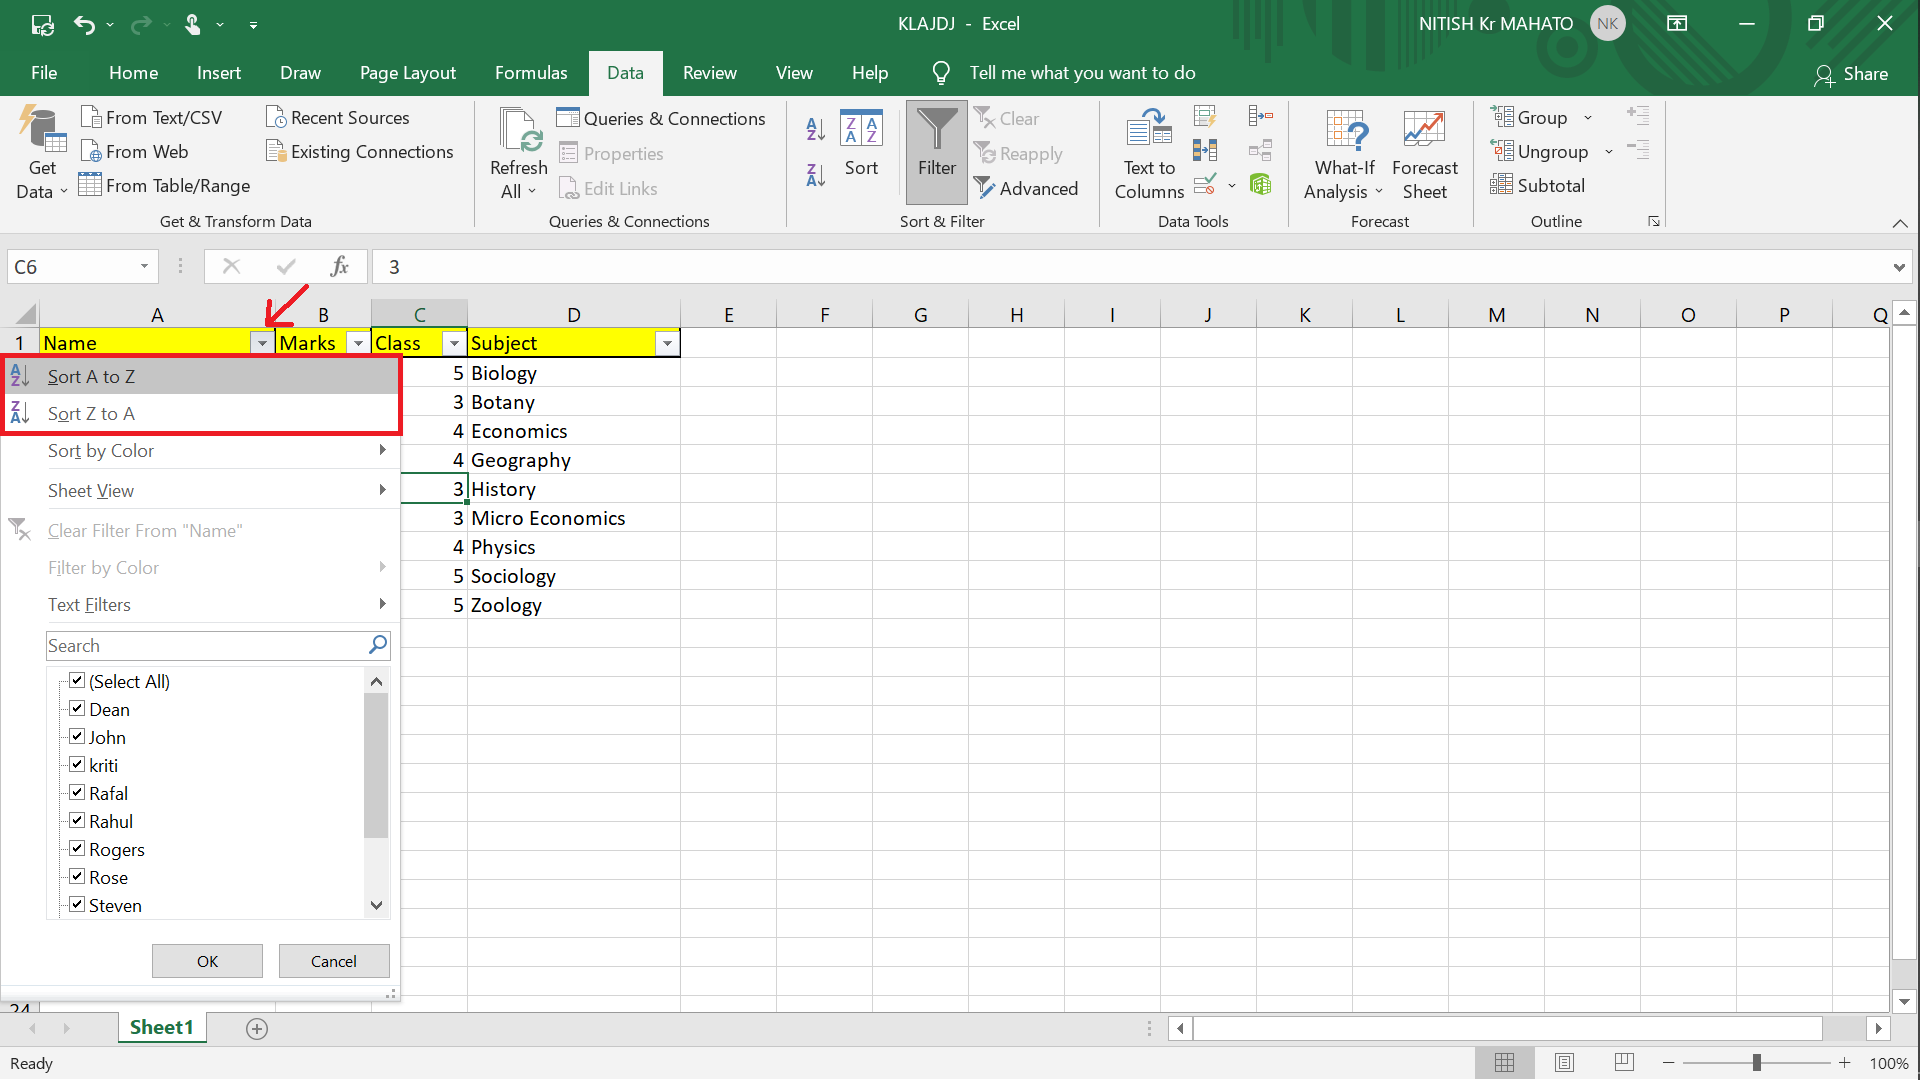
- Choose either Sort A to Z for ascending order or Sort Z to A for descending order.
Tip 2: Sorting with Headers


If your dataset includes headers, this tip ensures they remain intact:
- Select the range with headers or click on the header row.
- From the Home tab, select Sort & Filter > Custom Sort.
- In the Sort dialog, check My data has headers.
- Choose the column you want to sort by and the sort order.
📝 Note: When using headers, ensure they are distinct from the data to prevent sorting errors.
Tip 3: Sorting Multi-Level Data

If your Excel sheet contains multiple levels of data, you’ll want to sort in a tiered fashion:
- Go to the Data tab, and click on Sort.
- In the Sort dialog, add levels by clicking on Add Level.
- Specify each column and the sort order for each level.
Here’s how you can organize a multi-level sort:
| Level | Column | Sort Order |
|---|---|---|
| 1 | Department | A to Z |
| 2 | Employee Name | A to Z |

Tip 4: Sorting by Color or Icon

Sometimes, visual cues like cell color or icon sets are used to categorize data:
- From the Data tab, select Sort.
- Add a level for sorting by color or icon and choose the color or icon set as needed.
Tip 5: Custom Sorting

Excel allows you to create custom sort orders tailored to your needs:
- Go to the Data tab and click on Sort.
- Choose Custom List under Order for the column you want to sort by.
- Create your custom list or choose from the predefined ones.
By employing these tips, you can take control of your data sorting in Excel, ensuring accuracy and efficiency in your work. With consistent use of Excel's sorting features, you can maintain a well-organized dataset that aids in analysis, reporting, and data presentation.
These tips are designed to work seamlessly with Excel's sorting functionalities, helping you to manage complex data sets with ease. Remember, your data's integrity depends on proper sorting methods, so choose the right approach for your needs.
Can I sort data with multiple columns?

+
Yes, Excel allows you to sort by multiple columns. Use the ‘Sort’ feature to add levels for each column you want to sort by.
What if my data doesn’t have headers?

+
If your data doesn’t have headers, simply uncheck the “My data has headers” option in the Sort dialog box when sorting.
How do I sort by cell color?

+
From the ‘Sort’ dialog, you can choose to sort by cell color or font color by adding a sort level and selecting ‘Cell Color’ or ‘Font Color’ from the ‘Order’ dropdown.


