Excel Printing Mastery: Fit All Data on One Sheet

The challenge of fitting all your Excel data onto one sheet for printing can often lead to frustration, cluttered layouts, and endless adjustments. However, with the right techniques and Excel's built-in features, you can master the art of fitting your data neatly onto a single page. This post will guide you through various methods to optimize your Excel printing, ensuring your data looks clean, professional, and complete without unnecessary page breaks.
Adjusting Page Layout

The first step to fitting your Excel data onto one page is to adjust the page layout settings. Here’s how:
- Open your Excel workbook and select the worksheet you want to print.
- Go to the Page Layout tab.
- In the Page Setup group, click on the dialog launcher (small arrow) in the bottom right corner to open the Page Setup dialog box.
- In the Page tab, set the desired orientation (portrait or landscape) under Orientation. Landscape often allows you to fit more columns across the page.
- Adjust the Scaling option. You can either scale to fit all columns or rows on one page or set a specific percentage.
Shrinking Margins and Font Size

Sometimes, just adjusting the margins and font size can make a significant difference:
- Margins: In the Margins tab of the Page Setup dialog, reduce the margins. Keep in mind that while smaller margins might help, excessively tight margins can make the document look cramped.
- Font Size: Select all the cells containing data (CTRL+A), then go to the Home tab and decrease the font size. Try to keep readability in mind.
⚠️ Note: Reducing font size too much can make the text hard to read, especially when printed.
Managing Columns and Rows

Fitting more data on one page often involves adjusting your columns and rows:
- Select all columns (click the column header ‘A’, then drag to the right or use Shift + Arrow keys), and adjust their width to fit content or set a standard width for all.
- Similarly, adjust row height by selecting all rows and setting an appropriate height. Auto-fit might not always work perfectly, so manual adjustments could be necessary.
- Consider merging cells or wrapping text where appropriate to conserve space. However, be cautious as merged cells can cause issues with sorting or filtering.
| Column Width | Row Height |
|---|---|
| Adjust for content or uniformity | Set to standard or auto-fit |

Using Print Area and Page Breaks

If you only need to print a specific part of your worksheet:
- Set a Print Area under the Page Layout tab. This ensures only the selected range will be considered for printing.
- Insert or remove manual page breaks. Select the row or column where you want the break, then go to Page Layout > Breaks > Insert Page Break. To remove, use Remove Page Break.
Print Preview and Adjustments

Before finalizing your print:
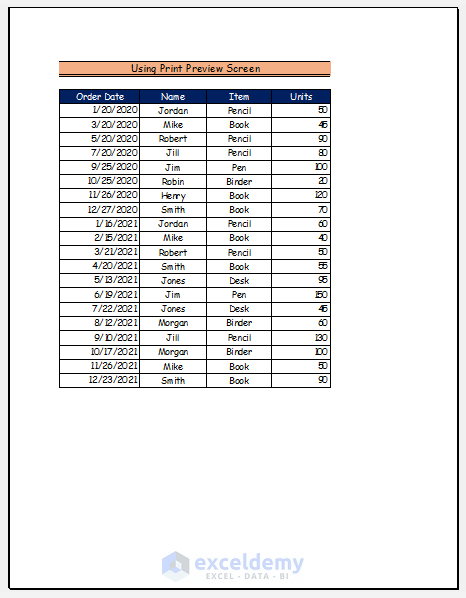
- Use the Print Preview to see how your adjustments have affected the layout.
- Make further tweaks in real-time within the preview window.
Consider Using Excel’s Features

Excel offers several features designed specifically for printing:
- Print Titles: Repeat row and column titles on every page. This can save space on one sheet by not having to include these in every page.
- Page Break Preview: This view mode allows you to see exactly where pages will break, helping you to adjust your data accordingly.
- Center on Page: In the Page Setup dialog under the Margins tab, you can choose to center the data horizontally or vertically, which can sometimes fit more on a single page.
By now, you should have an organized, print-ready Excel sheet that fits all necessary data on one page. Remember, the goal is to balance readability with fitting your data, so some compromise might be necessary. Ensuring your document is clear, professional, and concise not only makes it easier to print but also to share or present. Utilize Excel's various tools and settings to create a document that looks good on paper, reflecting your attention to detail and efficiency in managing data.
How do I know if my Excel data will fit on one page?

+
Use Excel’s Print Preview feature to check how your data will appear on the printed page. Adjust the print area, margins, or scaling if needed.
What if my data still overflows after adjustments?

+
You might have to consider reducing the amount of data you’re printing, reorganizing your data layout, or using more advanced Excel features like filtering or creating a summary page.
Can I automate the process to fit data on one page?

+
While there isn’t an automatic feature to force-fit all data on one page, you can use VBA macros to automate some of the settings adjustments based on your criteria.
Does reducing font size affect print quality?

+
Yes, reducing the font size too much can make text difficult to read when printed, particularly if the print resolution is low. Always consider the readability of your document.
What if I need to print in color?

+
Excel’s printing options apply to both black and white and color printing. Ensure your printer supports color printing and that your settings in Excel and on the printer are correct for color output.


