5 Easy Steps to Create a Counting Excel Sheet

Creating a counting Excel sheet can transform your data management into a much more efficient and streamlined process. Whether you're tracking inventory, managing expenses, or counting votes, Excel's versatility is unmatched. Here’s how you can set up a basic counting sheet in just five straightforward steps.
Step 1: Setting Up Your Excel Sheet

Begin by opening Microsoft Excel and creating a new workbook:
- Go to the Start menu and search for “Excel” to open the application.
- Select “Blank workbook” to start with a fresh sheet.
- Label the first row for your headers. For instance, if you’re tracking inventory, you might name columns as “Item Name,” “Quantity,” “Price,” etc.
📋 Note: Make sure your column headers are clear and descriptive to avoid confusion later on.
Step 2: Entering Data

Once your headers are in place, you can start entering your data:
- Input the data under each column. For example, enter “Widgets” under “Item Name” if you are counting widgets.
- Use the “fill handle” (small square at the bottom-right of the selected cell) to copy data or formulas down the column.
- Ensure your data is clean and formatted correctly for better organization and analysis.
Step 3: Using the COUNTIF Function

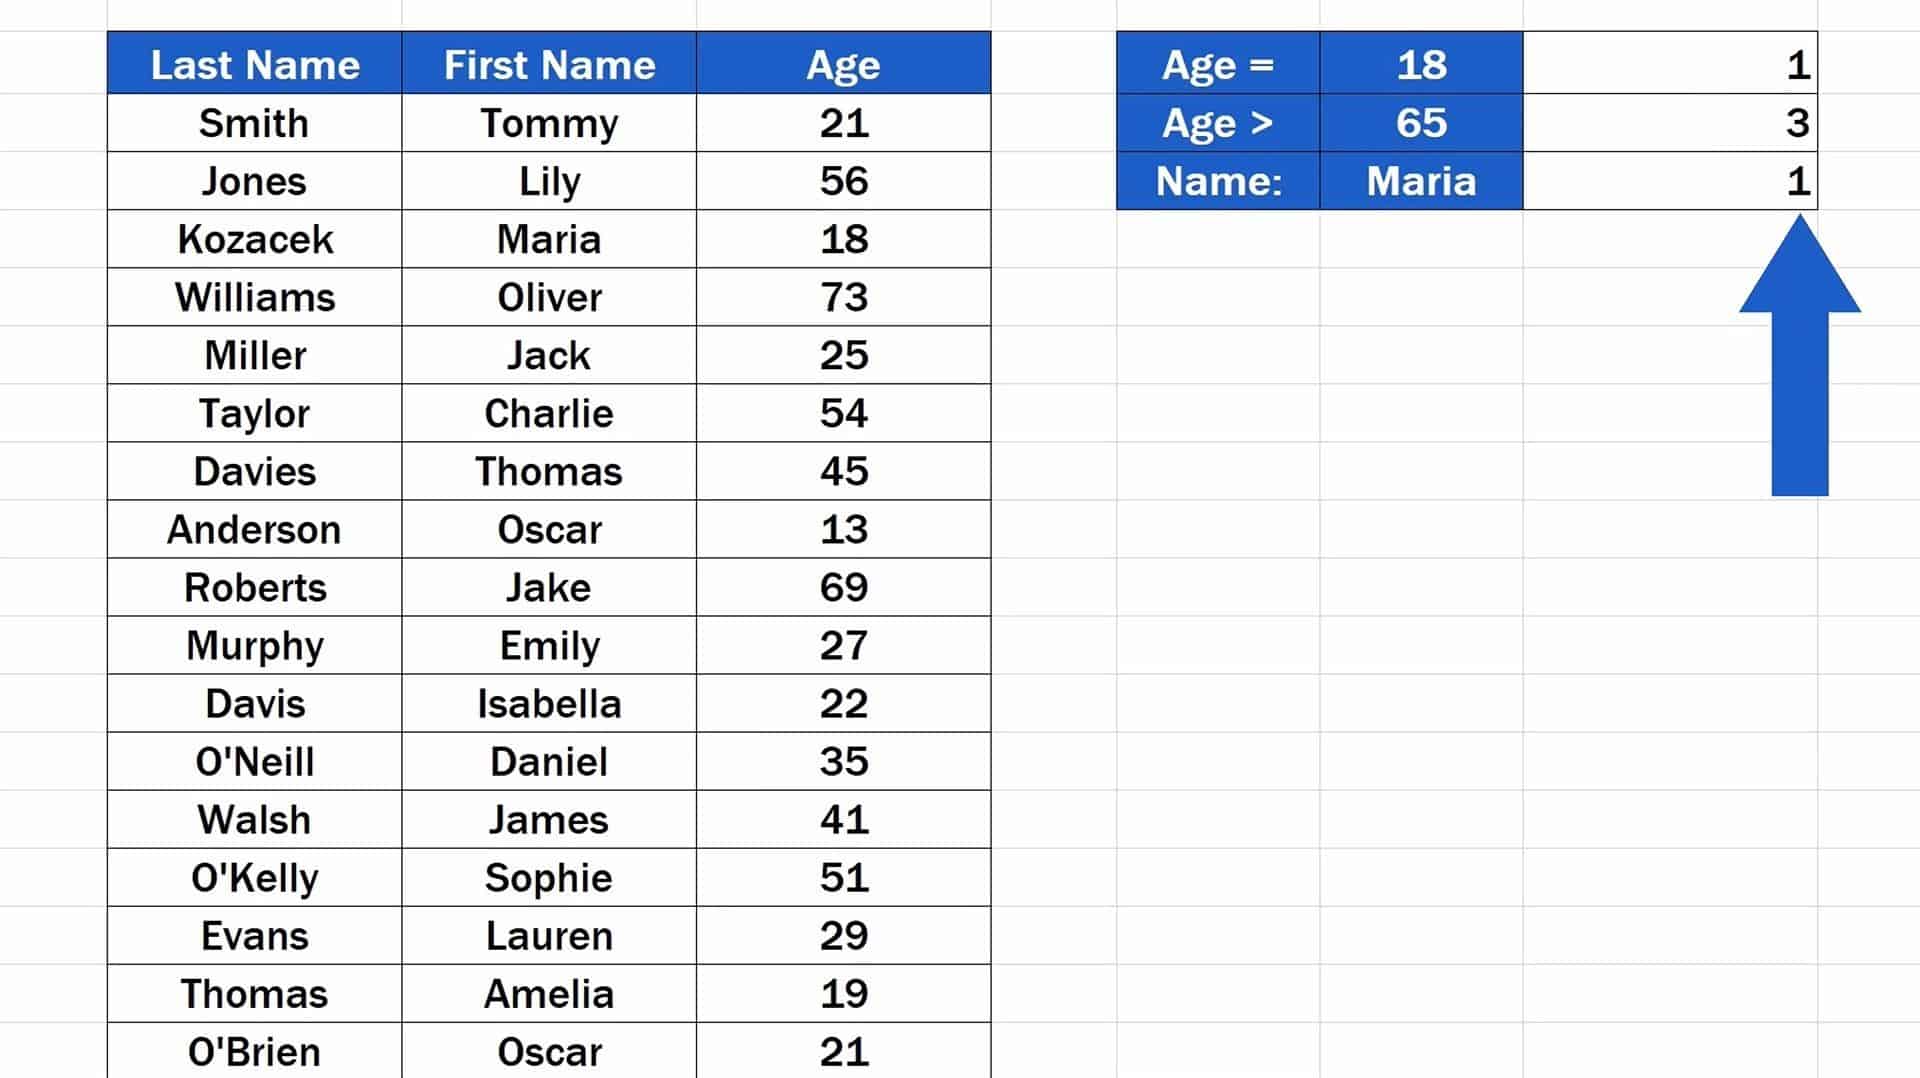
The COUNTIF function in Excel allows you to count the number of cells that meet a specified condition. Here’s how you can use it:
- Click in the cell where you want the result of your count to appear.
- Type in the following formula:
=COUNTIF(range, criteria)
Replace range with the cells you want to count within, and criteria with the condition to count. - For example, to count how many times “Widgets” appears in column A, you might use:
=COUNTIF(A2:A100, “Widgets”)
Step 4: Sorting and Filtering Data

Sorting and filtering can help you manage your counting:
- Sort: Click the header of the column you want to sort by, and then choose “Sort A to Z” or “Sort Z to A” from the Excel options.
- Filter: Click the filter icon in the header row to toggle filters. This will allow you to hide or show specific entries based on criteria you set.
- Use this to count occurrences within specific subsets of your data easily.
Step 5: AutoSum for Quick Totals

Use Excel’s AutoSum feature to get quick totals:
- Select the cell below the column where you want the sum to appear.
- Click on the AutoSum button in the “Home” tab or use the shortcut Alt + =.
- Excel will automatically suggest the range to sum; press Enter if it’s correct, or adjust the range manually.
📏 Note: AutoSum can also be used to count with the COUNT function, which will count the number of cells with numbers in the range selected.
This simple yet effective Excel sheet setup will help you track and count various types of data with ease. Here's a quick table summarizing the steps:
| Step | Description |
|---|---|
| 1 | Open Excel and set up headers. |
| 2 | Enter and format your data accurately. |
| 3 | Use COUNTIF for custom counting. |
| 4 | Sort and filter for better data management. |
| 5 | AutoSum for quick totals and counts. |

In summary, these five steps provide a solid foundation for anyone looking to create a counting Excel sheet. From setting up your workbook to using advanced functions like COUNTIF, you've learned how to make your data work for you in Excel. Whether for business, personal finance, or hobby projects, these skills will empower you to handle your data more effectively.
What if my data range changes frequently?

+
To adapt to changes in your data range, use named ranges or dynamic ranges in Excel. You can name ranges for easy reference or define them using functions like OFFSET or INDEX for dynamic updating.
Can I automate Excel to perform these counting tasks daily?

+
Yes, you can automate many tasks in Excel using VBA (Visual Basic for Applications). Macros can be written to automate counting, updating, and even opening specific files daily. However, basic Excel functionality already provides significant automation through features like AutoSum and COUNTIF.
How do I count items only in a certain category?

+
Use COUNTIFS for this purpose, which allows you to set multiple criteria. For instance, to count “Widgets” in category “Electronics,” use:
=COUNTIFS(A2:A100, “Widgets”, B2:B100, “Electronics”)


