Lock Excel Cells with Ease: Step-by-Step Guide

🔐 Note: This tutorial will help you lock cells in Microsoft Excel effectively, ensuring your data remains secure and your spreadsheets function as intended.
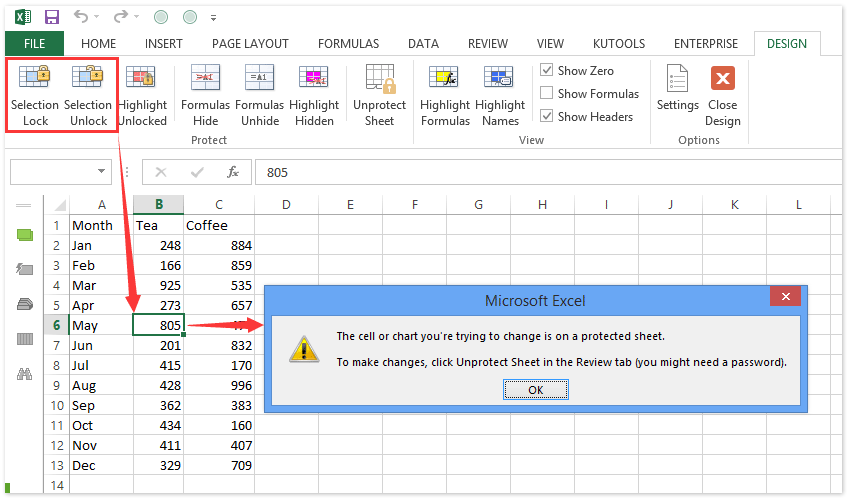
Excel, a fundamental tool for countless businesses and individuals, offers robust features for data protection through cell locking. Whether you’re protecting formulas, preventing accidental edits, or maintaining data integrity, knowing how to lock cells in Excel can be pivotal. This guide will walk you through the process, ensuring even beginners can protect their spreadsheets with confidence.
Why Lock Cells in Excel?

Before diving into the process, understanding why you might want to lock cells is crucial:
- Data Protection: Locking cells prevents users from changing critical data or formulas.
- Formula Integrity: Keep your complex calculations safe from accidental or intentional modifications.
- User Experience: Control what parts of the spreadsheet users can interact with, enhancing usability.
Preparing Your Spreadsheet

Step 1: Open Your Excel File

Start by opening your Excel document. If you’re creating a new sheet, consider planning which cells should remain editable and which should be locked.
Step 2: Select Cells for Editing

By default, all cells in Excel are locked, but this protection is inactive until you protect the worksheet:
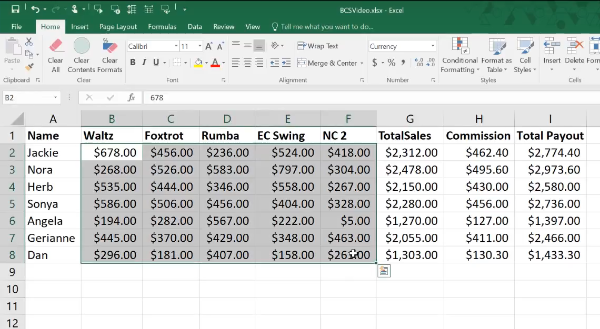
- Click and drag to highlight cells you want users to edit.
- Right-click and select Format Cells or press Ctrl+1 for a shortcut.
Step 3: Unprotect Specific Cells

In the Format Cells dialog:
- Navigate to the Protection tab.
- Uncheck the Locked option.
🔓 Note: Cells that remain locked after this step will only be secured when you protect the sheet.
Locking the Cells

Step 4: Protect the Worksheet

After setting your editable cells:
Review tab > Protect Sheet button.
In the Protect Sheet dialog:
- Ensure Select locked cells and Select unlocked cells are checked to allow navigation without editing.
Here’s a table of common permission settings:
| Permission | Description |
|---|---|
| Select unlocked cells | Allows users to highlight any cell |
| Format cells | Lets users change appearance but not data |
| Insert columns/rows | Permits modification of sheet structure |

Step 5: Set a Password (Optional)

For an added layer of security:
- Enter a password to prevent sheet unprotection.
🔑 Note: If you set a password, ensure it's memorable or stored securely; there is no way to recover it if forgotten.
Best Practices for Cell Locking

- Locking Formulas: Use cell locking to prevent accidental overwrites of your formulas.
- Tiered Access: Implement different protection levels for various users based on their needs.
- Regular Updates: Periodically review and adjust protections as your data or user base changes.
Undo Protection

If you need to make changes to a protected sheet:
- Review tab > Unprotect Sheet.
- If a password was set, enter it here.
In conclusion, mastering cell locking in Excel provides users with greater control over their spreadsheets. Whether you’re managing a small personal project or coordinating complex datasets for business analytics, ensuring your data is protected can prevent costly mistakes, maintain data integrity, and enhance the user experience. It’s a simple yet powerful tool in your Excel toolkit.
Can I lock cells without protecting the entire sheet?

+
Yes, but the lock will only be effective when you protect the sheet. Without sheet protection, cell locking has no effect.
How do I know which cells are locked?

+
To check, go to Format Cells > Protection tab. If “Locked” is checked, the cell is locked, but remember this only applies when the sheet is protected.
What if I forget the password to unprotect my sheet?

+
Unfortunately, Excel doesn’t provide a built-in recovery tool for forgotten passwords. Consider using password managers or recovery tools available online, but be cautious about security implications.


