5 Easy Steps to Create a Check Sheet in Excel

In today's business environment, efficiency and accuracy are paramount. One of the simplest yet most effective tools for tracking data is a check sheet in Microsoft Excel. Whether you're monitoring product defects, tracking employee attendance, or managing inventory, Excel offers an intuitive platform for creating a well-organized check sheet. Here are five easy steps to guide you through the process:
Step 1: Open a New Excel Workbook

First, launch Excel on your computer. Create a new workbook by selecting 'File' from the top menu, then 'New', and finally choosing 'Blank workbook'. This will provide a clean canvas for your check sheet.
💡 Note: Save your workbook periodically to avoid losing your work. Use the shortcut Ctrl+S or click on 'File' then 'Save'.
Step 2: Set Up the Layout

When planning your check sheet, consider what data you'll track:
- Defect Types: For quality control check sheets.
- Time Periods: If you're tracking defects over specific time frames.
- Location: If the data is location-specific.
- User/Employee: For attendance or task completion sheets.
Structure your Excel sheet by:
- Adding columns headers at the top to categorize your data.
- Adding row headers to the left to specify what each row represents.
Here's a simple example:
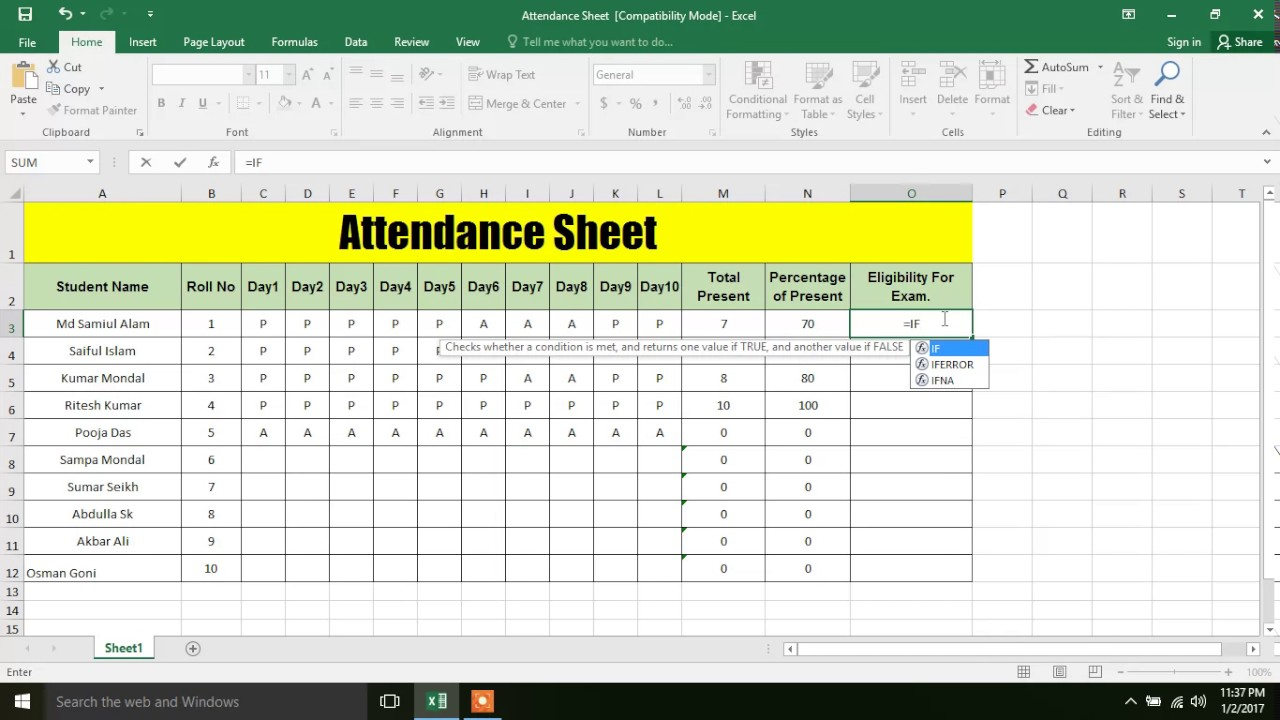
| Defect Type | Date | Time | Location | Employee |
|---|---|---|---|---|
| Crack | 01/05/2023 | 08:00 AM | Factory 1 | John Doe |
| Scrape | 02/05/2023 | 10:30 AM | Factory 2 | Jane Smith |

Step 3: Format Your Check Sheet

Excel provides numerous formatting tools to make your check sheet visually appealing and easier to understand:
- Bold Headers: Bold the headers for emphasis.
- Color Coding: Use color for better differentiation of data categories or defects.
- Data Validation: Use Excel's Data Validation feature to limit the entries in cells to a predefined list or range. For example, you can use drop-down lists for defect types or employee names.
Step 4: Enter and Collect Data

With your check sheet ready, enter the data as it occurs:
- Use the structured format to input data accurately.
- If you're doing this live, you might want to update the sheet in real-time or schedule specific times for updates.
🔍 Note: Use the 'Tab' key to move between cells efficiently.
Step 5: Analyze Your Data

Once you've collected enough data, analyze it to glean insights:
- Use Excel formulas for calculations like SUM, AVERAGE, or COUNTIF to summarize your data.
- Create charts or tables to visualize trends or patterns. A PivotTable can be especially useful for summarizing and analyzing large datasets.
Throughout this process, Excel's versatility allows for customization according to your specific needs. Here are some key points to remember:
- Keep the check sheet simple for ease of use and accuracy.
- Ensure the data you're tracking is relevant to your goals.
- Regularly review and update the check sheet to keep it current.
In the end, creating a check sheet in Excel is about setting up a system that promotes consistency, reduces errors, and provides valuable insights into your operations or processes. Excel’s tools, from data validation to dynamic charts, make it an ideal choice for anyone looking to improve their workflow management or quality control processes.
What is the primary purpose of a check sheet in Excel?

+
The primary purpose of a check sheet in Excel is to provide a simple tool for collecting, organizing, and analyzing data in a structured format, which helps in tracking, monitoring, and improving various processes or projects.
Can I automate data entry in my Excel check sheet?

+
Yes, you can automate data entry to some extent by using data validation for predefined inputs, macros for routine tasks, or even VBA scripts for more complex automation. However, direct entry remains the most common approach for custom or one-time data.
How often should I update my check sheet?

+
Update frequency depends on the purpose of the check sheet. For real-time monitoring, updates should be made as soon as possible. For less time-sensitive data, daily or weekly updates might suffice. Always consider how actionable the information needs to be.


