5 Easy Steps to Convert Excel Sheets to Photos

In today's digital era, converting Excel sheets into photos has become an essential skill for many professionals. Whether you're sharing data visually, architating spreadsheets for easy access, or enhancing presentation materials, converting Excel files into photos can make a significant difference. Here's a straightforward guide on how to achieve this transformation in just five easy steps.
Step 1: Prepare Your Excel Sheet for Conversion

Before you start the conversion process, it’s crucial to ensure your Excel sheet is ready for conversion:
- Remove Sensitive Information: Clear out or hide any sensitive data that should not appear in the final image.
- Format Your Sheet: Ensure the sheet has a professional and clear appearance. Adjust fonts, cell sizes, and colors for optimal viewing in photo format.
- Check for Errors: Go through the spreadsheet to verify all calculations and data are correct.
- Expand Columns and Rows: Make sure all necessary data is visible by expanding any columns or rows if needed.
⚠️ Note: Remember to save your workbook to avoid losing any unsaved changes during the conversion process.
Step 2: Use Excel’s Built-in Print Feature

Excel offers a built-in option to print your spreadsheet as a PDF or directly to a photo:
- Open your Excel workbook.
- Go to the ‘File’ tab and select ‘Print’.
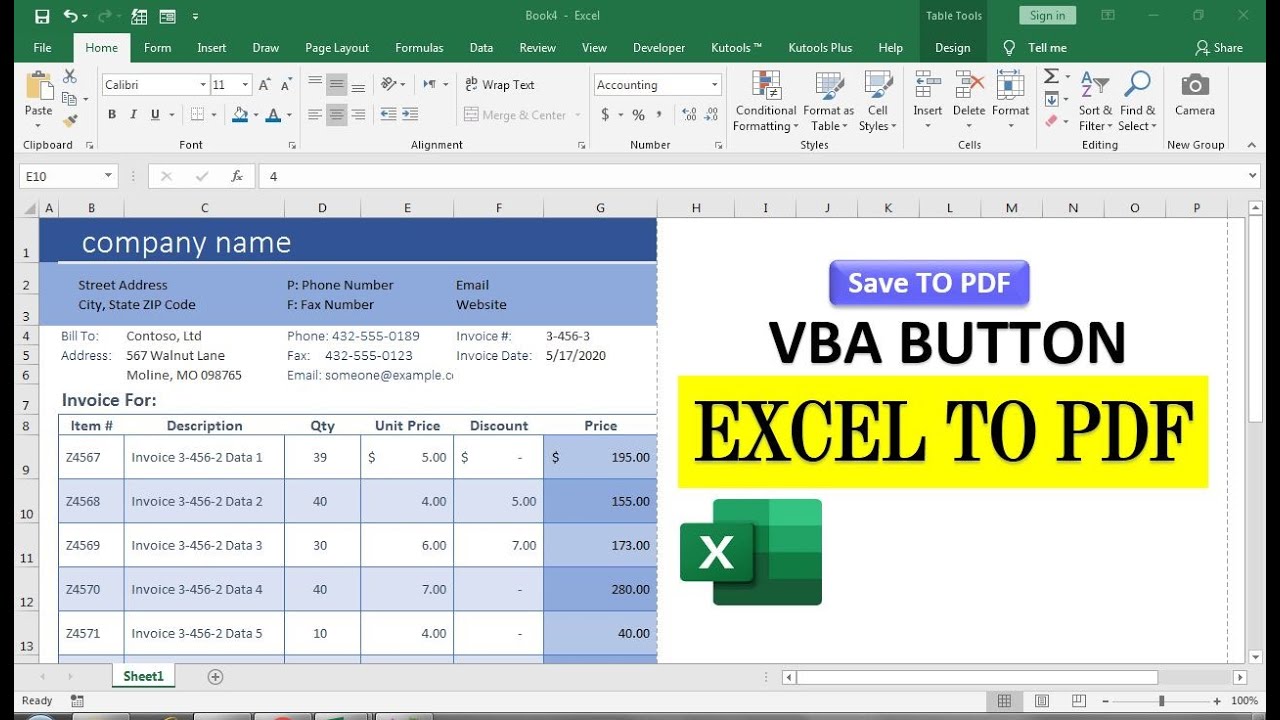
- In the ‘Printer’ dropdown, choose ‘Microsoft Print to PDF’ or your preferred PDF printer.
- Click on ‘Print’. A PDF version of your spreadsheet will be created.
Now, with your PDF file ready, you can proceed to convert it to a photo format.
Step 3: Convert PDF to Image

Converting a PDF to an image can be done with various online tools or software:
- Online Tools: Websites like SmallPDF, PDF2Go, or Adobe Acrobat’s online services offer PDF to image conversion.
- Desktop Software: Programs like Adobe Acrobat, Foxit, or even Photoshop can export PDF files to image formats like JPG or PNG.
🖼️ Note: Online tools might require you to upload your file to their servers, so be mindful of the privacy and security of your data.
Step 4: Edit Your Image

Once you have your image, you might want to:
- Resize: Adjust the image size for better visibility or to fit specific requirements.
- Crop: Remove any unnecessary elements or focus on a specific part of the spreadsheet.
- Add Annotations: Use an image editor like Photoshop or GIMP to highlight key data or add explanatory notes.
📝 Note: Keep your edits simple and professional to maintain the clarity and integrity of the original data.
Step 5: Share or Save Your Converted Photo

Now that your Excel sheet is in a photo format:
- Save the Image: Choose the file format (JPG, PNG, etc.) and save your image to your preferred location.
- Share the Image: You can upload the photo to your website, send it via email, or share it through cloud storage services.
By following these five steps, you can easily convert your Excel spreadsheets into photos, making data sharing more accessible and visually appealing. Whether for presentations, reports, or simply for archiving, this method ensures your data remains accessible and well-presented. Remember, while the process is straightforward, careful preparation and attention to detail will yield the best results.
Why would I want to convert my Excel sheet to a photo?

+
Converting an Excel sheet to a photo can be useful for presenting data visually, archiving spreadsheets in a non-editable format, or for sharing on platforms where only image uploads are allowed.
Can I convert an Excel sheet to an image without using third-party tools?

+
Yes, by using Excel’s built-in print to PDF function and then converting the PDF to an image with online or software tools.
Will converting my Excel sheet to an image preserve all the formatting?

+
Formatting generally remains intact when converting to a PDF first. However, when converting from PDF to an image, you might lose some fine details like cell borders or very small text.
What are some security considerations when converting Excel sheets to images?

+
Be cautious with online conversion tools as they require uploading sensitive data. Always remove or hide sensitive information before conversion, and opt for tools or software that ensure data privacy.


