5 Easy Steps to Create a Collaborative Excel Sheet

Understanding Collaborative Excel Sheets

Before we delve into the practical steps, let's briefly explore the importance of collaborative Excel sheets. Collaborative Excel sheets are an essential tool for teams working on projects, financial reports, schedules, or any data that requires real-time input and updates. Whether you're managing a large-scale project or simply need to track a family budget with shared responsibilities, the ability to work simultaneously in a document is invaluable. Excel Online and OneDrive make this possible by allowing multiple users to edit, comment, and review spreadsheets together, boosting productivity and ensuring everyone is on the same page.
Step 1: Accessing and Creating Your Excel Sheet Online

To start using a collaborative Excel sheet, you first need to access Excel through the web:
- Visit office.com, then log in with your Microsoft account.
- Select Excel from the available apps, or click "Upload and Open" if you already have a local Excel file.
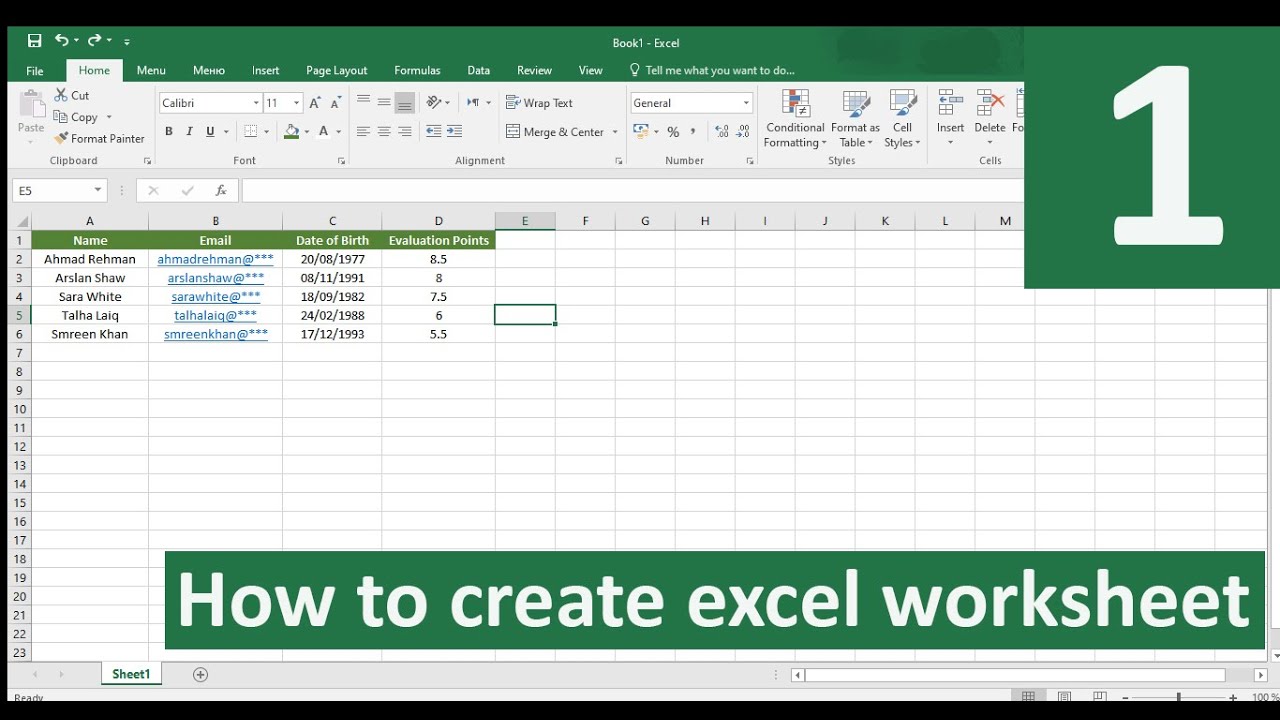
- You can either create a new blank workbook or open an existing file.
Once your document is open, you are ready to set it up for collaboration.
Step 2: Sharing the Document

With your Excel sheet prepared, let's make it accessible for collaboration:
- Click on the Share button in the top right corner of the screen.
- Choose to invite people directly or get a shareable link.
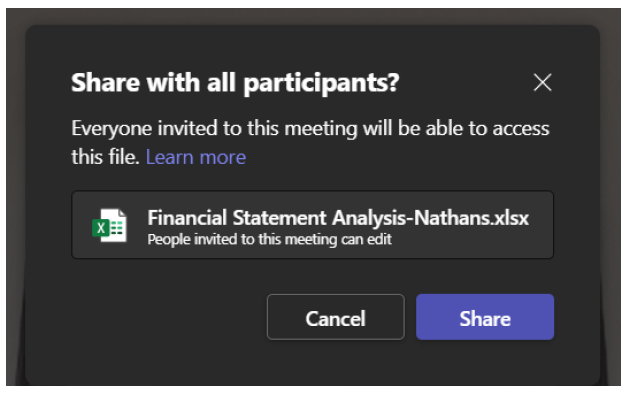
- When sharing, specify who can edit the document. You can:
- Allow anyone with the link to edit.
- Share with specific people and set permissions.
- Send an invitation email or copy the link to share manually.
- Remember to change the permission from "view" to "edit" if you want users to contribute to the document.
Step 3: Collaborative Editing and Changes

Collaborative editing in Excel Online involves several features:
- Real-time collaboration: Multiple users can edit the document simultaneously. Each user's changes are tracked with different colors.
- Comments: Use comments to communicate ideas, questions, or suggestions directly on the spreadsheet.
- Change History: View the history of changes made by all users, allowing you to track edits or revert back if necessary.
- File Locking: If you want to work on a sheet without interruptions, you can lock a range of cells or entire sheets.
Step 4: Version Control

Excel Online maintains a version history for your documents:
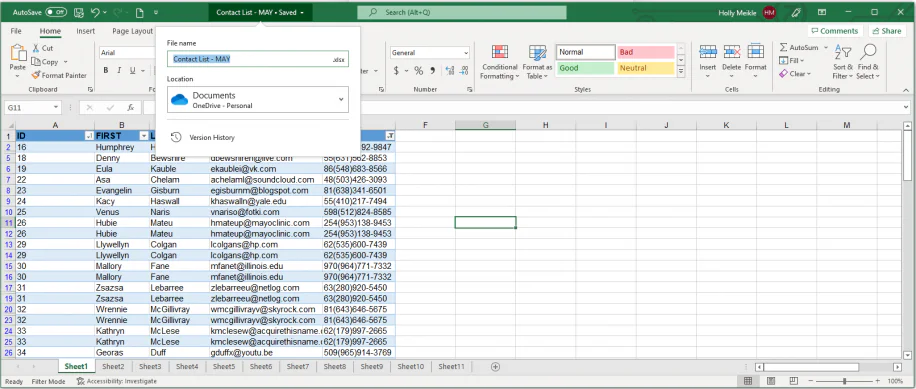
- Navigate to File > Info > Version History to see past versions of your file.
- You can compare versions or restore older versions if needed.
- This feature is particularly useful for tracking changes, ensuring accountability, and managing documents over time.
Step 5: Synchronization and Conflict Resolution

When multiple users work on the same document, conflicts may arise. Here's how Excel handles this:
- Automatic Syncing: Changes are synced to OneDrive in real-time, ensuring everyone has the latest version.
- Conflict Resolution: If two users edit the same cell, Excel displays both versions, allowing you to choose which change to keep or merge the changes.
👉 Note: Always save frequently, especially when working with multiple users to avoid data loss. Use the "Review" tab to view changes in the Track Changes feature if conflicts occur.
Throughout this journey of setting up and managing a collaborative Excel sheet, you’ll find that the process fosters a collaborative work environment, reduces the need for multiple versions of the same document, and ensures everyone has access to real-time data. By understanding and utilizing these features, you’ll enhance your team’s productivity and streamline data management effectively.
Can you set different permissions for different users in Excel Online?

+
Yes, when sharing your Excel sheet, you can set permissions like “Edit”, “View”, or “Share” for each individual or group of users. This allows you to control who can make changes, who can only see the data, and who can further share the document.
What should I do if I accidentally overwrite someone else’s changes in a collaborative sheet?

+
Excel Online’s version history feature allows you to restore earlier versions of the document. If you catch the mistake quickly, you can compare versions and manually merge changes or restore the earlier version.
How can I manage concurrent edits to prevent data loss or confusion?

+
Excel handles concurrent edits by showing multiple versions of conflicting changes. You can then choose which edit to keep or resolve conflicts manually. Also, using the “Review” tab to track changes can help in monitoring edits. If you need to, lock specific cells or sheets to prevent unintended changes.


