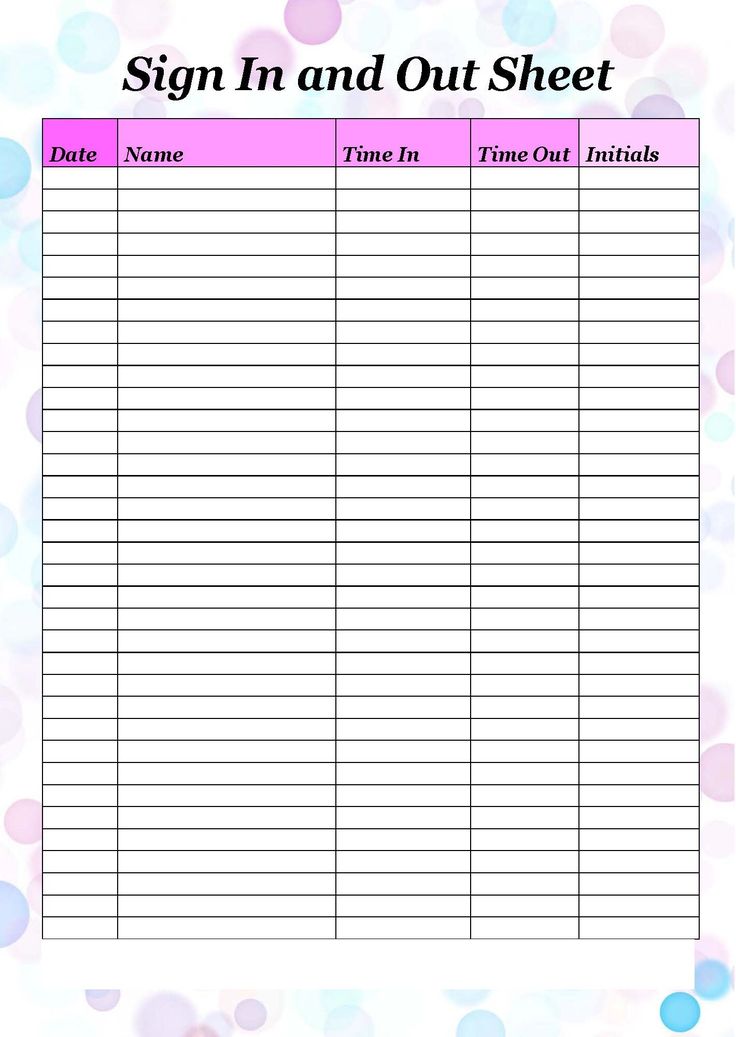
5 Simple Steps to Create a Sign-Out Sheet in Excel

Keeping track of attendance or sign-in and sign-out times for events, meetings, or even daily office operations can streamline organization and management. Excel, a powerful tool from Microsoft's suite of applications, offers a straightforward way to create efficient sign-out sheets tailored to your needs. Here, we'll guide you through five simple steps to create an effective and user-friendly sign-out sheet.
Step 1: Planning Your Sign-Out Sheet

Before diving into Excel, take a moment to plan:
- Identify the Purpose: Determine whether it’s for a daily sign-out, an event, or a specific activity.
- Required Fields: What information do you need? Common entries include name, date, time in/out, reason for signing out, and signature.
- Formatting Needs: Do you require headers, drop-down menus, or any special formatting?
Step 2: Set Up Your Excel Worksheet

Once you’ve planned your sheet, it’s time to set it up:
- Open Excel and create a new workbook.
- Choose Table Design from the ribbon to format your table.
- Create headers for your columns. Here’s how your Excel table might look:
| Name | Date | Time In | Time Out | Reason | Signature |
|---|---|---|---|---|---|
| [Name Here] | [Date Here] | [Time In Here] | [Time Out Here] | [Reason Here] | [Signature Here] |

Step 3: Customizing Your Sheet with Formulas and Features

To make your sign-out sheet more interactive:
- Date Field: Use Excel’s built-in functions like
=TODAY()to automatically fill in the date. - Time Fields: Use
=NOW()to capture the current time automatically when an entry is made. - Drop-Down Lists: For the reason field, set up a list of common reasons using Data Validation, so users can choose from a drop-down menu.
- Data Protection: Protect certain cells or columns to prevent accidental changes.
Step 4: Formatting for Readability

Enhance the usability and aesthetic appeal of your sign-out sheet:
- Colors and Fonts: Use contrasting colors for headers, choose legible fonts, and apply borders for clarity.
- Freeze Panes: Freeze the top row or first column to keep headers visible while scrolling.
- Conditional Formatting: Apply this to highlight entries that meet specific conditions, like late arrivals or early departures.
Step 5: Testing and Distribution

Before going live with your sign-out sheet:
- Test all features, especially the formulas and drop-down lists.
- Ensure users can input data correctly and that the sheet functions as intended.
- Share or distribute your sign-out sheet. You can either print it for manual filling or use Excel Online for digital sign-out.
💡 Note: If using the sheet digitally, consider enabling tracking changes to monitor modifications and who made them.
In crafting this sign-out sheet, you’ve taken steps towards improving organization and efficiency. With Excel, you have a tool that not only records necessary data but also enhances the user experience through its dynamic capabilities. Whether for event management or daily office tracking, this sign-out sheet serves as an excellent example of how a simple Excel sheet can be a powerful asset.
Can I use Excel to automatically calculate time spent?

+
Yes, you can use a formula like =C2-B2 (assuming time in is in column B and time out is in column C) to calculate the time difference between sign-in and sign-out times.
How do I protect sensitive data in the sign-out sheet?

+
Use Excel’s ‘Protect Sheet’ feature to lock cells that contain formulas or critical data. Only allow specific cells for data entry by users.
Can this sign-out sheet be used on mobile devices?

+
Yes, with Excel Online or the Excel mobile app, you can fill out the sign-out sheet on any device with web access or the installed app.


