Lock Multiple Excel Cells Easily: Step-by-Step Guide

Excel spreadsheets can be powerful tools for data analysis, financial planning, and much more. However, when you share your workbook with others, it's crucial to ensure that important data or formulas are not accidentally or maliciously altered. One of the best ways to prevent this is by locking specific cells within your spreadsheet. In this comprehensive guide, we will walk you through the steps to lock multiple Excel cells quickly and effectively.
Understanding Excel's Protection Features

Before we delve into the locking process, let's briefly discuss what Excel's protection features offer:
- Workbook Protection: This restricts users from adding, deleting, moving, renaming, hiding, or viewing sheets in the workbook.
- Worksheet Protection: This prevents changes to the structure or content of a specific worksheet, including moving, deleting, or editing specific cells or formulas.
- Cell Protection: Excel lets you lock individual cells or a range of cells to prevent editing, although this feature is only active when worksheet protection is enabled.
Steps to Lock Multiple Cells in Excel

Step 1: Selecting Cells to Lock

Begin by opening your Excel workbook:
- Identify which cells you wish to protect.
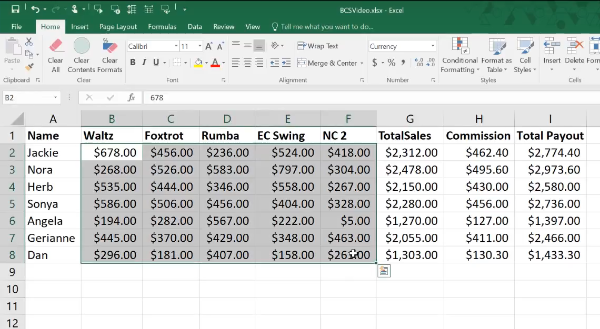
- Click and drag your mouse to select the cells. For non-adjacent cells, hold down the Ctrl key while selecting.
Step 2: Formatting Locked Cells

Now, lock the selected cells:
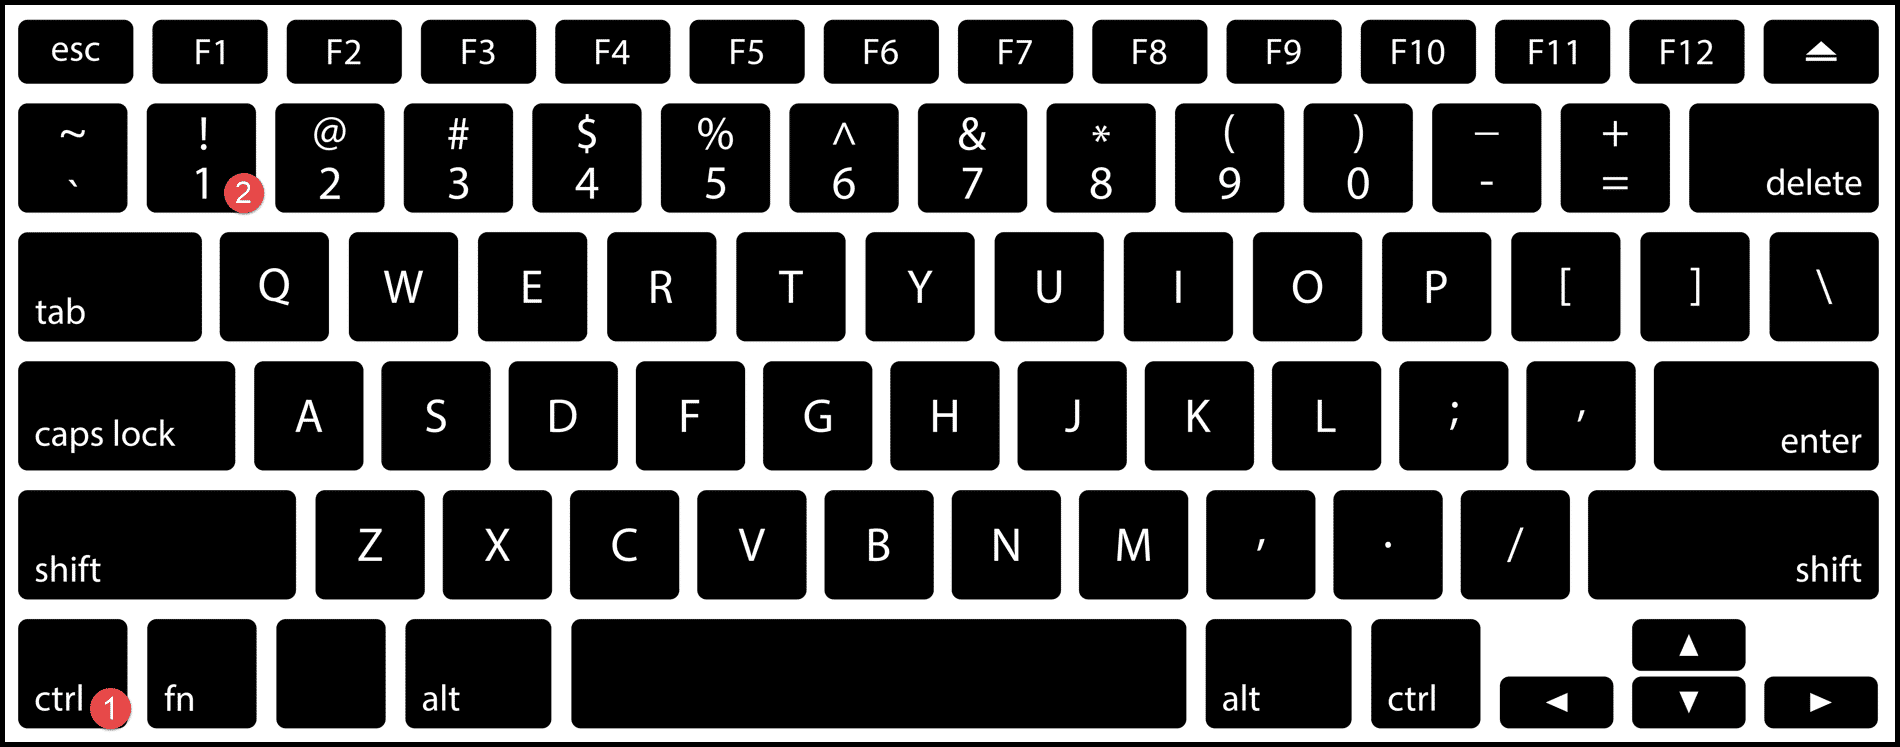
- Right-click on one of the selected cells and choose “Format Cells” or press Ctrl + 1.
- In the Format Cells dialog, navigate to the “Protection” tab.
- Ensure the “Locked” checkbox is checked. By default, all cells are locked, but this setting does not apply unless sheet protection is activated.
Step 3: Unlock Unprotected Cells

To lock only certain cells while allowing others to be editable:
- Select the entire worksheet by pressing Ctrl + A.
- Open “Format Cells” and uncheck the “Locked” option. This action will unlock all cells.
- Now, only select the cells you wish to lock, and repeat the lock process as described in Step 2.
Step 4: Protecting the Worksheet

Once your cells are formatted:
- Go to the “Review” tab in the Excel ribbon.
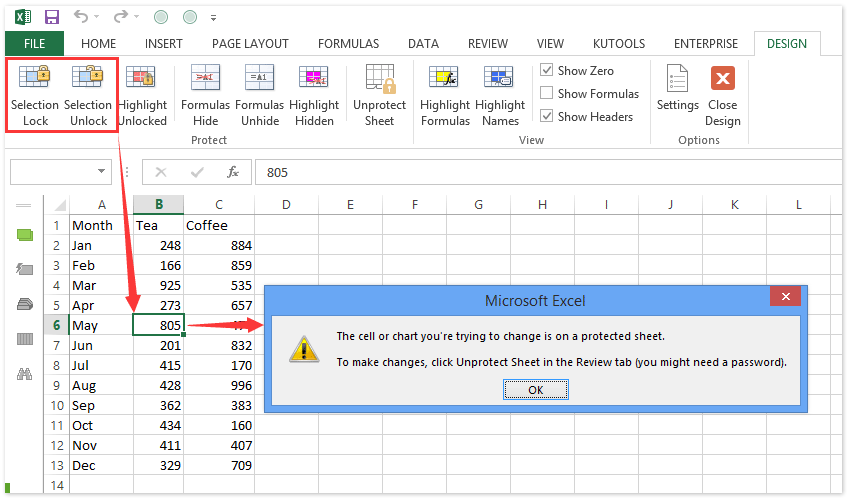
- Click “Protect Sheet.”
- Set a password if you want to prevent users from unprotecting the sheet.
- Allow users to perform certain actions by checking appropriate options in the “Allow all users of this worksheet to:” section.
- Click “OK” to apply protection.
Now, only the cells you locked will be protected from editing.
Step 5: Unprotecting or Modifying Protected Sheets

To modify protection settings or unlock a protected sheet:
- If you set a password, enter it to unprotect the sheet.
- If no password was set, simply click “Unprotect Sheet” under the “Review” tab.
- To change which cells are locked, you’ll need to unlock the sheet first, modify cell protection, and re-apply protection.
⚠️ Note: Remember your password as you will need it to make any changes to the protected sheet in the future.
Advanced Tips for Cell Protection

- Protect Formulas: You can hide formulas by selecting the cells and under “Format Cells,” checking the “Hidden” option on the Protection tab. This will hide the formula bar content when the sheet is protected.
- Read-Only Mode: Save your workbook as read-only to prevent any changes without an explicit save or open permission.
- Using VBA: For more complex protection scenarios, you can use VBA to automate and customize protection settings.
Common Scenarios for Locking Cells

Here are some common use cases where locking cells is beneficial:
| Scenario | Purpose of Locking |
|---|---|
| Financial Reports | Lock cells with formulas or sensitive financial data to prevent accidental modifications. |
| Employee Timesheets | Lock the hours worked, formulas for calculating pay, and personal data to maintain integrity. |
| Data Entry Forms | Keep headers, dropdowns, or instructional cells locked while allowing data entry in specific cells. |
| Inventory Management | Lock stock levels or sales figures to ensure the data is accurate and unchanged by unauthorized users. |

By mastering these techniques, you can maintain control over your Excel workbook, ensuring data accuracy and preventing unauthorized changes. In turn, this will boost productivity, increase data integrity, and provide a better collaborative environment for users working with your spreadsheets.
Now that you've learned how to lock cells in Excel, you'll be able to manage your documents with greater confidence and control. By following these steps and understanding Excel's built-in security features, you can protect your valuable data effectively while allowing others to interact with your spreadsheets as intended.
Can I lock cells in a shared workbook?

+
Yes, you can lock cells in a shared workbook, but keep in mind that users can still change or add data to unlocked cells. Sharing a workbook makes it possible for multiple users to make edits simultaneously, but it can introduce conflicts if not managed properly.
What happens if I forget the password to unprotect a sheet?

+
Unfortunately, if you forget the password, Excel does not provide a built-in way to recover or reset it. You’ll need to either remember the password or seek third-party tools, which can sometimes retrieve or remove the password. Always keep your password in a safe place.
How can I lock cells based on certain criteria?

+
For criteria-based locking, you would need to use VBA. With VBA, you can write a script to automatically lock cells based on specific conditions like values, data types, or other parameters. This requires some programming knowledge, but it provides very flexible protection options.
Is it possible to lock cells but allow users to sort or filter the data?
+
Yes, when you protect a worksheet, you can check the options “Allow users of this worksheet to:” to permit sorting and filtering. This way, users can interact with data but cannot edit protected cells.
Can locking cells prevent accidental deletion of rows or columns?
+
Protecting the entire worksheet with the “Delete rows” or “Delete columns” permissions unchecked will prevent users from deleting rows or columns, even if the cells within those rows or columns are unlocked.


