5 Ways to Lock Excel Sheet from Moving

When working with Microsoft Excel, one often encounters situations where cell data movement can disrupt the accuracy or integrity of your work. Here are five reliable methods to lock your Excel sheets from unintended data movement:
1. Freezing Panes

Freezing panes is an effective way to keep row and column headings stationary, allowing for easier navigation within larger spreadsheets:
- Select the cell below the row and right to the column you wish to freeze.
- Go to the View tab on the ribbon.
- Select Freeze Panes from the Window group, then choose Freeze Panes.
📝 Note: When you freeze panes, Excel only freezes columns to the left and rows above your chosen cell. The rest of the sheet remains scrollable.
2. Protecting Sheets

Sheet protection allows you to prevent users from modifying or moving data, including locking cells:
- Select the worksheet you want to protect by clicking on its tab.
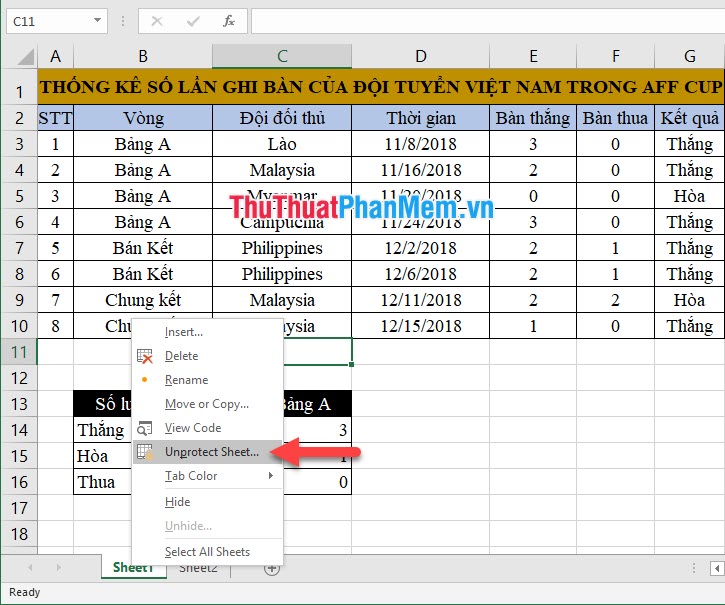
- Click on Review > Protect Sheet from the ribbon.
- Set a password if required, and specify what actions users can perform.
| Action | Checkbox |
|---|---|
| Select locked cells | Yes |
| Select unlocked cells | No |
| Format cells | No |
| Sort | No |

💡 Note: Remember, sheet protection also locks cells, so ensure you unlock necessary cells before applying protection.
3. Locking Cells

Locking individual cells can provide a more granular level of control over your spreadsheet:
- Select the cells you wish to lock.
- Right-click and choose Format Cells, go to the Protection tab.
- Check the Locked option, then apply sheet protection as described above.
4. Using Cell Anchoring

To prevent formulas from moving when you insert or delete rows and columns, use cell anchoring:
- Enter your formula, and when referencing cells, use $ signs. For example,
$A$1orA$1. - Press F4 on your keyboard while editing the cell reference to cycle through relative and absolute references.
5. Split Panes

Instead of freezing, splitting panes can also help maintain key data in view:
- Select the cell where you want the split to occur.
- Go to the View tab, and click on Split in the Window group.
Summing up, these five methods offer you different approaches to ensure that your Excel sheets remain locked and your data remains where you want it:
- Freeze Panes keeps headings in place.
- Protect Sheets locks the entire sheet for security.
- Lock Cells controls specific cells' movement.
- Cell Anchoring prevents formula shifts.
- Split Panes provides simultaneous views for different data sections.
By utilizing these techniques, your spreadsheets will be more user-friendly, and your work more secure. In practice, you might find a combination of these methods most effective for your particular Excel work environment.
Can I still sort or filter data on a protected Excel sheet?

+
Yes, you can sort or filter data if you allow these actions when you protect the sheet. Ensure you tick the relevant checkboxes during the protection process.
What is the difference between freezing panes and splitting panes?

+
Freezing panes locks certain rows or columns in place, while splitting panes divides your sheet into multiple scrollable sections, where you can view different parts of the sheet simultaneously.
Is it possible to protect part of a worksheet?

+
Yes, by locking specific cells or ranges and then protecting the entire sheet, you can control access to particular areas of your worksheet while allowing modifications in others.
How do I make my formulas ‘move-proof’?

+
Use absolute cell references in your formulas by incorporating $ signs or use named ranges to prevent formulas from shifting when data moves around.
Will locking cells prevent accidental data loss?

+
Locking cells can prevent accidental modifications, but for preventing data loss, regular backups and autosave features are advisable.


