Lock Your Excel Sheet to Prevent Editing Easily

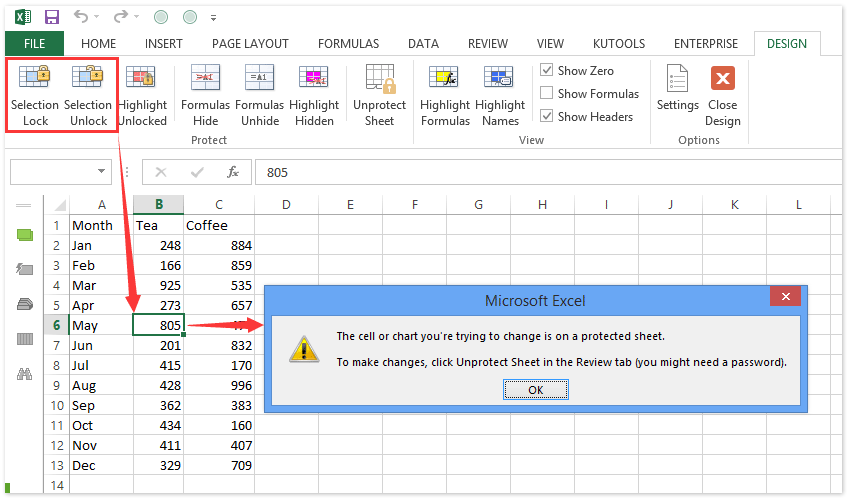
Managing and safeguarding data within Excel spreadsheets is crucial, especially when sharing them with others. Excel provides several features to help lock your sheet, thereby protecting the data from unauthorized changes, while still allowing viewing. In this comprehensive guide, we'll explore multiple methods to lock your Excel sheet and share tips on how to do it efficiently.
Why Lock an Excel Sheet?

- Data Integrity: Ensures that your data remains unchanged by anyone other than those with edit permissions.
- Control: Gives you control over who can modify the spreadsheet, reducing the risk of errors.
- Privacy: Protects sensitive information from being altered or viewed by unauthorized individuals.
Methods to Lock an Excel Sheet

Password Protection

To lock your Excel sheet with a password, follow these steps:
- Select the Sheet: Click on the sheet tab you wish to lock.
- Go to the Review Tab: In Excel, navigate to the ‘Review’ tab.
- Protect Sheet: Click on ‘Protect Sheet’. You’ll be prompted to enter a password.
- Enter Password: Type in your desired password, then re-enter it for confirmation.
- Set Permissions: Optionally, you can select what users are allowed to do even when the sheet is locked.
- Save: Save the workbook to apply the protection.
🔒 Note: Remember your password! If you forget it, Microsoft support can't recover it for you.
Using Workbook Protection

If you need to lock the entire workbook rather than just one sheet, here’s how:
- Go to Review: Again, click on the ‘Review’ tab.
- Protect Workbook: Select ‘Protect Workbook’.
- Enter Password: Provide a password and confirm it.
- Set Permissions: Choose what users can do with the workbook.
- Save: Save your workbook.
Locking with Read-Only Access

Setting a workbook to open as read-only allows users to view but not edit:
- Go to ‘File’ > ‘Info’.
- Click ‘Protect Workbook’ and choose ‘Always Open Read-Only’.
Using VBA for Advanced Protection

For advanced users, Visual Basic for Applications (VBA) can provide custom locking solutions:
Sub LockSheet()
    With Sheet1
        .Protect Password:=“YourPassword”, DrawingObjects:=True, Contents:=True, Scenarios:=True
    End With
End Sub
💡 Note: Only use this if you are familiar with VBA to avoid unintended changes.
Important Notes on Locking Sheets

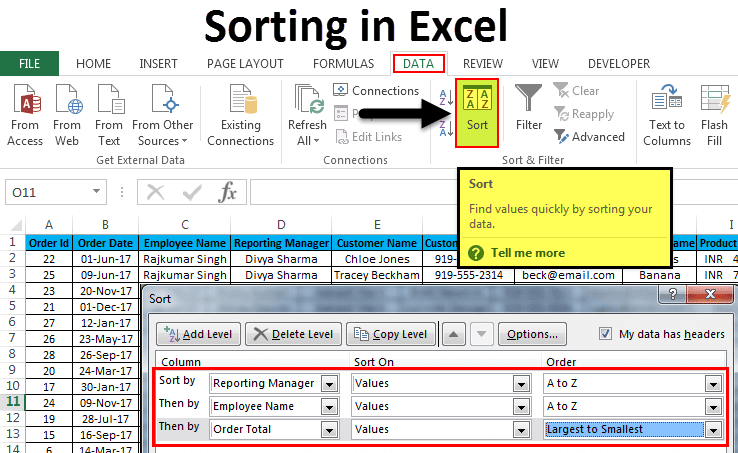
- Permissions: When locking a sheet or workbook, you can still allow certain actions like sorting, formatting, or filtering. Adjust these settings before applying protection.
- Security: Remember, password protection in Excel is for convenience, not high-level security. It’s designed to prevent accidental or unauthorized changes, not to fend off determined hackers.
- Backup: Always keep a backup of your original unprotected file, especially if you use VBA or complex locking mechanisms.
In conclusion, locking your Excel sheet can be a simple yet effective way to manage data integrity and control who can make changes to your spreadsheets. Whether you choose basic password protection or advanced VBA solutions, understanding how to properly lock and protect your data will save you from unintended data alterations. Remember the nuances of permissions and the limitations of Excel's security features when applying these protections.
What happens if I forget the password to my locked Excel sheet?

+
If you forget the password, you will not be able to access or edit the protected sheet. Microsoft does not provide a method to recover forgotten passwords, so it’s crucial to keep a backup of the unprotected sheet or remember your password.
Can I still sort or filter data in a protected Excel sheet?

+
Yes, you can set permissions to allow sorting and filtering when you lock a sheet. However, these permissions must be enabled when you initially protect the sheet.
Is Excel protection secure for sensitive data?

+
Excel’s protection features are not designed for high-level security; they are more about convenience to prevent accidental edits or minor tampering. For sensitive data, consider more robust security measures.


