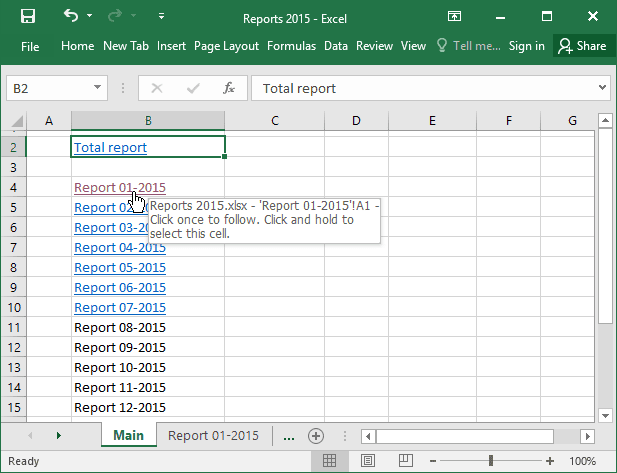
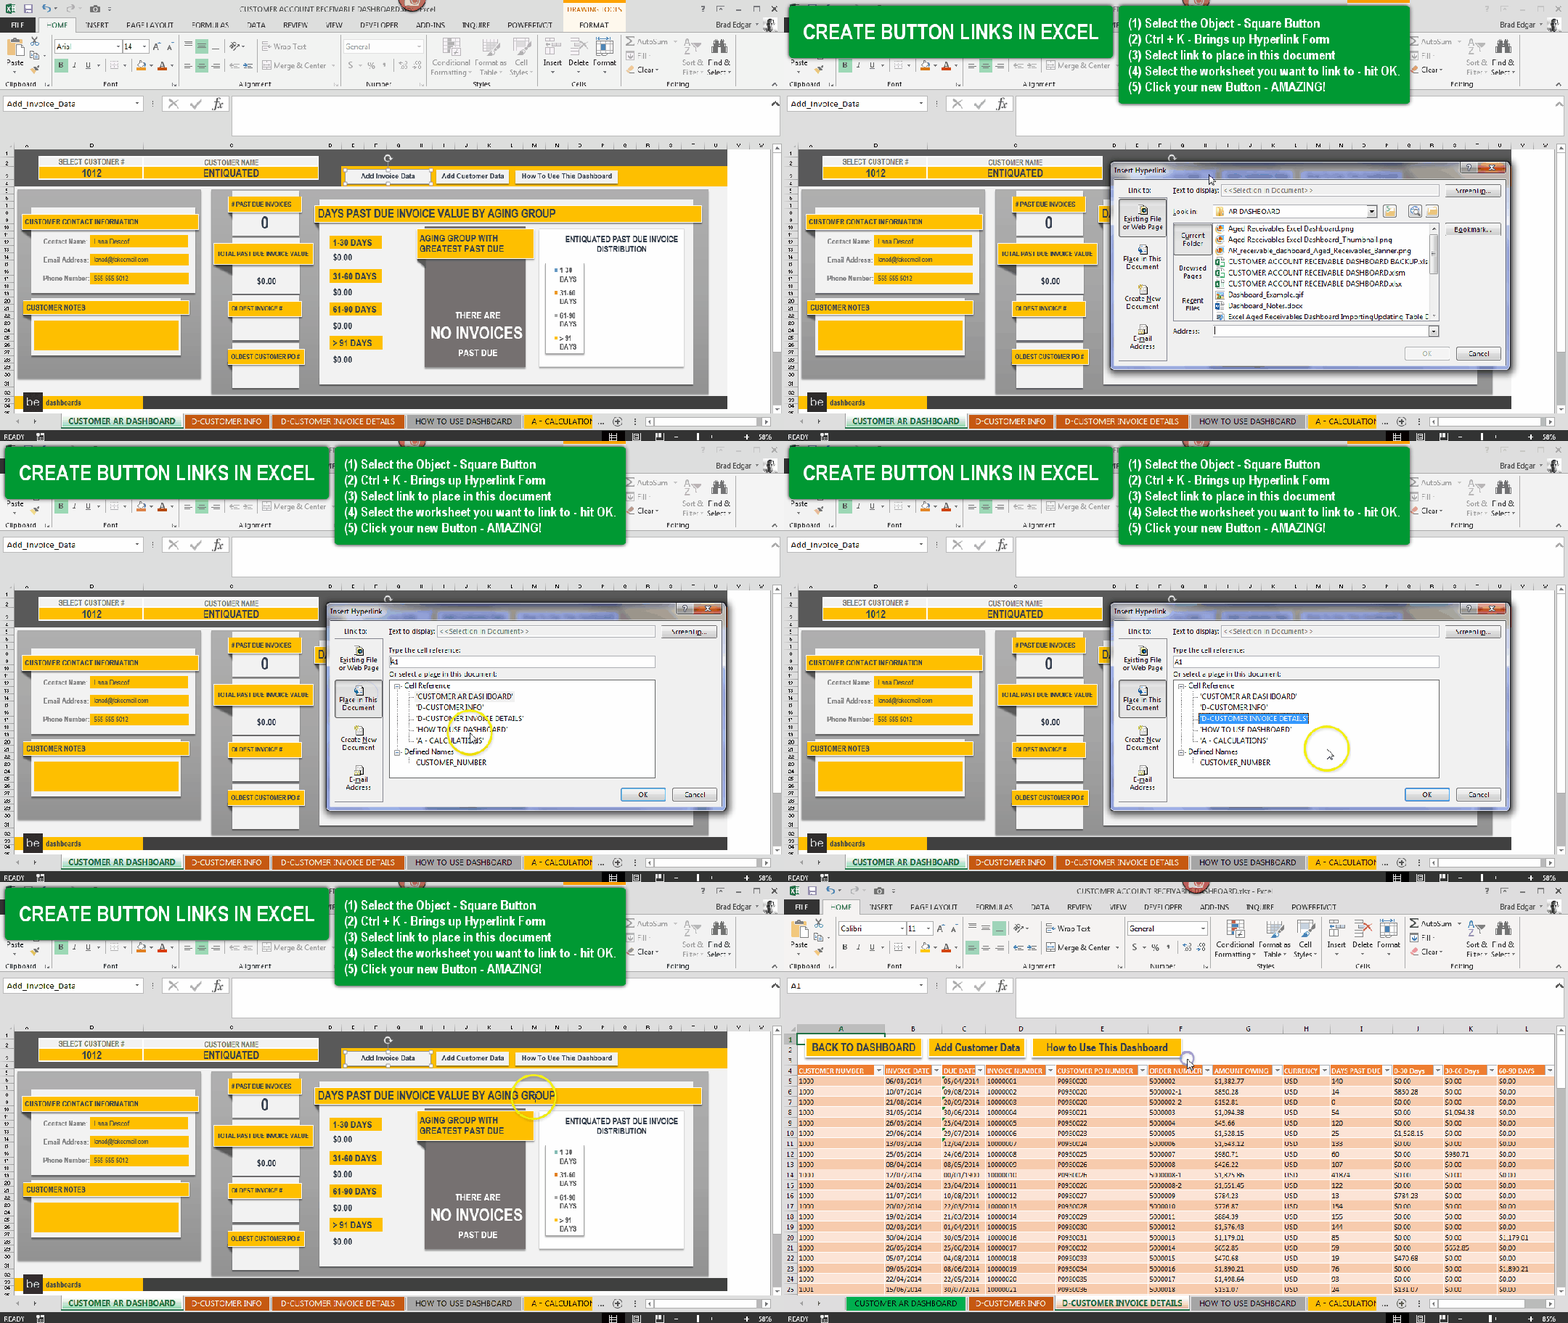
Link Excel Sheets Easily: Your Step-by-Step Guide

Mastering the art of linking Excel sheets can significantly enhance your productivity, especially if you manage large datasets across multiple workbooks. Whether you're compiling financial reports, consolidating data from various departments, or just organizing your personal finances, linking Excel sheets allows you to streamline your workflow. This guide will take you through the steps to link sheets both within the same workbook and across different workbooks, ensuring data accuracy and coherence.
Why Link Excel Sheets?

Before diving into the how-to, let’s discuss the why behind linking Excel sheets:
- Data Consolidation: Link multiple spreadsheets to create a comprehensive view of your data, which is especially useful for reporting.
- Time Efficiency: Save time by updating data in one place, and the changes automatically reflect everywhere the data is linked.
- Accuracy: Reduce human error by minimizing manual data entry. Linked data updates instantly, keeping your reports up to date.
- Organizational Structure: Keep large datasets organized while still maintaining access to the entire dataset across sheets.
By understanding these benefits, you’ll see how vital linking sheets can be for any data-centric task.

Linking Sheets Within the Same Workbook

Linking sheets within the same workbook is one of the simplest ways to leverage Excel’s capabilities. Here’s how you can do it:
Step 1: Selecting the Cell

Navigate to the cell in the destination sheet where you want to display the linked data.
Step 2: Using the Formula

Use the formula =SheetName!CellReference to link to a cell in another sheet:
SheetNameis the name of the sheet you’re linking from.CellReferenceis the cell you want to link to, e.g., A1.
💡 Note: If your sheet name has spaces or special characters, surround it with single quotes in your formula, e.g., ='Sheet Name'!A1.
Step 3: Reference Multiple Cells

You can link to multiple cells or ranges by adjusting the cell references in your formula. For example, linking to a range from A1 to C3 would be:
=SheetName!A1:C3
Step 4: Dealing with Sheet Name Changes

If the name of the sheet you’re linking to changes, you’ll need to manually update the reference.

Linking Sheets Across Different Workbooks

Linking across different workbooks increases the complexity but also opens up a range of possibilities:
Step 1: Opening Source Workbook

First, ensure both the source and destination workbooks are open.
Step 2: Linking with External Reference

In the destination workbook, go to the cell where you want to display the linked data and type:
=[SourceWorkbookName]SheetName!CellReference
SourceWorkbookNameis the name of the workbook file you’re linking from.- Include the full path if the workbooks are not in the same directory.
🔔 Note: When linking to external workbooks, you must use the exact file name and path to ensure the link works correctly.
Step 3: Saving Workbooks

After setting up the links, save both workbooks. Ensure that the source workbook is saved in a location where it can be accessed by the destination workbook.
Step 4: Reference Changes

Excel does not automatically update links if the source workbook changes its name or location. You’ll need to update the references manually if this happens.

Advanced Tips and Tricks

Dynamic Named Ranges

Named ranges can make your formulas easier to read and update, especially when linking:
=NamedRange
Using Tables

Excel tables can reference data from linked sheets using structured references:
=[SourceWorkbookName]SheetName[#TableReference]
Automatic Link Updating
Set Excel to automatically update external links when you open the workbook under Excel Options:
- Go to File > Options > Advanced.
- In the General section, check Update remote references.
Linking to Specific Sheets
To ensure you’re always linking to the correct sheet:
- Use named ranges to keep your references clear and manageable.
- Consider using Excel’s Data Validation to control input data.
Troubleshooting Common Issues

If you encounter issues with linked data, here are some troubleshooting steps:
Missing or Broken Links
If Excel shows #REF! errors, check for moved or renamed workbooks:
- Ensure the source workbook exists and is in the same location.
- Use Excel’s Data > Edit Links to update the links manually.
File Not Found
Excel might display File Not Found if:
- The source workbook is closed.
- The source workbook has been moved or deleted.
Relative vs. Absolute References
If your links use relative references, they might not update correctly when moved or copied:
- Use absolute references to ensure the links remain intact.
- Consider making links relative when sharing workbooks to avoid path issues.
In summary, linking Excel sheets offers a way to keep your data synchronized, consistent, and easy to manage. Whether you're working within the same workbook or across multiple, following these steps ensures that your data remains dynamic and accurate. By leveraging Excel's linking capabilities, you can streamline your data management, reduce errors, and ultimately work smarter, not harder.
Can I link to a cell that has a formula?
+Yes, you can link to a cell containing a formula. When you do so, the linked cell will display the result of that formula, not the formula itself.
What happens if I link to a sheet that is later deleted?
+If the sheet you’ve linked to is deleted, Excel will display a #REF! error in the cell where the data was linked.
Is it possible to have a circular reference through linking?
+Yes, if Sheet A links to Sheet B, and Sheet B links back to Sheet A, you might experience a circular reference error. Excel will attempt to resolve this by displaying #VALUE!


