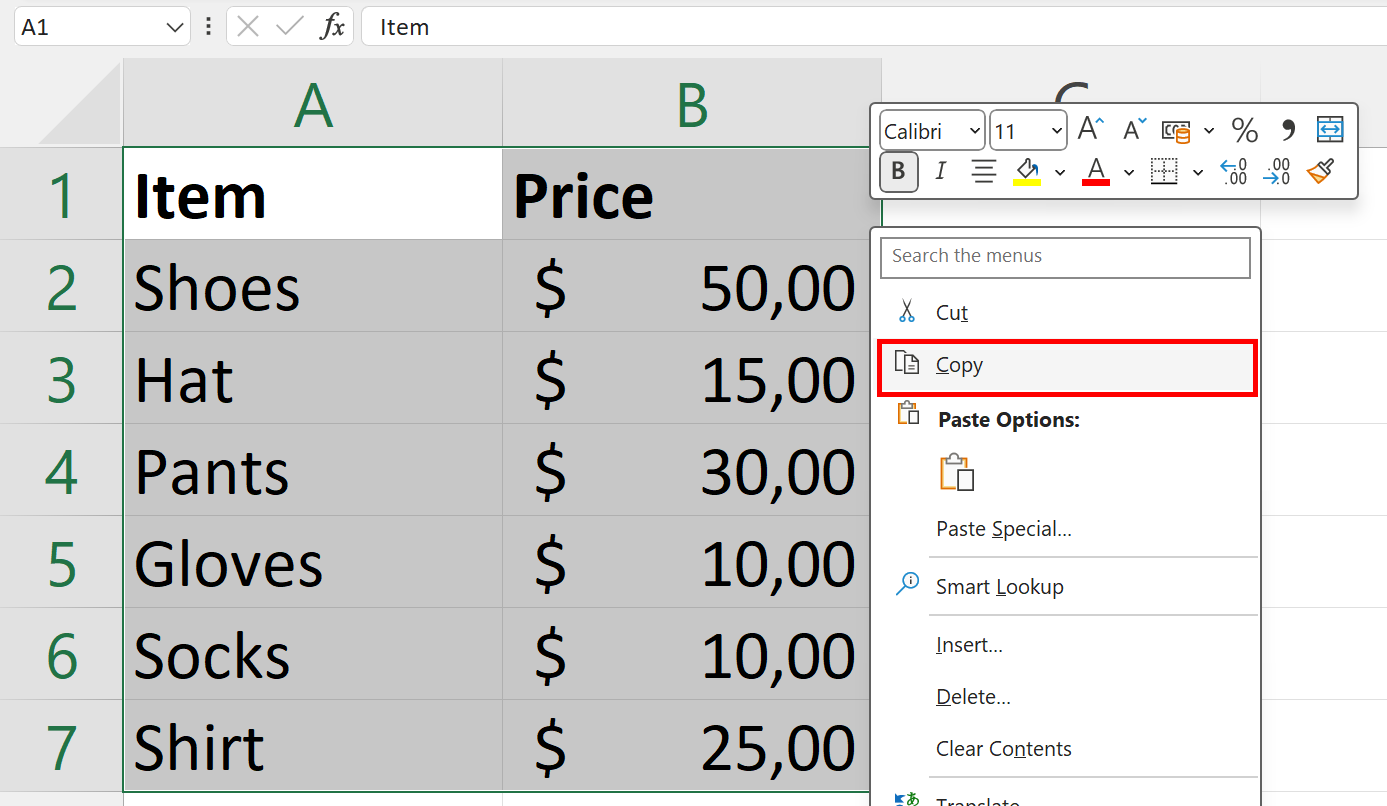
5 Easy Steps to Link Excel Sheets to Word Docs

The ability to link Excel spreadsheets to Word documents is not just a convenient feature, but a powerful tool for professionals who want to keep their documents up-to-date dynamically. In this guide, we'll walk through the simple yet transformative process of linking Excel sheets to Word docs, ensuring your data is always current and accurately represented.
Why Link Excel Sheets to Word?

Linking Excel sheets to Word documents has several benefits:
- Reduces errors in data transfer.
- Maintains document integrity when data changes.
- Enhances productivity by saving time on manual updates.
- Improves data presentation and reporting.
Step 1: Preparing Your Excel Data

Before you link your Excel sheet to a Word document, ensure your data in Excel is organized:
- Use clear, structured data ranges or named ranges for ease of linking.
- Format your data appropriately (e.g., number formatting, headers).
- Save your Excel file and keep it accessible.
📊 Note: For dynamic links, ensure the Excel file is saved where both you and your audience can access it.
Step 2: Inserting the Excel Table into Word

Here's how to insert your Excel data into a Word document:
- Open your Word document and place your cursor where you want the Excel data.
- Go to the "Insert" tab and click "Object."
- Select "Create from File" and browse to select your Excel file.
- Check "Link to file" to create a dynamic link.
- Click "Insert" to add the Excel data to your Word document.
Step 3: Managing the Linked Data

Once the Excel table is in your Word document, you'll need to manage its appearance:
- Right-click on the table, select "Table Properties," and adjust the table size, cell alignment, etc.
- To format cells within the Word document, use the "Layout" tab under "Table Tools."
- Be mindful of changes in Excel as they might alter your document's layout.
| Action in Excel | Effect in Word |
|---|---|
| Data change | Data updates automatically in Word |
| Formatting change | Formatting may not change, depending on Word settings |

🔍 Note: Formatting discrepancies between Excel and Word might occur. Preview your document to ensure the presentation matches your intent.
Step 4: Updating the Link

Updating the link in Word will reflect changes made in the Excel file:
- Right-click on the table or graphic linked from Excel.
- Select "Update Link" or "Update Field" from the context menu.
- Or, for updating all links, go to "File > Info > Edit Links to Files."
With these steps, your Word document will now reflect any changes made in the linked Excel sheet automatically, or you can manually trigger the update to see the latest data.
Step 5: Troubleshooting and Considerations

Here are some common issues and considerations:
- If the Excel file moves, the link might break. Reinsert the file with an updated path or relink it manually.
- File permissions can prevent updates; ensure both you and your readers have access to the Excel file.
- Linked files can increase document size, impacting performance.
The practice of linking Excel sheets to Word documents is a game-changer for businesses, educators, and anyone who values efficiency and accuracy in their documentation. By following these five steps, you can save time, reduce errors, and maintain dynamic data integrity. Remember, the power of dynamic linking lies in its ability to keep your documents current, reflecting the most recent data available from your Excel spreadsheets.
Can I link to specific parts of an Excel sheet?

+
Yes, you can link to specific ranges or cells within an Excel sheet by using named ranges or selecting specific cells when creating the link in Word.
What if I accidentally delete the link?

+
If you delete the link, you can reinsert it from the same Excel file or manually link it again using the “Insert Object” method detailed in Step 2.
Does the file need to be in the same directory?

+
It is best practice to keep the Excel file in the same directory or in an easily accessible location for seamless updates, but you can link to files anywhere on your system.


