5 Easy Ways to Hide Rows in Excel

Microsoft Excel is an incredibly powerful tool for data analysis, organization, and presentation. With its extensive set of features, Excel allows users to manage large datasets with ease. One common task users often encounter is hiding rows within their spreadsheets. Hiding rows can help declutter your workspace, focus on specific data, and enhance presentation aesthetics. Here are five easy ways to hide rows in Excel:
1. Using the Context Menu

The simplest way to hide rows is by using the right-click context menu:
- Select the rows you wish to hide by clicking on the row number on the left side of your sheet.
- Right-click on one of the selected row numbers to bring up the context menu.
- Click on the “Hide” option.
💡 Note: This method is especially convenient for hiding a single row or a small number of adjacent rows.
2. Keyboard Shortcuts

For those who prefer using keyboard shortcuts for speed:
- Select the row(s) you want to hide.
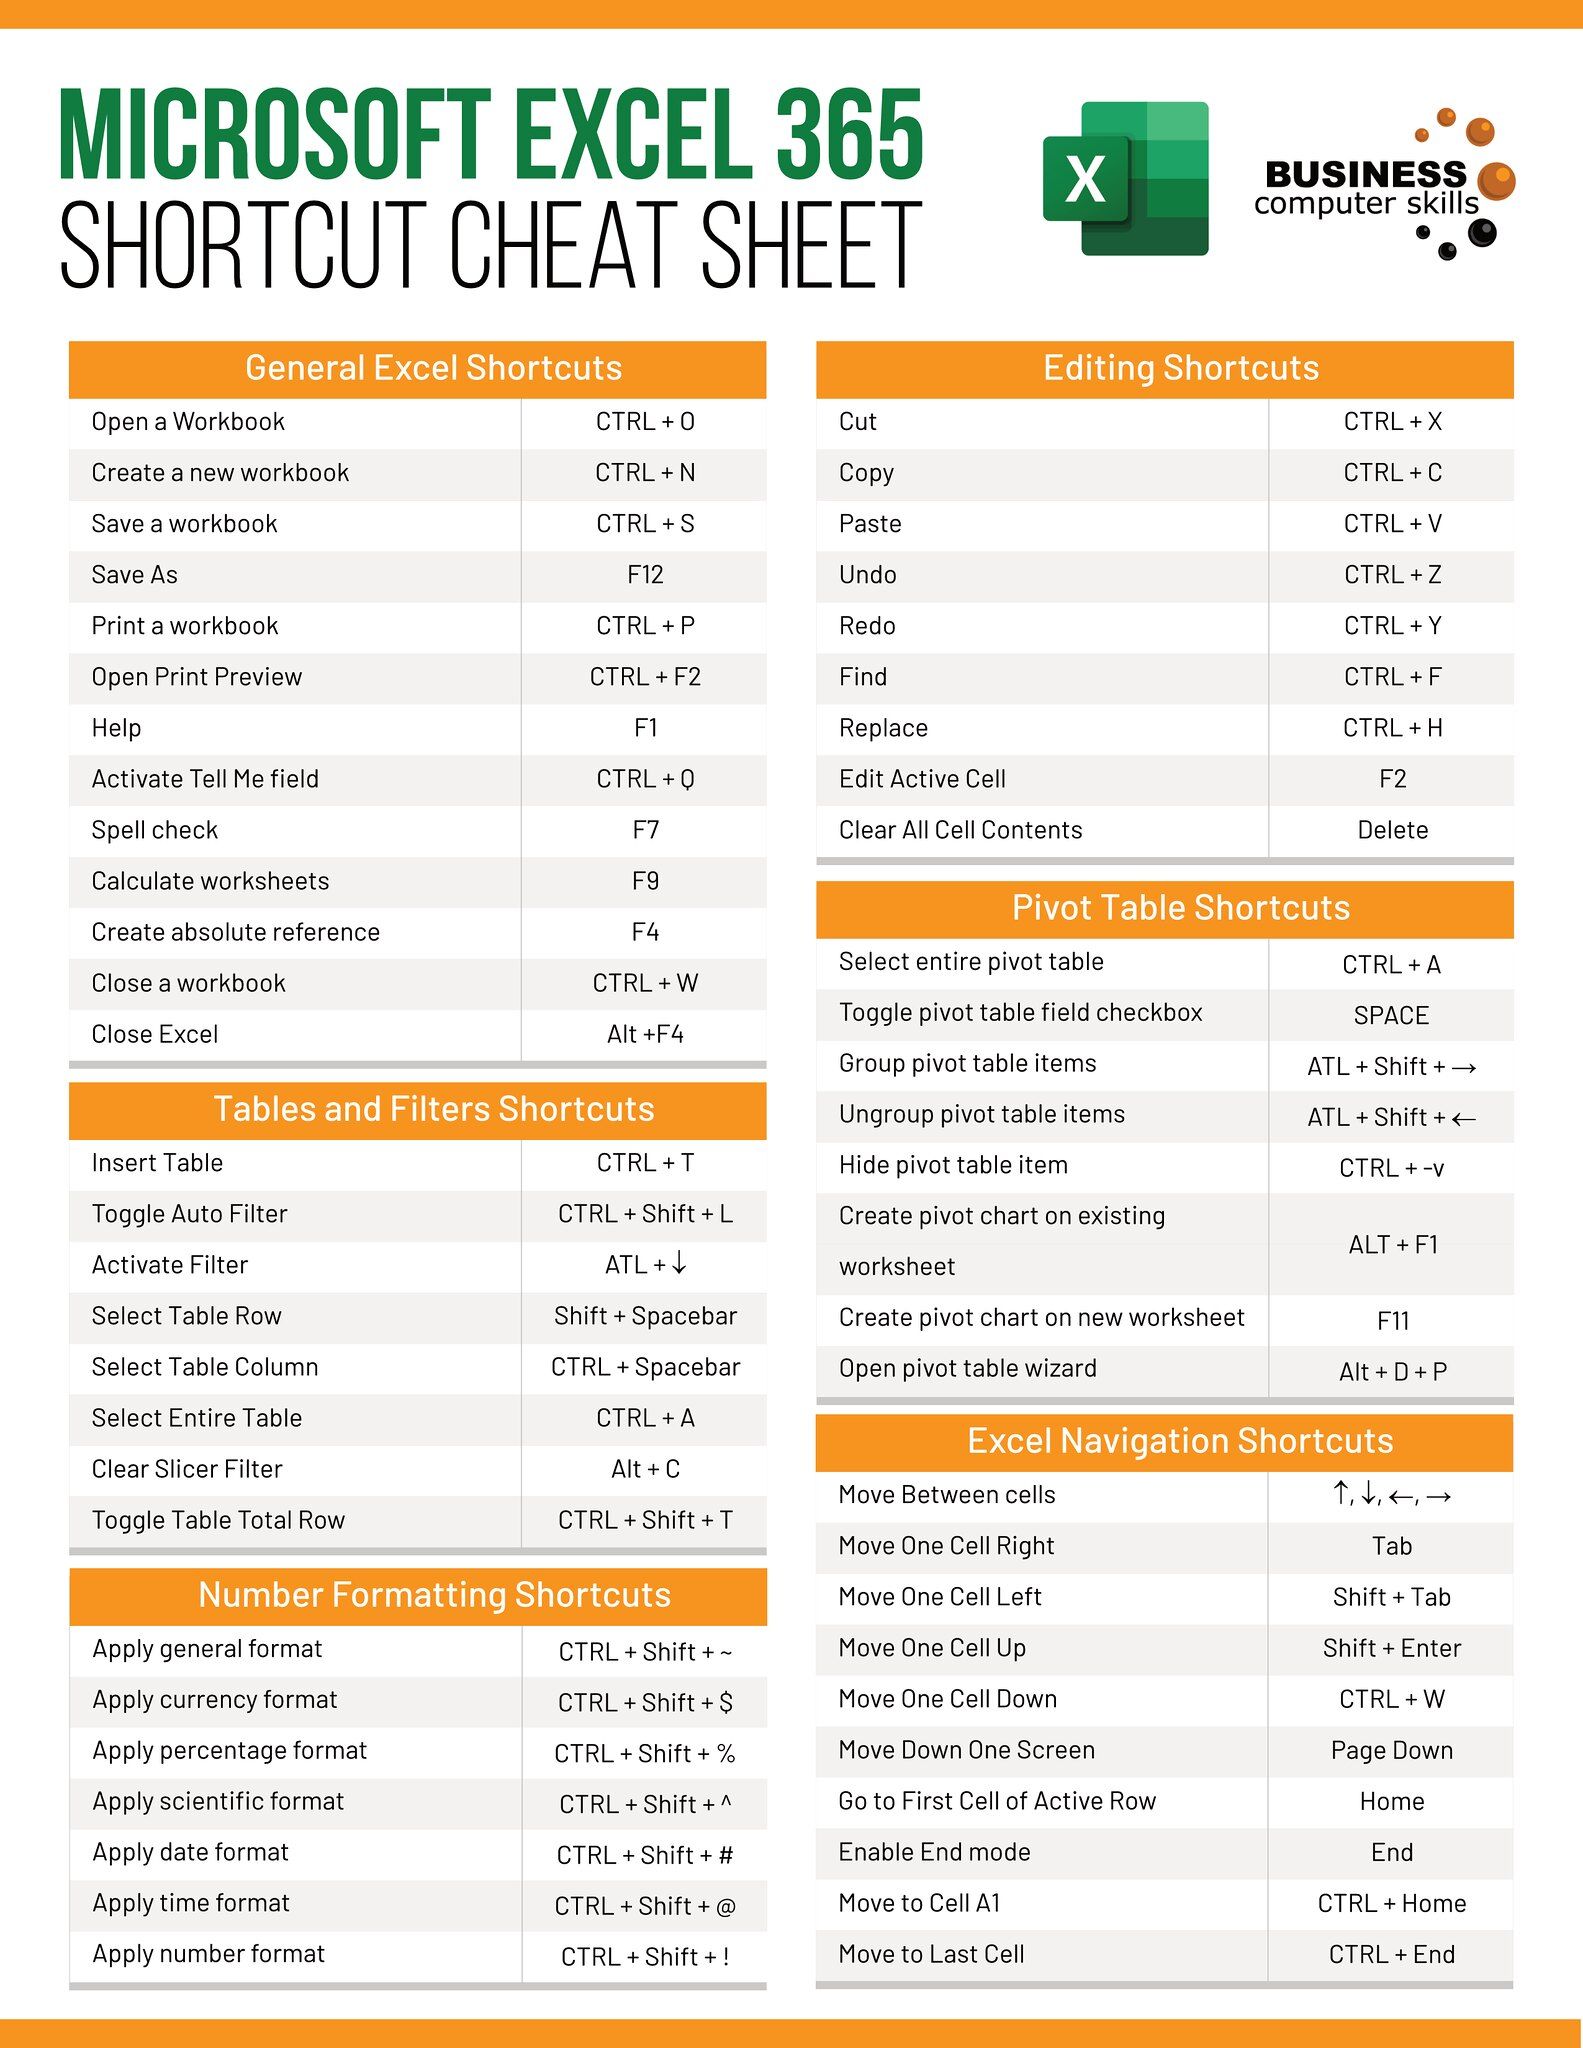
- Press Ctrl+9 (Windows) or Cmd+9 (Mac) to hide the selected row(s).
- To unhide, press Ctrl+Shift+( (Windows) or Cmd+Shift+( (Mac).
3. Grouping and Outlining

This method is particularly useful if you need to show or hide groups of rows frequently:
- Select the rows you want to group.
- Go to the Data tab, and in the Outline group, click on Group > Group.
- A minus (-) sign will appear to the left of the row numbers, allowing you to collapse or expand the group by clicking on it.
✨ Note: Grouping can be undone by selecting the grouped rows, going to Data > Outline > Ungroup.
4. Using Excel’s Custom Views

| Step | Description |
|---|---|
| 1 | Set up your spreadsheet as desired, hiding rows as needed. |
| 2 | Go to the View tab, and in the Workbook Views group, click on Custom Views. |
| 3 | Click on Add to create a new view, name it, and save. |
| 4 | Now you can switch between views to quickly hide/unhide rows. |

This method is perfect for users who need to toggle between different views of the same worksheet.
5. Excel VBA for Automation

If you often need to hide or unhide rows programmatically:
- Press Alt+F11 to open the VBA editor.
- In the Project Explorer, right-click on your workbook > Insert > Module.
- Copy and paste the following VBA code:
Sub HideRows() Rows(“5:10”).EntireRow.Hidden = True End Sub Sub UnhideRows() Rows(“5:10”).EntireRow.Hidden = False End Sub - Close the VBA editor and now you can run these macros from Excel’s interface.
Understanding how to effectively use Excel to manage your data presentation can significantly improve your efficiency. Whether you’re preparing a report, analyzing data, or simply organizing information, hiding rows is a technique that can streamline your workflow. Here are a few key points to keep in mind:
- Accessibility: Ensure that critical data remains accessible when necessary by using methods like Custom Views or VBA for quick toggling.
- Keyboard Shortcuts: Familiarize yourself with shortcuts to speed up your work.
- Automation: Use VBA if you frequently perform repetitive tasks.
By incorporating these methods into your Excel routine, you’ll find managing complex spreadsheets becomes much simpler and more intuitive.
Can I hide multiple non-adjacent rows?

+
Yes, you can hide multiple non-adjacent rows. Simply hold down the Ctrl key while selecting the rows you wish to hide.
Is there a way to hide rows conditionally?

+
Excel doesn’t have a built-in feature to hide rows based on conditions directly, but you can achieve this using Excel macros or through complex filtering.
How do I quickly unhide all rows in my Excel sheet?

+
Press Ctrl+A to select the entire sheet, then use the shortcut Ctrl+Shift+( to unhide all hidden rows.
What is the limit of rows that can be hidden in Excel?

+
There is no specific limit to the number of rows you can hide, but it’s limited by Excel’s overall row limit which is 1,048,576 rows.
Does hiding rows affect calculations or formulas?

+
No, hiding rows does not affect the calculations or formulas in Excel. The data is still there and included in all operations, it’s just not visible.


