Mastering Excel: How to Grey Out Around Sheet Easily

Working with Microsoft Excel often involves managing complex spreadsheets filled with data. There comes a time when you might need to highlight important sections or de-emphasize parts of your worksheet to make it easier to focus on the relevant data. One of the ways to achieve this is by greying out the unneeded areas, creating a cleaner, more focused viewing experience. In this guide, we'll delve into several methods to grey out areas around your Excel sheet, whether you want to grey out entire rows, columns, or individual cells.
Why Grey Out Areas in Excel?

Before we explore the techniques, let’s briefly touch on why you might choose to grey out parts of your Excel sheet:
- To focus attention on specific data points.
- To indicate areas where data entry is not required or not allowed.
- To signify that certain information is less relevant or historical.
- To visually organize your spreadsheet for better data presentation.
Using Cell Fill Color

The most straightforward way to grey out areas is by changing the cell background color. Here’s how you can do it:
- Select the cells you want to grey out. You can click and drag to select multiple cells, or use the Ctrl key on Windows or Cmd on Mac to select non-contiguous cells.
- Go to the Home tab on the Ribbon.
- Under the Font group, find the Fill Color icon, which looks like a paint bucket.
- Choose a shade of grey from the dropdown palette. If you don’t see the exact grey you want, click on More Colors… to customize the color.
💡 Note: If your sheet contains a lot of data, changing colors for large areas can impact performance. Consider selecting rows or columns that are not fully needed for the current view.
Using Conditional Formatting

Conditional Formatting is a powerful tool that allows you to automatically apply formatting based on cell values or formulas:
- Select the cells you want to grey out.
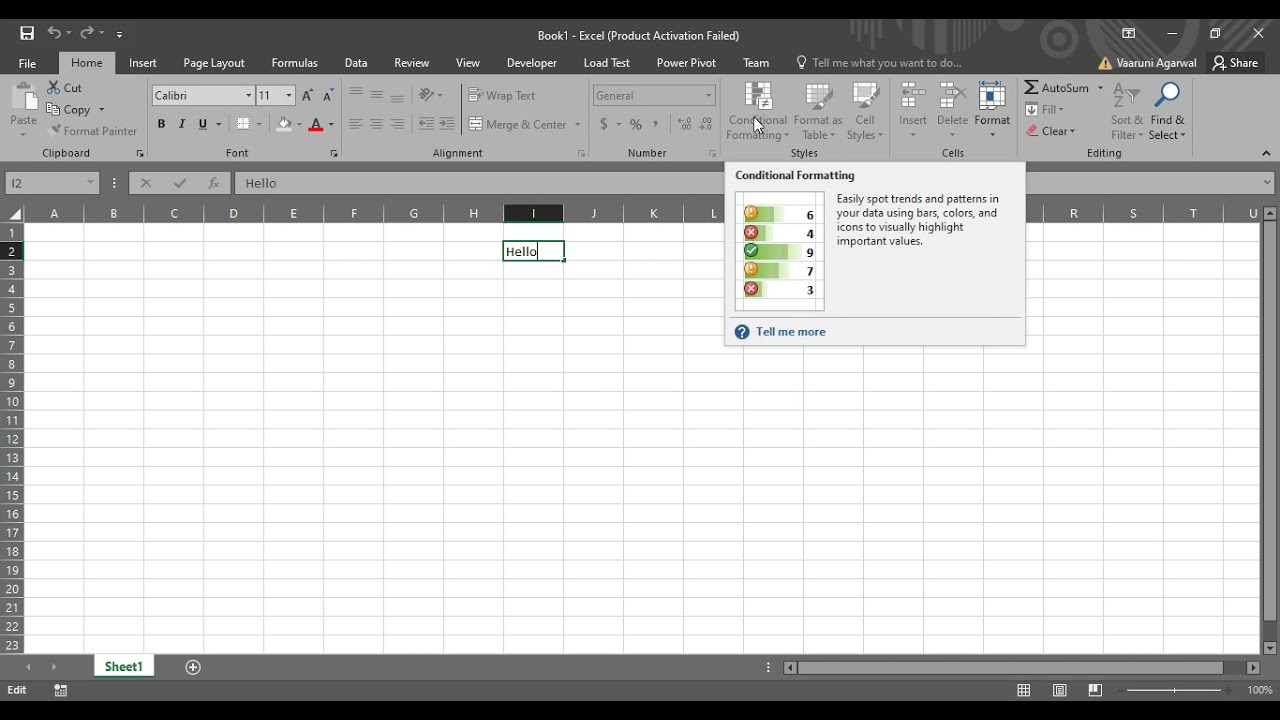
- Navigate to the Home tab and click on Conditional Formatting.
- From the dropdown, choose New Rule….
- In the ‘New Formatting Rule’ dialog box, select ‘Use a formula to determine which cells to format.’
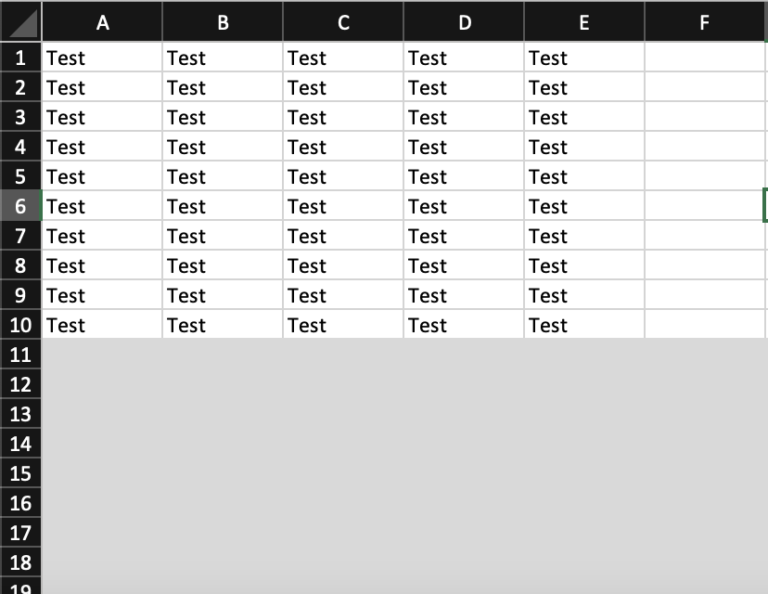
- Enter a formula that evaluates to TRUE for the cells you want to grey out. For example, to grey out all cells where the row number is greater than 10:
=ROW() > 10 - Click Format, choose your grey color under the Fill tab, and then OK to apply the rule.
| Formula | Effect |
|---|---|
=ROW() > 10 |
Rows below row 10 are greyed out. |
=COLUMN() > 5 |
Columns after column E are greyed out. |

Hiding Rows and Columns

Sometimes you might not want to grey out areas, but rather hide them completely:
- Select Rows: Click on the row number(s) on the left edge.
- Select Columns: Click on the column letter(s) at the top.
- Right-click on your selection and choose Hide.
- To unhide, select the surrounding rows or columns, right-click, and choose Unhide.
💡 Note: Hidden rows and columns are still accessible for formulas and calculations, but they won't show visually on the sheet.
Using Borders for Visual Effect

Applying a grey fill to borders can give the appearance of greying out cells:
- Select the cells you wish to grey out.
- Go to the Home tab, click on Borders.
- Choose More Borders… at the bottom of the dropdown.
- In the Format Cells dialog box, under the Border tab, select a grey color for the ‘Outline’ and ‘Inside’ lines. Click OK.
Macro for Automatic Greying

If you frequently need to grey out areas, a macro can automate this process:
- Press Alt + F11 to open the Visual Basic Editor.
- Go to Insert > Module to create a new module.
- Enter the following VBA code:
- Close the editor and run the macro via Developer > Macros or assign it to a button for easy access.
Sub GreyOutAfterRow10()
    Dim ws As Worksheet
    Set ws = ActiveSheet
    ws.Rows(“11:” & Rows.Count).Interior.Color = RGB(220, 220, 220)
End SubWrap-Up

Greying out areas in Excel serves multiple purposes from guiding focus, organizing data, to improving the visual appeal of your spreadsheets. We’ve covered several methods, from manual cell fill to automated approaches with VBA macros. Each technique has its use, from simple tasks to more complex data management scenarios. By integrating these techniques into your workflow, you’ll enhance your productivity and make your Excel data more accessible and clear to your audience. Remember to use them judiciously, as overusing formatting can lead to an unwieldy or confusing spreadsheet.
Can I grey out an entire worksheet?

+
Yes, you can grey out an entire worksheet by selecting all cells (press Ctrl + A) and then using the Fill Color to apply a grey shade. Be cautious as this affects every cell, potentially making your data harder to read.
Will greying out areas affect my data integrity?

+
No, greying out areas doesn’t affect data integrity. It only changes the visual appearance. Formulas and cell values remain the same.
How can I undo greying out cells?

+
Undo can be achieved through several methods: use Ctrl + Z for quick undo; reselect the cells and choose No Fill from the Fill Color options; or use the Clear Formats option under Home > Editing.


