5 Ways to Fit Excel Sheet on One Page 2010

Adjusting an Excel worksheet to fit on a single page is a common requirement, particularly when preparing documents for presentation or formal reports. Whether you're dealing with a dense dataset or have just made several charts and tables, making everything fit can enhance your document's readability and professionalism. This guide will explore five effective methods to ensure your Excel 2010 sheet fits neatly onto one page.
1. Adjusting Page Layout

The first step involves tweaking the page layout settings:
- Go to the Page Layout tab on the ribbon.
- Click on the Margins button and choose ‘Custom Margins’. Here, you can adjust the margins to smaller values, reducing whitespace and allowing more room for data.
- Select the Orientation option to switch between ‘Portrait’ or ‘Landscape’ to see which better accommodates your data.
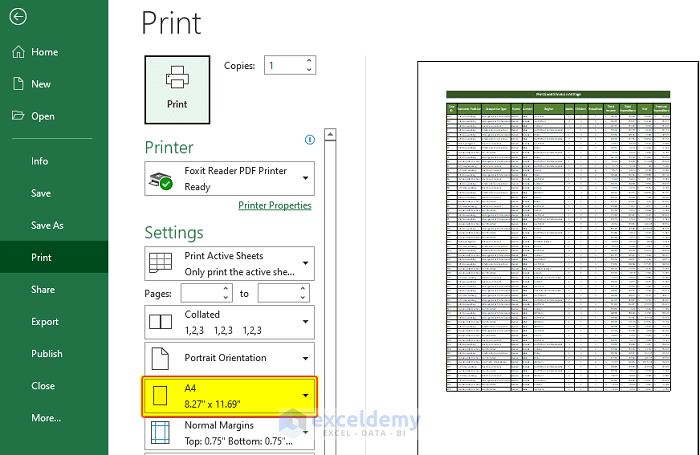
- Choose Size to change the paper size if applicable, although this might not always be necessary if you’re sticking to standard sizes.
📝 Note: Be cautious when reducing margins as very narrow margins might get cut off by printers. Also, ensure to check the print preview.
2. Scale to Fit

Another useful tool in Excel 2010 is the Scale to Fit feature:
- From the Page Layout tab, locate the Scale to Fit group.
- In the ‘Width’ and ‘Height’ drop-downs, select ‘1 page’. This will shrink your data to fit onto a single page, although it might reduce readability if the data is very dense.
- The ‘Scale’ box lets you manually adjust the percentage. Here, you can play with the scale until your content fits comfortably on one page.
3. Hide Unnecessary Data

If you don’t need to print everything:
- Select any unnecessary rows or columns, right-click, and choose Hide.
- This technique reduces the printed area, allowing more focus on the relevant data.
👁️ Note: Remember, hiding data doesn't delete it, so you can still access it later if needed.
4. Adjust Column Width and Row Height

Fitting more data onto a page can often be achieved by:
- Select the entire worksheet by clicking the triangle at the intersection of column headers and row numbers.
- Right-click and choose Column Width or Row Height to set a uniform size.
- Manually adjust by clicking the column’s header or dragging row separators to fine-tune fit.
5. Print Area and Page Breaks

To ensure only specific parts of your sheet are printed:
- Set a Print Area by selecting the cells you want to print, then go to Page Layout > Print Area > Set Print Area.
- To manually control where pages break, insert Page Breaks via Page Layout > Breaks > Insert Page Break. This can help in preventing awkward page splits.
Each of these methods has its merits, and you might find yourself combining multiple approaches for the best results. Here are some concluding thoughts:
- Consistency in formatting will greatly enhance the overall appearance of your document.
- Always check the print preview before printing to ensure everything looks as intended.
- Remember, the goal is not just to fit data onto one page, but to make that data clear, readable, and impactful.
Why doesn’t my Excel data fit on one page?

+
Your data might not fit due to large column widths, many rows, or insufficient scaling. Check the page layout settings and consider the methods mentioned to adjust the data’s size or layout.
What is the best orientation for printing Excel sheets?

+
It depends on the data structure. If your data is wider than it is long, landscape orientation might work better. Conversely, for longer but narrow data sets, use portrait orientation.
Can I automatically adjust the scale for every print?

+
Yes, in the Print Preview or Page Layout view, you can set the Scale to Fit option to always adjust your data to fit on one page for each print job.


