Automatically Fill Excel Sheets: Simplify Data Entry

Managing data entry manually into spreadsheets like Excel can be a daunting task, especially when dealing with large datasets or recurring entries. Thankfully, Excel provides robust tools that can automate many aspects of this process, saving time and reducing errors. This comprehensive guide will walk you through various methods to automatically fill Excel sheets, enhancing your productivity and data accuracy.
Understanding Excel's Automation Features

Excel is equipped with several features that facilitate automation:
- Data Validation - Ensures that data entry adheres to specific rules.
- Form Controls - Create forms for easier data input.
- Macros - Automate repetitive tasks with Visual Basic for Applications (VBA).
- Formulas and Functions - Automate calculations and data manipulation.
- Power Query - Automate data transformation and import from various sources.
Step-by-Step Guide to Automating Excel Sheets

1. Using Data Validation

Data validation helps ensure that the data entered into your sheet meets your criteria. Here’s how to set it up:
- Select the cells or range where you want to apply validation.
- Go to the 'Data' tab, then 'Data Validation'.
- Choose what type of data should be entered (e.g., List, Date, Whole Number).
- Set the criteria for the data validation. For instance, you might limit entries to numbers between 1 and 100.
📌 Note: Data Validation can help in maintaining data integrity by preventing incorrect or irrelevant data from being entered.
2. Implementing Form Controls

Form controls can make your sheet user-friendly for data entry:
- Right-click on the Ribbon, choose 'Customize the Ribbon'.
- Check 'Developer' in the right panel to make it visible.
- From the Developer tab, insert form controls like buttons, checkboxes, or dropdown lists.
- Link these controls to cells where data should be entered or updated.
Here’s a simple table showing some common form controls and their uses:
| Control | Use |
|---|---|
| Combo Box | Offers a dropdown list for user selection |
| Check Box | Enables binary choice (True/False, Yes/No) |
| Button | Runs a macro or VBA script |

3. Utilizing Excel Macros

Macros allow for automation of repetitive tasks. Here are the basics of setting up a macro:
- Access the Developer tab, then click 'Record Macro'.
- Perform the tasks you want to automate, like formatting cells or entering data.
- Stop recording, name your macro, and optionally assign it to a button or a keyboard shortcut.
Here's an example of what a VBA macro to fill cells might look like:
Sub AutoFillCells()
    Range("A1:A10").Select
    With Selection
        .Interior.Color = RGB(255, 255, 0)  ' Set color to yellow
        .Value = "Data Entry"
    End With
End Sub
4. Applying Formulas and Functions

Excel's formulas and functions are powerful tools for data manipulation:
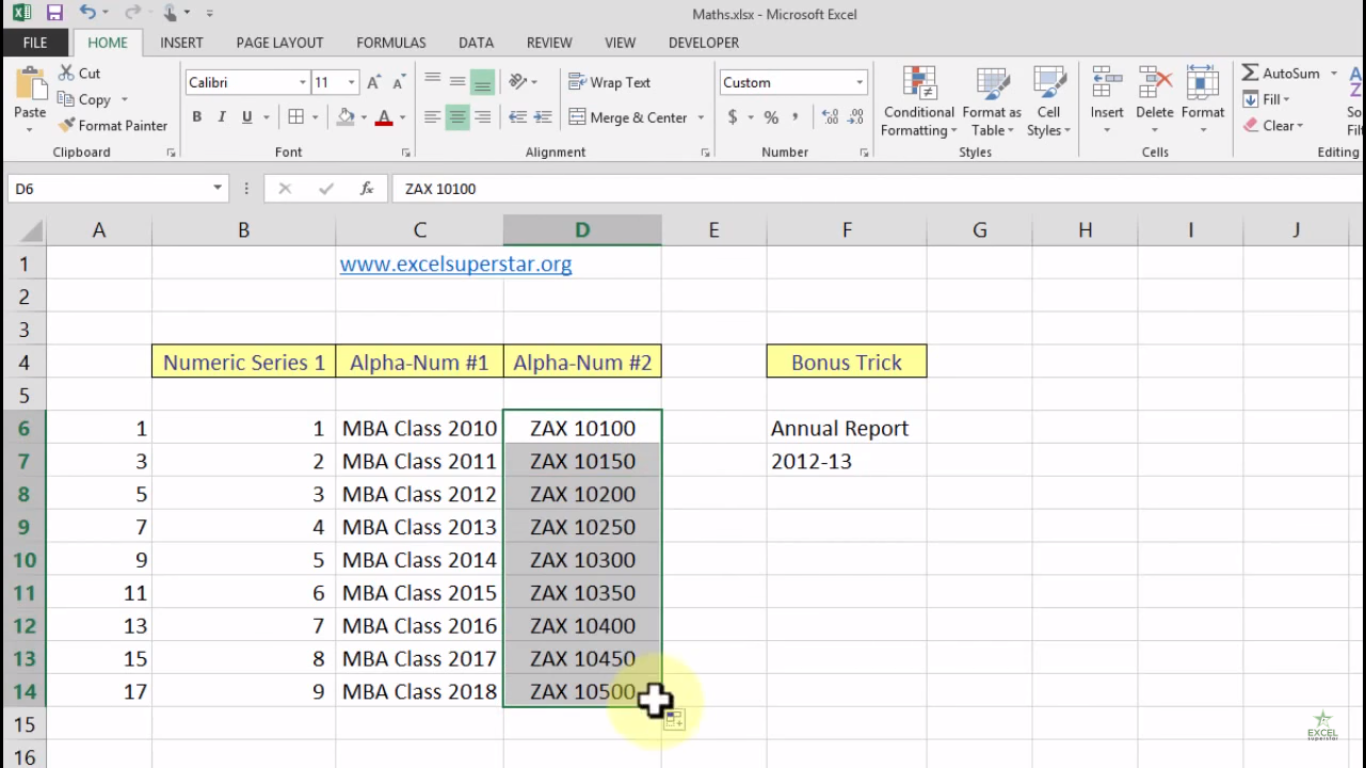
- AUTO FILL - Drag the fill handle (the small square at the bottom-right corner of a cell) to copy formulas or patterns to adjacent cells.
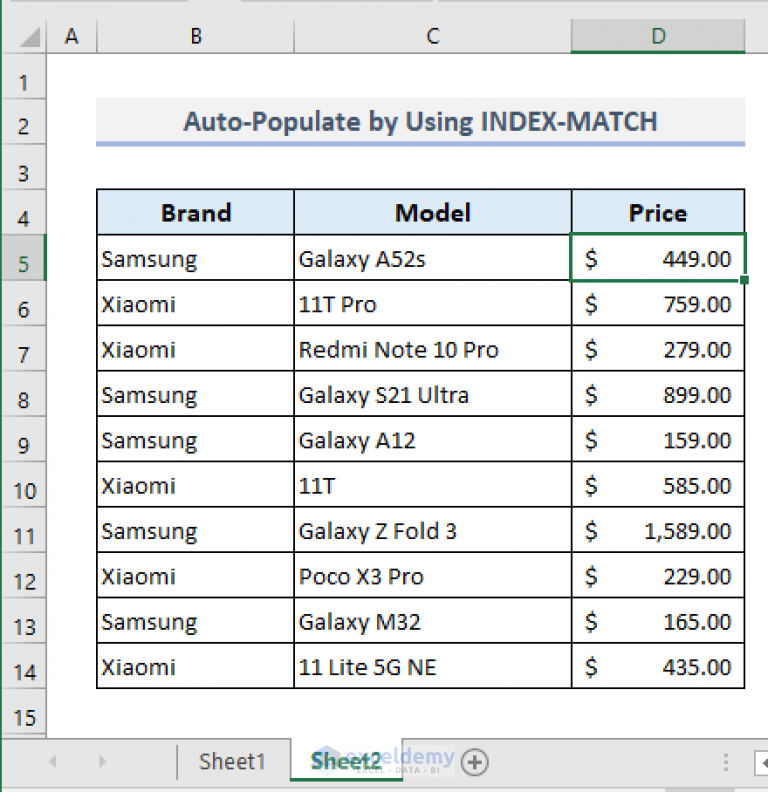
- Functions like VLOOKUP or INDEX-MATCH can automate lookups and data integration from different sheets or files.
💡 Note: Combining formulas with conditional formatting can visually guide data entry or highlight inconsistencies.
5. Power Query for Data Transformation

Power Query is Excel's tool for extracting, transforming, and loading data. Here’s how to use it:
- Go to the 'Data' tab and select 'Get Data', then 'From File' or another source.
- Select your data source and load it into Power Query Editor.
- Transform the data as needed (filter, sort, merge, etc.).
- Load the transformed data into your Excel sheet, where it will automatically update with source changes.
Power Query can be particularly useful for:
- Automatically combining data from multiple files.
- Cleaning up and structuring inconsistent data.
- Regularly scheduled data updates from external sources.
To automatically fill Excel sheets can dramatically improve efficiency and accuracy in data handling. By implementing the automation techniques covered here, you can streamline data entry, minimize errors, and make your work with Excel more enjoyable and productive. Remember, the key is to choose the right tools for your specific needs. Whether you opt for simple form controls or delve into the power of macros and Power Query, these methods offer a way to transform how you manage and enter data.
What are the benefits of automating data entry in Excel?

+
Automating data entry in Excel can save time, reduce human error, maintain consistency in data entry, and improve the user experience by simplifying complex tasks. This allows for quicker analysis, better accuracy, and more efficient data management.
Can I automate Excel without knowing how to code?

+
Yes, you can automate Excel to a certain extent without coding. Features like Data Validation, Form Controls, and some Power Query transformations can be set up without writing code. However, for more complex automation, learning basic VBA will provide greater control and customization.
How do I update data automatically in Excel from external sources?

+
Use Power Query to connect to external data sources. Set up queries to refresh at regular intervals or when the workbook is opened, ensuring your Excel data is always up-to-date with minimal effort from your side.
What if my automation causes errors or issues in Excel?

+
If automation causes problems, first try to debug your code or settings. Ensure your data validation rules are not too restrictive, your formulas are correctly referenced, and your macros don’t conflict with existing functions. If issues persist, consider reaching out to Excel user communities or forums for help.
Can I share an Excel file with macros or Power Query?

+
Yes, you can share files with macros or Power Query. However, macros need to be enabled by the recipient, and sometimes Power Query settings might not work as expected if the data source is not accessible on the recipient’s machine. It’s advisable to provide instructions or consider alternative methods like Power BI for sharing automated reports.


