Effortlessly Remove Unwanted Rows in Excel Sheets Now
Managing data in Excel spreadsheets often involves the need to clean up and organize your data, which can be a tedious and time-consuming task if done manually. However, with the right set of tools and techniques, you can efficiently remove unwanted rows to streamline your datasets. In this comprehensive guide, we'll walk you through various methods to effortlessly remove unwanted rows from your Excel sheets, making your data management processes quicker and more precise.
Why Remove Unwanted Rows?

Excel sheets can quickly become cluttered with irrelevant or duplicate data, impacting performance, readability, and analysis accuracy. Here are some reasons why you might want to remove unwanted rows:
- Improving Data Accuracy: By removing erroneous or duplicate rows, you ensure your data is clean and accurate for analysis.
- Enhancing Performance: Fewer rows mean less memory consumption and faster calculation times.
- Streamlining Reports: Remove outdated or unnecessary data to present only the most relevant information.
Manual Deletion Methods
Delete Rows Manually
Sometimes, the simplest approach is best. Here's how to manually remove rows:
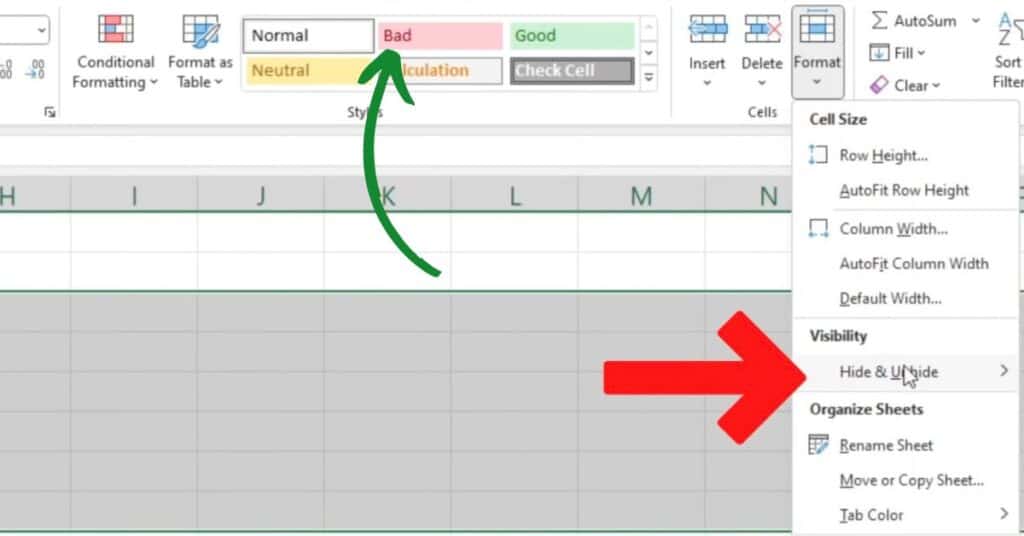
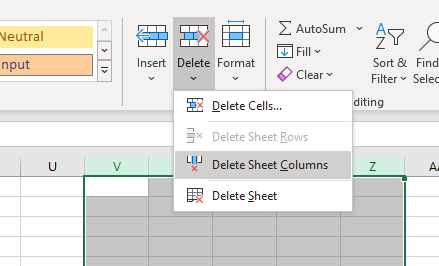
- Select the row or rows you wish to remove by clicking on the row number(s) on the left side of the sheet.
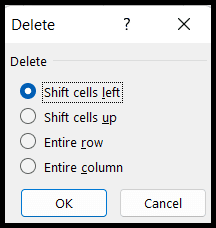
- Right-click on the selection, choose "Delete" from the context menu, and then select "Shift cells up" or "Delete entire row" based on your preference.
This method is straightforward but becomes impractical when dealing with numerous rows.
Automating Row Deletion with Filters

Using Filter to Remove Rows
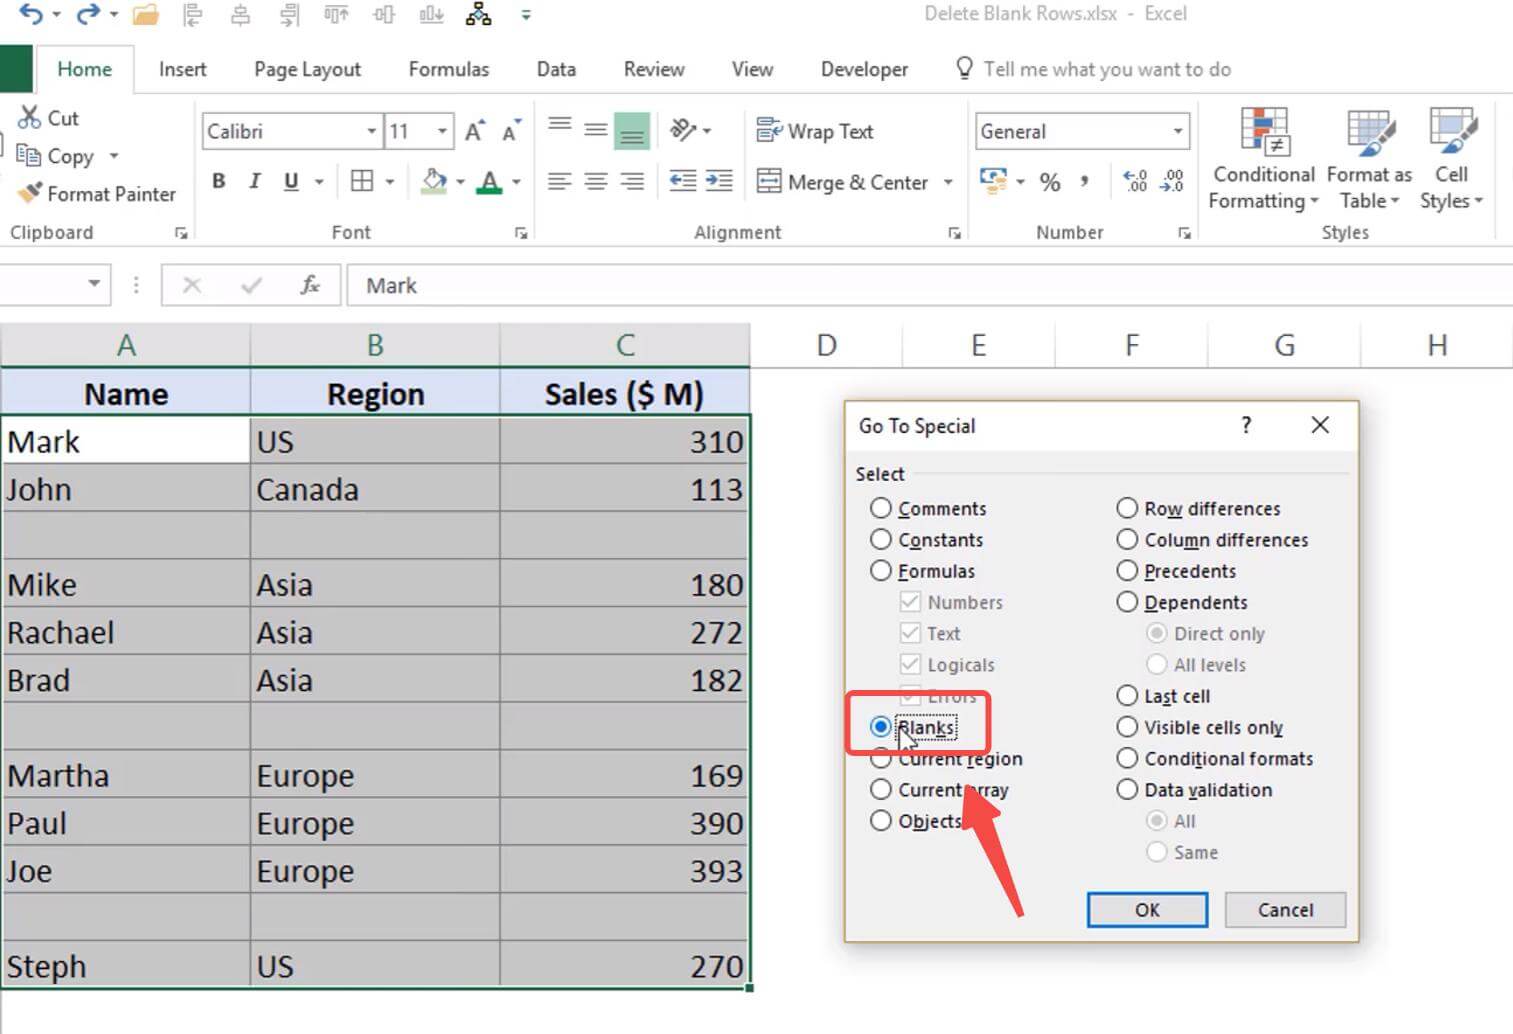
For a more efficient approach, especially when dealing with larger datasets, consider using Excel's filter feature:
- Select your data range or the entire worksheet by pressing Ctrl+A.
- Go to the "Data" tab and click "Filter".
- Choose the column header for filtering criteria.
- Select the conditions for filtering out the rows you want to remove, e.g., all rows containing a specific value.
- Once filtered, select the visible unwanted rows and delete them as instructed in the manual method.
💡 Note: Remember to remove the filter after deletion to view your updated dataset.
Using Advanced Features to Remove Rows

Utilizing Excel's 'Go To Special'

Excel's 'Go To Special' feature is particularly useful for removing rows based on specific criteria:
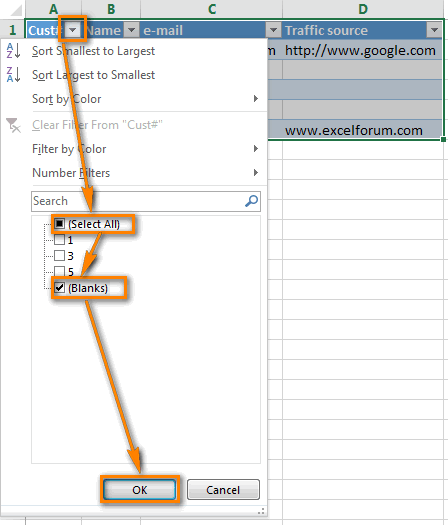
- Press Ctrl+G to open the "Go To" dialog box.
- Click on "Special..." to open the "Go To Special" dialog.
- Select "Formulas", "Constants", or "Blanks" depending on what you want to target.
- Click "OK". Excel will highlight the cells matching your criteria.
- Right-click on the highlighted cells, select "Delete", and choose how you want to shift the remaining cells.
Automation Through VBA Scripts
How to Automate with VBA

For those comfortable with VBA (Visual Basic for Applications), scripts can automate the deletion of rows:
Sub DeleteRows()
    Dim ws As Worksheet
    Set ws = ThisWorkbook.Sheets("Sheet1")
    ' Define the criteria for deletion
    Dim lastRow As Long
    lastRow = ws.Cells(ws.Rows.Count, 1).End(xlUp).Row
    For i = lastRow To 1 Step -1
        If ws.Cells(i, 1).Value = "DeleteMe" Then
            ws.Rows(i).Delete
        End If
    Next i
End Sub
Here, replace "DeleteMe" with the value or condition for deletion. Execute the script by pressing Alt+F8, selecting "DeleteRows", and running the macro.
💡 Note: Always backup your data before running scripts to prevent accidental data loss.
Wrapping Up
Whether you're manually managing small datasets or automating the deletion of rows in complex spreadsheets, Excel offers a range of tools to streamline this process. From simple manual deletion to the power of VBA scripts, you now have several methods at your disposal to ensure your Excel sheets are clean, efficient, and ready for analysis. By mastering these techniques, you can significantly reduce the time spent on data management, allowing you to focus on what really matters - analyzing the data and gaining insights.
Additional Tips
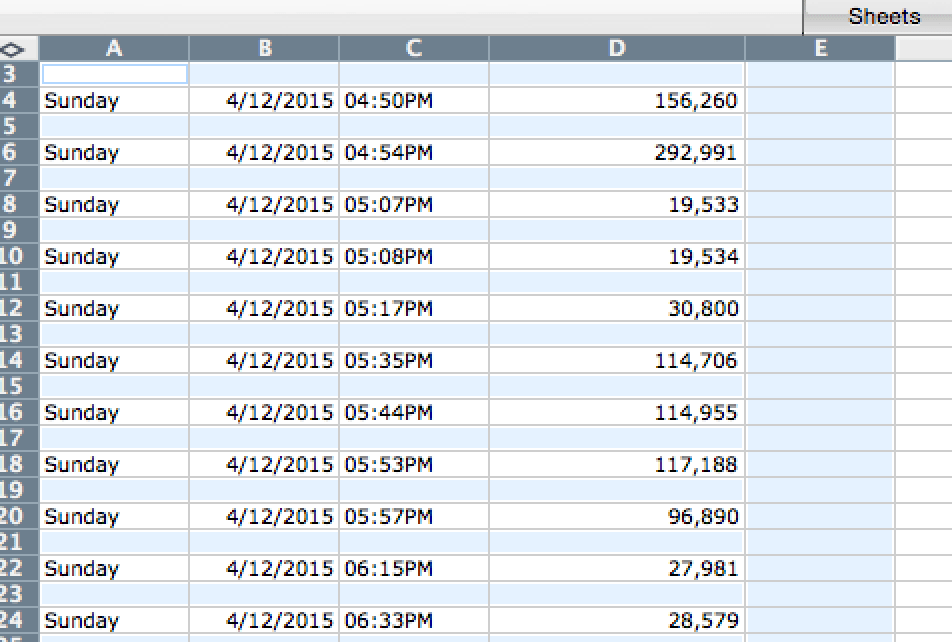
- Keyboard Shortcuts: Use Ctrl + "-" to quickly open the "Delete" dialog for selected cells or rows.
- Undo Function: Utilize the Undo feature (Ctrl + Z) if you accidentally delete the wrong rows.
What is the best method for removing unwanted rows in Excel?
+
The “best” method often depends on the size of your dataset and the complexity of your removal criteria. For small datasets, manual deletion or filtering might suffice. For large datasets or complex conditions, VBA scripts offer the most efficiency.
Can I recover rows I’ve accidentally deleted?

+
Yes, if you immediately realize the mistake, use the “Undo” feature (Ctrl + Z). If more changes have been made, you might need to revert to a previous version of the workbook or restore from a backup if available.
How can I delete multiple rows with similar content?

+
Use the filter method to select rows with similar content, then delete them all at once. Alternatively, write a VBA script to automate this process based on specific content or conditions.


