5 Easy Steps to Import Excel Data into SQL Table

The process of importing Excel data into an SQL table can seem daunting, but with the right steps, it can be an effortless task. Whether you're a business analyst needing to update data, an IT professional setting up a new system, or simply someone looking to integrate Excel spreadsheets into a database, this guide will help you achieve your goal seamlessly.
Step 1: Preparing Your Excel Data

Before you start the import, your Excel file must be in optimal shape for SQL:
- Headers: Ensure the first row has headers that define each column. These will become field names in your SQL table.
- Data Types: Review your data types to match SQL's. Numbers should be numbers, dates should follow a standard format, and text should not have excessive special characters.
- No Merged Cells: SQL tables require distinct columns and rows, so unmerge any cells in Excel.
- Blank Rows/Cells: Check for and remove any blank rows or cells that might confuse SQL during import.
💡 Note: Ensure data types in Excel are as consistent as possible with SQL types to avoid conversion errors.
Step 2: Connecting to the Database

To perform the import, you need to establish a connection with your SQL database. Here's how:
- SQL Software: Open your SQL software like SQL Server Management Studio (SSMS), MySQL Workbench, or any other client that supports your SQL server.
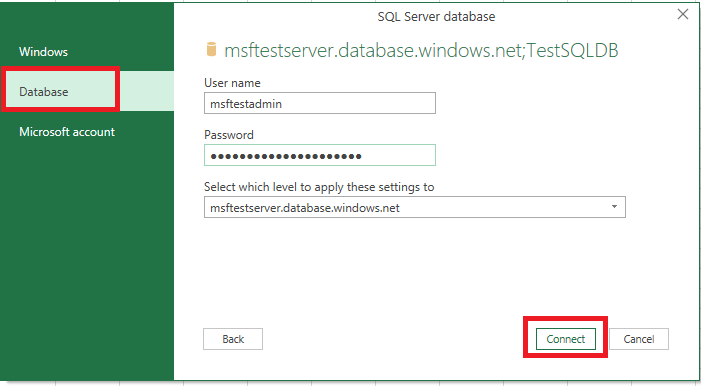
- Connection Details: Enter server details, user credentials, and choose the database where you want to import the data.
- Create a New Table: You might need to create a table if one does not already exist to match your Excel data structure.

Step 3: Importing Data

Now, let's look at the process to import your Excel data into your SQL table:
- Import Wizard or Bulk Insert: Use the import wizard in your SQL software or a command like BULK INSERT.
- Source File: Navigate to your Excel file or a .csv file (you can save Excel as .csv for easier SQL import).
- Mapping Columns: Map the Excel columns to the SQL table columns, ensuring data types match or can be converted.
- Run Import: Execute the import process and monitor for any errors or warnings.
| Excel Data Type | SQL Data Type |
|---|---|
| Text | VARCHAR |
| Numbers | INT, FLOAT |
| Date/Time | DATETIME, DATE |

🔥 Note: For large datasets, consider staging your data in a temporary table to help manage errors or performance issues.
Step 4: Verifying Data Integrity

After importing, ensure that your data was transferred correctly:
- Compare Counts: Verify the row count in Excel matches that in SQL.
- Spot Check: Select random records for validation.
- Data Type Conversions: Confirm that no data was lost or corrupted during the import.
- Key Checks: Ensure primary keys and indexes are set properly.
Step 5: Final Adjustments

Your import might require some final tweaks:
- Handle Import Errors: Resolve any import errors or exceptions.
- Automate Future Imports: Set up scripts or procedures for recurring imports.
- Backup: Make sure to back up the database before major data changes.
By now, your Excel data should be seamlessly integrated into your SQL table, allowing you to leverage the power of databases for better data management, querying, and analytics. Remember that maintaining data consistency and managing its lifecycle once in SQL will now be a key part of your data strategy. Ensure regular backups, monitor for performance, and keep your data clean to maximize the benefits of your SQL integration.
Can I automate the import of Excel data into SQL?

+
Yes, you can automate the import process using scripts or SQL Server Integration Services (SSIS) to schedule data imports, although setting this up requires additional knowledge and access permissions.
What if my Excel sheet has too many rows for my SQL table to handle?

+
For large datasets, consider importing in chunks or using data transformation services like SSIS or ETL tools to manage bulk data load efficiently.
What happens if there are errors during the import?

+
Most SQL import tools provide logs where you can review and address errors. Check the integrity of your data, ensure data types match, and consider cleaning your Excel data before import.


