5 Easy Ways to Manage Multiple Sheets in Excel

Effective spreadsheet management is vital for anyone dealing with large amounts of data. With Excel, one of the most versatile tools for data manipulation, managing multiple sheets efficiently can significantly streamline your workflow. Here are five easy ways to master the art of Excel sheet management:
1. Color Coding Tabs

Excel allows you to color-code your worksheet tabs, making it easier to distinguish different sheets visually:
- Right-click on a worksheet tab.
- Select “Tab Color” from the dropdown menu.
- Choose a color that makes sense for your project’s structure.
Utilize colors to categorize sheets, such as using blue for financial data, red for urgent tasks, or green for completed work. This visual cue speeds up navigation and helps in organizing complex projects.
🎨 Note: Make sure the colors you choose are consistent across all related sheets to maintain clarity.
2. Using Hyperlinks

Hyperlinks can link from one part of your workbook to another or even to different workbooks:
- Right-click a cell.
- Choose “Hyperlink” from the context menu.
- Select “Place in This Document” to link to another sheet or cell within your workbook.
This method is particularly useful for cross-referencing data or creating a table of contents sheet, which directs users to different parts of your workbook.
3. Grouping Sheets

When you need to perform the same action across several sheets, grouping can save time:
- Click on the first sheet, hold down the Shift key, and click on the last sheet you want to group.
- Any changes made will now apply to all grouped sheets.
Grouping can be used for formatting, entering data, or making mass changes to cell values. Here’s how it looks:
| Action | Description |
|---|---|
| Format Cells | Apply consistent formatting to multiple sheets at once. |
| Data Entry | Enter headers or footer information across grouped sheets. |
| Mass Changes | Change formulas or values for specific cells on all sheets in the group. |

📁 Note: Remember to ungroup sheets when finished to avoid unintended changes to other sheets.
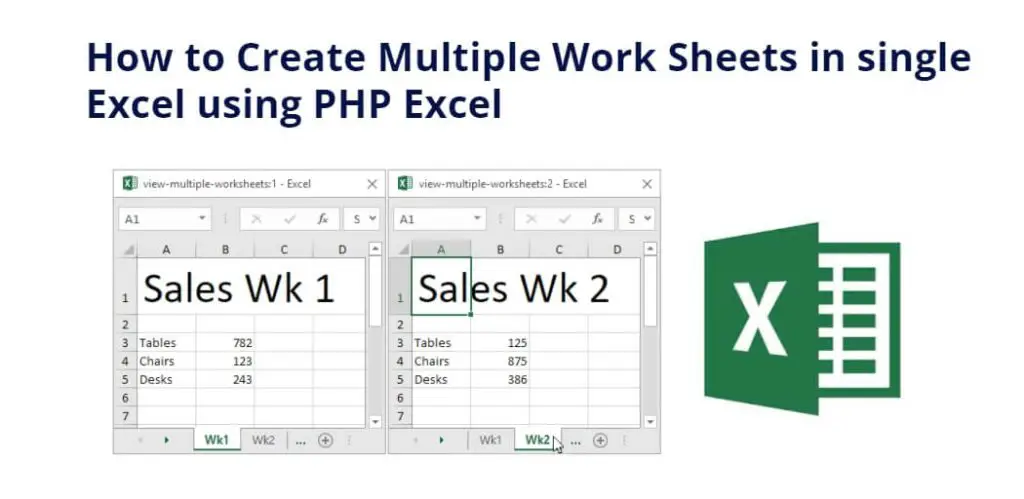
4. Using the New Window Feature

If you need to view two sheets at the same time:
- Go to “View” on the Excel Ribbon.
- Click “New Window.”
- Now you can have two instances of your workbook open, allowing for side-by-side comparison or simultaneous editing.
This is especially useful when you need to compare data or transfer information between sheets without the constant switching back and forth.
5. Named Ranges

Naming cell ranges is a powerful feature for referencing data across sheets:
- Select the cell or range of cells you want to name.
- Go to “Formulas” > “Define Name” or press Ctrl + F3.
- Enter a meaningful name for the range.
Once defined, these ranges can be referenced from any sheet within the workbook, making your formulas more readable and your data easier to manage.
Wrapping up, managing multiple sheets in Excel doesn’t have to be an overwhelming task. By implementing these five strategies, you can turn the management of complex data into a more streamlined and efficient process. From the simplicity of color coding to the advanced usage of named ranges, each method enhances your ability to work with data seamlessly. The key to mastering Excel lies in understanding and utilizing these tools to fit your workflow, allowing you to unlock the full potential of this robust software.
Can I group sheets without selecting them individually?

+
Yes, if sheets are next to each other, you can click the first, hold Shift, and click the last sheet to group them all at once.
How do I remove a tab color I set for a sheet?

+
Right-click the tab and select “Tab Color” again, then choose “No Color” from the palette.
What happens if I accidentally group sheets and make changes?

+
Changes will be applied to all grouped sheets. Use Ctrl+Z (undo) to revert these changes, and ungroup the sheets by right-clicking any tab and selecting “Ungroup Sheets.”
How can I find a named range I created?

+
Go to “Formulas” > “Name Manager” to see all the named ranges in your workbook. You can also use the Name Box next to the formula bar to type in the name and jump to it directly.
Is there a way to protect sheets from changes while still allowing navigation?

+
Yes, you can protect sheets by going to “Review” > “Protect Sheet,” allowing you to set permissions for what users can and cannot do. You can still navigate between sheets even when they are protected.


