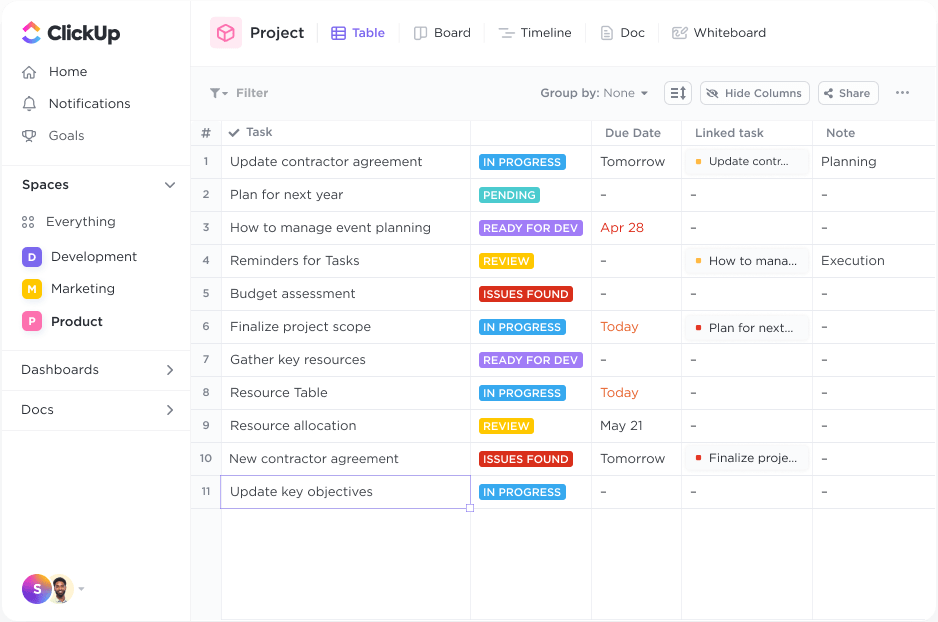
Create Excel Check Sheets: Easy Guide

Creating Excel check sheets is an excellent way to enhance productivity, ensure accuracy, and keep tasks, projects, or processes on track. Whether you're managing an event, keeping track of inventory, or organizing daily tasks, a well-designed Excel check sheet can make all the difference. This guide will walk you through the steps to create your own check sheets in Excel, offering both basic and advanced tips to suit your needs.
Setting Up Your Spreadsheet

First, open Excel. Here’s how to set up your sheet:
- Create New Workbook: Start with a new Excel file.
- Name Your Sheets: Consider naming your sheets descriptively, like “Inventory,” “Project Tasks,” or “Event Checklist.”
- Design Layout: Decide on the columns and rows you’ll need. For instance, for an inventory check sheet, you might have columns like ‘Item Name,’ ‘Quantity,’ ‘Checked,’ and ‘Date.’

Creating Basic Check Sheets

Here’s how to construct a simple check sheet:
- Enter Header: In the first row, type your headers. Bold these to distinguish them from the data.
- Format Columns: Adjust column widths to ensure readability. Use
Format Cellsfor date formats or number formatting. - Add Checkboxes: Go to ‘Developer’ tab (if not visible, right-click the ribbon, choose ‘Customize the Ribbon’ and check ‘Developer’). From there, select ‘Insert’ and add ‘Check Box (Form Control)’ to your sheet where you want checks to be placed.
- Create Formulas: For automatic tracking, you can use Excel formulas. For example, to count checked items:
Where ‘C2:C100’ is the range of your checkboxes.=COUNTIF(C2:C100, TRUE)
🔍 Note: To enable Developer tab, go to Excel Options > Customize Ribbon > Main Tabs > Check Developer
Customizing Your Check Sheets

Beyond basics, customize your check sheets with the following enhancements:
- Conditional Formatting: Use conditional formatting to change cell colors based on checked status or values, making visual tracking easy.
- Drop-down Lists: Add data validation to create drop-down lists for certain fields to standardize entries.
- Hyperlinks: If you need to reference other documents or web links, use Excel’s hyperlink feature.
- Filters: Add filters to your headers to sort or filter data quickly.
Sharing and Collaboration

Excel is not just for personal use; here’s how to share your check sheet:
- Share the File: Use ‘Share’ to send a link or invite people via email. Choose edit or view permissions.
- Using OneDrive: Store your Excel file on OneDrive to enable real-time collaboration.
- Export Options: Excel files can be exported in various formats for broader compatibility.
- Version History: Use OneDrive’s version history to track changes made to the file.

Advanced Features for Productivity

Take your check sheets to the next level:
- Power Query: Use Power Query to connect to external data sources or automate data import.
- VBA Macros: Automate repetitive tasks with VBA scripts. For example, automatically check items as done when due dates pass.
- Dashboard Creation: Compile multiple check sheets into a dashboard with charts, graphs, and summaries for at-a-glance monitoring.
Creating an Excel check sheet isn’t just about making lists; it’s about crafting a tool that streamlines your workflow, enhances efficiency, and reduces errors. From simple task lists to intricate project management, Excel's flexibility is unmatched. By following these steps, customizing your sheets, and leveraging Excel's advanced features, you can transform how you approach organization and tracking.
What are the advantages of using Excel for check sheets?

+
Excel’s advantages include customization, automation capabilities, collaboration features, and powerful data analysis tools, making it an ideal platform for creating check sheets tailored to various needs.
How can I make my check sheet more user-friendly?

+
Use color coding, conditional formatting, clear headers, filters, and possibly integrating VBA macros for automation to enhance user experience and functionality.
Can I collaborate on an Excel check sheet in real time?

+
Yes, by storing the file on OneDrive or SharePoint, multiple users can edit and view the check sheet simultaneously, with changes reflected in real-time.


