5 Easy Steps to Copy Paste from Excel to Google Sheets

Transferring data from Microsoft Excel to Google Sheets can significantly improve your workflow, especially if you leverage the collaboration features and seamless accessibility of Google Sheets. Whether you're shifting from a desktop to cloud-based solution or just need to integrate data across platforms, these steps will make the process seamless.
Understanding Excel and Google Sheets Compatibility

Excel and Google Sheets are both powerful tools for data management but have key differences:
- File Formats: Excel typically uses .xlsx files while Google Sheets uses .gsheet files stored in Google Drive.
- Functionality: While they share many functionalities, some functions differ or are absent in one or the other.
- Collaboration: Google Sheets excels in real-time collaboration, which Excel has tried to catch up with through Office Online.

⚠️ Note: Always check if complex features from Excel are supported in Google Sheets before transferring data.
Step 1: Prepare Your Excel Data

Before copying data:
- Organize your data in Excel by grouping related columns or sheets.
- Ensure all formulas are correct, as some may not translate perfectly to Google Sheets.
- Remove any locked cells or conditional formatting that might not transfer.
📝 Note: If your Excel workbook contains macros, they won’t translate to Google Sheets. Consider creating new functions in Google Sheets.
Step 2: Open Google Sheets

To begin:
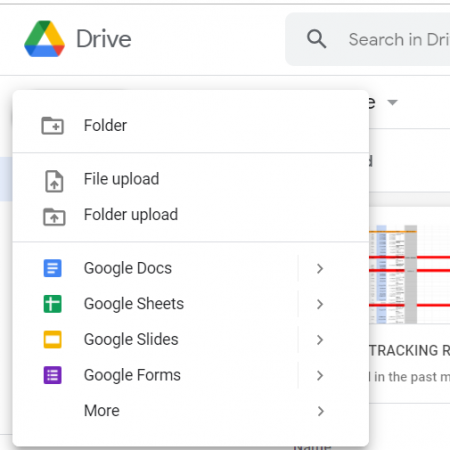
- Go to Google Drive and create a new blank Google Sheets document or open an existing one.
- If you are starting from scratch, make sure you have proper formatting ready to receive data.

Step 3: Copy Data from Excel

To copy your data:
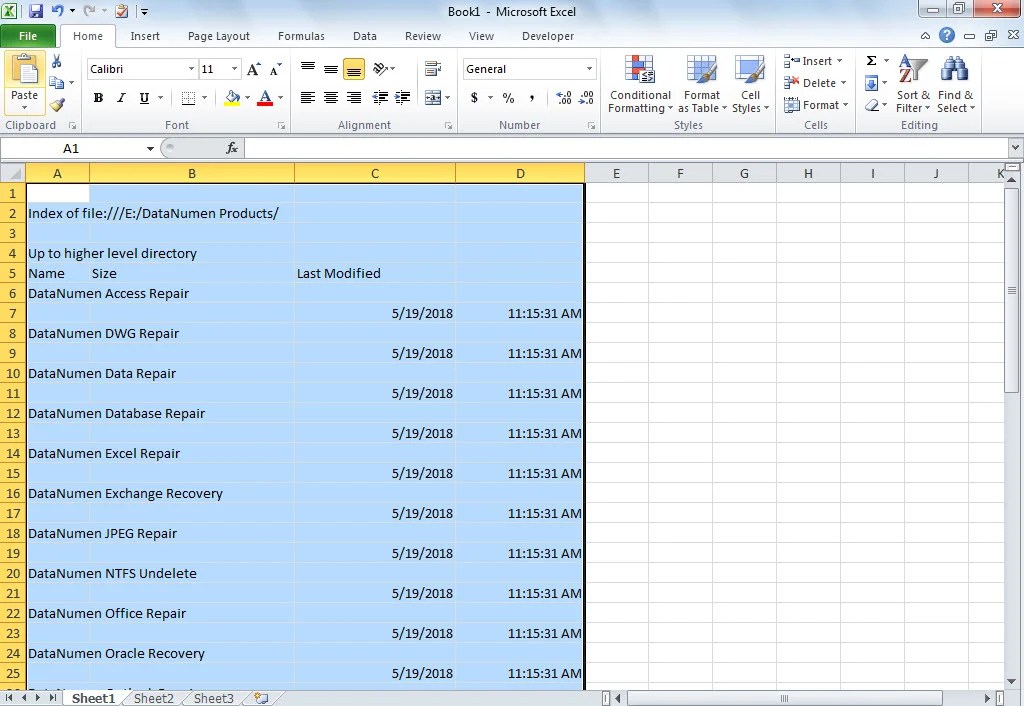
- Select the range of cells in Excel you want to transfer.
- Press Ctrl+C (Windows) or Cmd+C (Mac) to copy the selected cells.
- In Google Sheets, click where you want to paste the data.
| Action | Excel | Google Sheets |
|---|---|---|
| Select Cells | Click and drag mouse | Click and drag mouse |
| Copy | Ctrl + C | Ctrl + C / Cmd + C |
| Paste | N/A | Ctrl + V / Cmd + V |

Step 4: Paste into Google Sheets

To paste your data:
- Select the destination cell in Google Sheets.
- Press Ctrl+V (Windows) or Cmd+V (Mac) to paste the data.
- Or use the context menu by right-clicking and choosing ‘Paste’.

⚠️ Note: If you paste a large dataset, Google Sheets might take a moment to process the data, so give it time.
Step 5: Check Data Integrity and Functionality

After pasting:
- Verify if all data has been transferred correctly.
- Check if formulas are functioning as expected.
- Review any formatting or conditional formatting that might have changed.
This process of copying and pasting from Excel to Google Sheets is quite straightforward, but there are nuances to consider, especially when dealing with complex data sets or if you need to maintain functionality. By following these steps, you ensure a smooth transition between these two widely used spreadsheet platforms.
Can I transfer Excel macros to Google Sheets?

+
Unfortunately, Excel macros do not directly translate to Google Sheets. You’ll need to recreate any needed functionality using Google Apps Script.
What happens to conditional formatting when pasting from Excel to Google Sheets?

+
Google Sheets often maintains basic conditional formatting. However, more complex rules might need to be manually recreated.
How do I ensure Excel charts and graphs transfer to Google Sheets?

+
Charts and graphs must be manually recreated or modified in Google Sheets as they don’t transfer directly with the data.
By following these simple steps, you can efficiently manage your data across Excel and Google Sheets, leveraging the strengths of both platforms. This transition can enhance productivity, collaboration, and data accessibility, making your spreadsheet work more dynamic and cloud-compatible.


