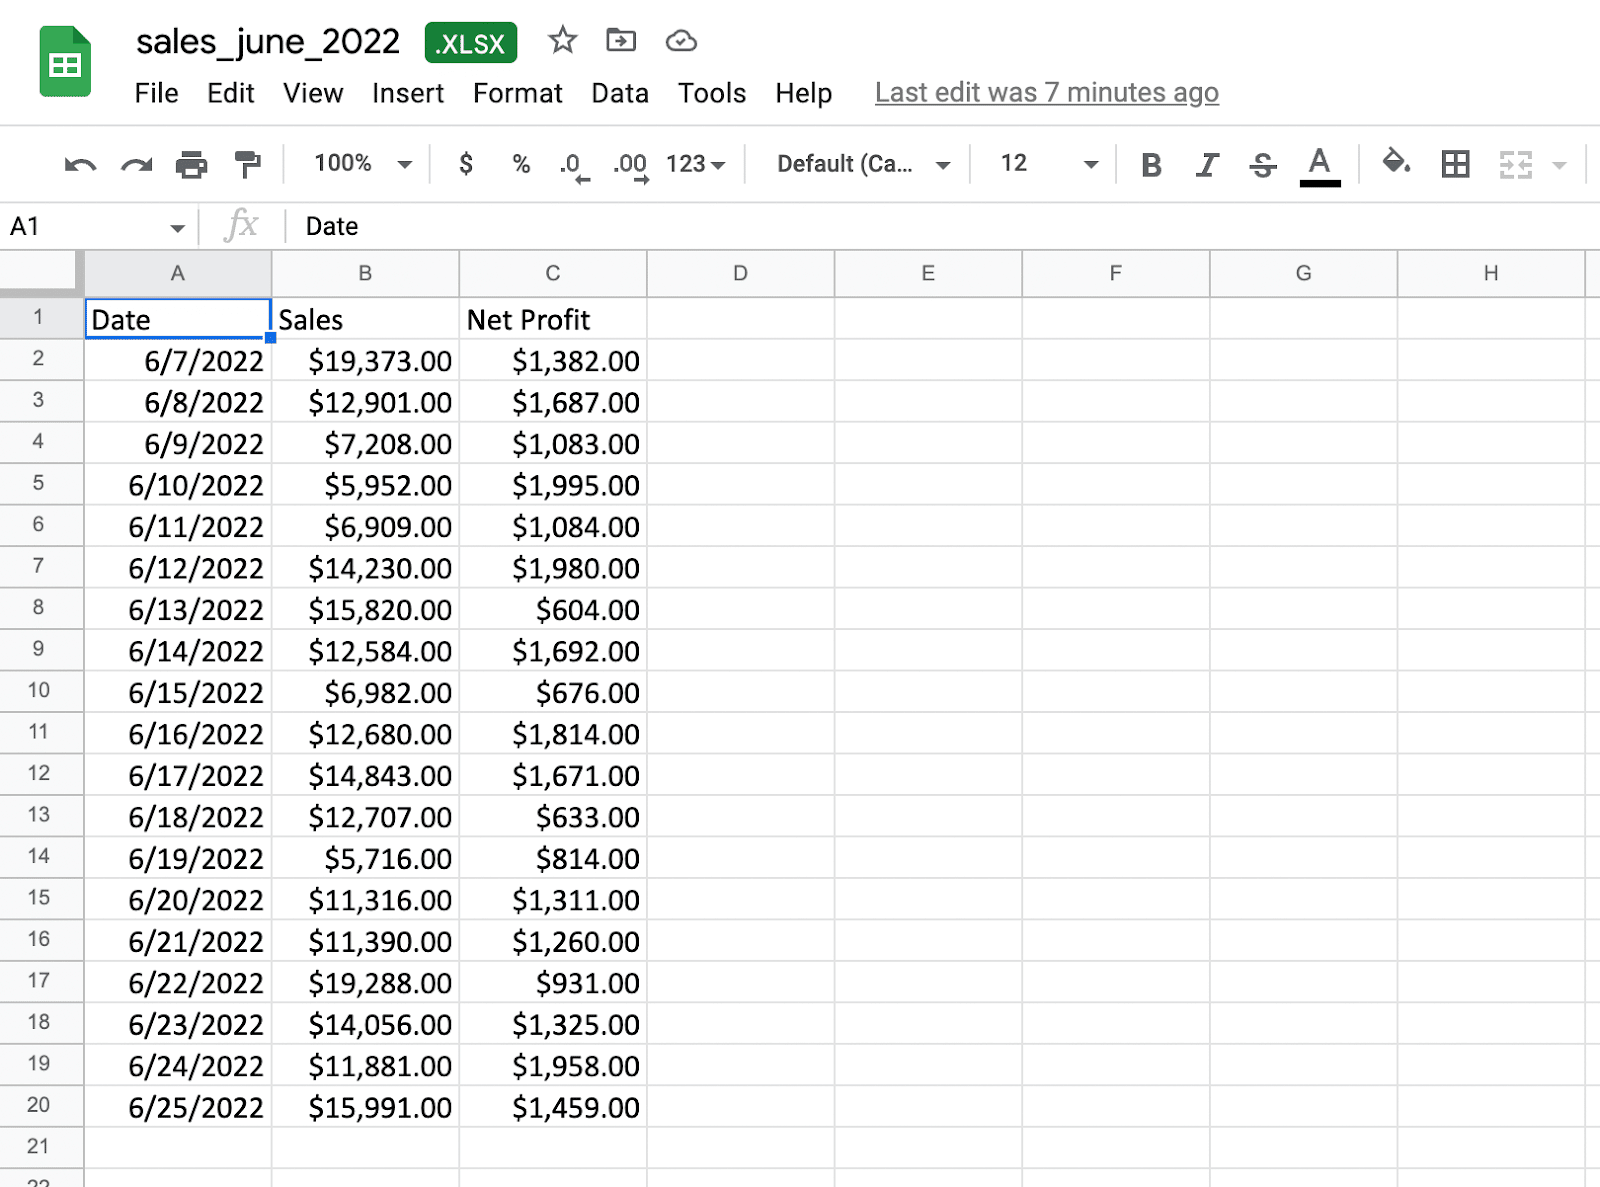
3 Ways to Convert Excel Sheets to Word Docs Instantly

Converting Excel sheets into Word documents is often necessary when you need to present your data in a more narrative or visually appealing format. Whether you're creating reports, sending data-driven documents, or just need to share data in a different layout, mastering this conversion can streamline your productivity and enhance the way information is shared and consumed. In this blog post, we'll explore three efficient methods to convert your Excel data into Word documents, ensuring you can do so with ease and speed.
Method 1: Using the Manual Copy and Paste Approach


The simplest method to convert an Excel sheet into a Word document is through direct copying and pasting. Here's how you can do it:
- Select the Data: In Excel, highlight the cells you want to transfer into your Word document.
- Copy: Right-click and choose 'Copy' or use the keyboard shortcut Ctrl+C.
- Switch to Word: Open your Word document or create a new one where you wish to insert the data.
- Paste: Right-click where you want to insert the data, or use Ctrl+V to paste. Here, you can choose different paste options:
- Keep Source Formatting: This option keeps your data in a table format with the original Excel styling.
- Merge Formatting: Excel's formatting is adjusted to match Word's style.
- Picture: Your table is pasted as an image, useful if you want the table to be uneditable.
📝 Note: If you use 'Picture' as your paste option, remember that the table will not be editable in Word and might require adjustments if you plan to update the data later.
Method 2: Using Paste Special for Better Control


For those needing more control over how Excel data appears in Word, using 'Paste Special' provides additional options:
- Select and Copy Data: Follow the same steps to select and copy data from Excel as outlined in Method 1.
- Open Paste Special: In Word, go to the "Home" tab, click on the arrow under 'Paste', and select 'Paste Special'.
- Choose Paste Option:
- Microsoft Excel Object: This embeds the Excel data into your document. You can then double-click to edit the data within Word, syncing back to the original Excel sheet if changes are saved.
- HTML Format: Similar to 'Keep Source Formatting' but provides more control over table editing in Word.
- Unformatted Text: Removes all formatting, useful if you just need the raw data.
This method allows you to maintain an editable link to the original Excel file, which can be useful for ongoing projects where data might change frequently.
🔗 Note: When using 'Microsoft Excel Object', ensure the original Excel file is saved in a location accessible to both Excel and Word to maintain the link.
Method 3: Use VBA Automation for Bulk Conversion


If you're dealing with multiple Excel files or need to automate the conversion process, Visual Basic for Applications (VBA) in Excel can be a lifesaver:
- Set Up Excel: Open your Excel workbook and press Alt + F11 to open the VBA editor.
- Insert Module: In the VBA editor, go to 'Insert' > 'Module' to add a new module.
- Code Insertion: Copy and paste the following VBA script into the module:
Sub ConvertExcelToWord()
    Dim xlApp As Object, wdApp As Object
    Dim wdDoc As Object, xlSheet As Object
    Dim i As Integer, j As Integer

    'Create a new instance of Word
    Set wdApp = CreateObject("Word.Application")
    wdApp.Visible = True

    'Open a new document
    Set wdDoc = wdApp.Documents.Add

    'Make Excel visible
    Set xlApp = CreateObject("Excel.Application")
    xlApp.Visible = True

    'Get active sheet
    Set xlSheet = xlApp.Sheets("Sheet1")

    'Find last used row and column
    i = xlSheet.Cells(xlSheet.Rows.Count, 1).End(-4162).Row
    j = xlSheet.Cells(1, xlSheet.Columns.Count).End(-4159).Column

    'Loop through all cells and transfer data to Word
    For x = 1 To i
        For y = 1 To j
            wdDoc.Paragraphs.Add
            wdDoc.Paragraphs.Last.Range.Text = xlSheet.Cells(x, y).Value & vbTab
        Next y
        wdDoc.Paragraphs.Last.Range.InsertParagraphAfter
    Next x

    'Clean up
    Set wdDoc = Nothing
    Set wdApp = Nothing
    Set xlSheet = Nothing
    Set xlApp = Nothing
End Sub
- Run the Macro: Go back to Excel, run the macro from the 'Developer' tab or by pressing F5 in the VBA editor.
This VBA script will open Word, copy the contents of "Sheet1" in your Excel workbook, and paste it into a new Word document in a tabular format.
💾 Note: If you have multiple sheets to convert, you'll need to modify the VBA code or run the macro multiple times for each sheet.
Summary

By now, you should have a solid understanding of how to convert Excel sheets to Word documents efficiently. Each method offers its own benefits:
- The Manual Copy and Paste Approach is quick and easy for small, one-time tasks.
- Paste Special provides flexibility in formatting and is ideal for maintaining an editable link to your original data.
- VBA Automation automates bulk conversions, saving time when dealing with large datasets or repetitive tasks.
Depending on your specific needs, one method might be more suitable than the others. For most users, the manual method is straightforward, but for those needing more control or dealing with frequent updates, mastering Paste Special or VBA could be more advantageous.
Can I edit the Excel table in Word after converting?

+
Yes, when you paste using ‘Microsoft Excel Object’ in Paste Special, you can double-click the table to edit it. Any changes made will update the linked Excel file if saved properly.
How do I keep the formatting from Excel when pasting into Word?

+
Use ‘Keep Source Formatting’ as your paste option, or for more control, select ‘Paste Special’ and choose HTML Format or Microsoft Excel Object.
What if I don’t see the option for ‘Paste Special’ in Word?

+
The ‘Paste Special’ option might be available under the ‘Paste’ dropdown or can be accessed through the ‘Home’ tab in the ribbon. If not visible, check your Word settings or ensure you’re running a recent version of Microsoft Office.


