5 Ways to Compare Excel Sheets in Office 2010

Comparing Excel sheets can be a daunting task, especially when dealing with large datasets, financial models, or when you need to ensure data integrity across multiple documents. Microsoft Excel 2010 offers several tools and methods to facilitate this comparison process, ensuring accuracy and efficiency. Let's explore five ways to compare Excel sheets in Office 2010.
1. Side-By-Side Comparison

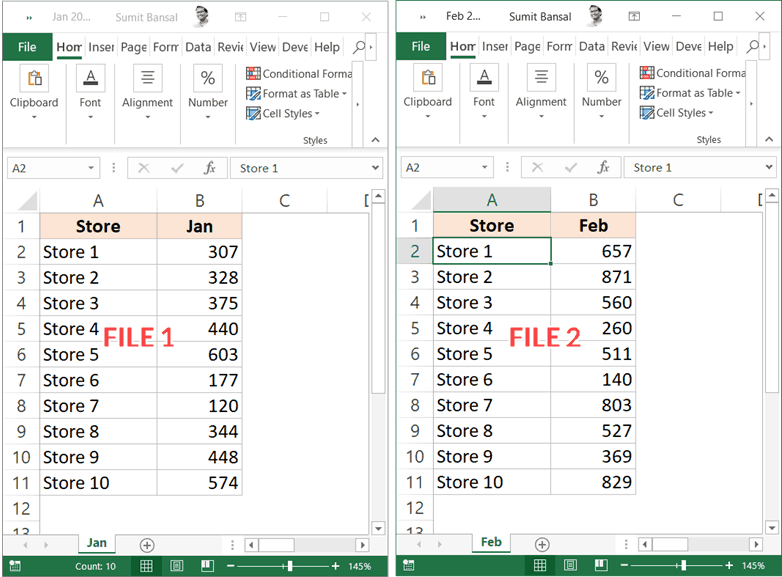
One of the simplest ways to compare sheets is to view them side by side:
- Open both Excel files you want to compare.
- Go to the View tab on the Ribbon.
- Click on View Side by Side. If you have more than two sheets open, you'll get a dialog box to choose which sheets you want to compare.
💡 Note: This method is ideal for a manual comparison where you can visually inspect the differences in data.
2. Using the Synchronous Scrolling Feature

When you're looking at sheets side by side:
- Once in the View Side by Side mode, enable Synchronous Scrolling from the View tab or use the shortcut `Alt+W+K`.
- This feature will scroll both sheets at the same time, allowing you to match data points effortlessly.
3. Highlighting Differences with Conditional Formatting

Conditional formatting can help you spot differences:
- Select the data you want to compare.
- Go to the Home tab, click Conditional Formatting > New Rule.
- Under Use a formula to determine which cells to format, enter a formula like `=A1<>Sheet2!A1` to highlight differences.
- Choose a format to highlight differences, like a cell fill color.
📌 Note: Ensure that the sheets you're comparing are correctly identified in the formula; otherwise, the comparison might yield false results.
4. Comparing and Merging Workbooks

Excel 2010 introduces the Compare and Merge Workbooks feature for users who have enabled shared workbooks:
- In the Review tab, click on Compare and Merge Workbooks.
- This tool merges changes from two copies of the same workbook, showing you what has changed or been added.
| Workbook A | Workbook B | Merged Workbook |
|---|---|---|
| Original Data | Changes made by another user | Shows Changes |

🔎 Note: This feature requires that both workbooks are copies from the same original file, or the merge function won't work correctly.
5. Using Excel Add-ins or Third-Party Tools

If the built-in features don't meet your needs, Excel add-ins or third-party tools can provide more advanced comparison options:
- Spreadsheet Compare: This tool comes with Office 2013 and later versions but can be downloaded for 2010. It provides a detailed comparison between Excel sheets.
- Diff Tools: Tools like DiffEngineX allow for programmatic comparison and integration with source control systems.
To summarize, the methods of comparing Excel sheets in Office 2010 vary from simple visual inspections to automated tools:
- Side-by-side viewing helps with quick, manual checks.
- Synchronous scrolling makes navigation easier during comparison.
- Conditional Formatting provides a visual cue for differences.
- Merge and Compare for collaborative work environments.
- Add-ins and Third-party tools for advanced comparison needs.
Each method has its strengths, and the choice depends on the context of your work, the size of the dataset, and the complexity of the comparison required.
What if the spreadsheets I want to compare have different structures?

+
For sheets with different structures, manual or visual comparison methods like side-by-side viewing or highlighting differences with conditional formatting might be more effective than automated tools.
Can I compare more than two Excel sheets at once?

+
Excel’s built-in tools are limited to comparing two sheets at a time. For multiple sheet comparison, consider using third-party tools like Beyond Compare or custom VBA scripts.
How do I ensure accurate data comparison in Excel?

+
Ensure your comparison formulas are correct, make sure all sheets have the same structure and formatting, and consider using Excel’s data validation to minimize entry errors.


