3 Simple Ways to Add Checkboxes in Excel

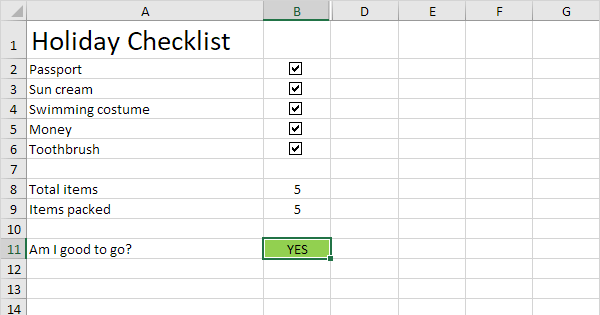
Discovering how to add checkboxes in Excel can significantly enhance the functionality of your spreadsheets. Whether you're tracking tasks, managing inventory, or conducting surveys, checkboxes provide an interactive and clear way to mark and organize data. Let's delve into the three simple methods to implement checkboxes in your Excel worksheets:
1. Using Excel’s Developer Tab

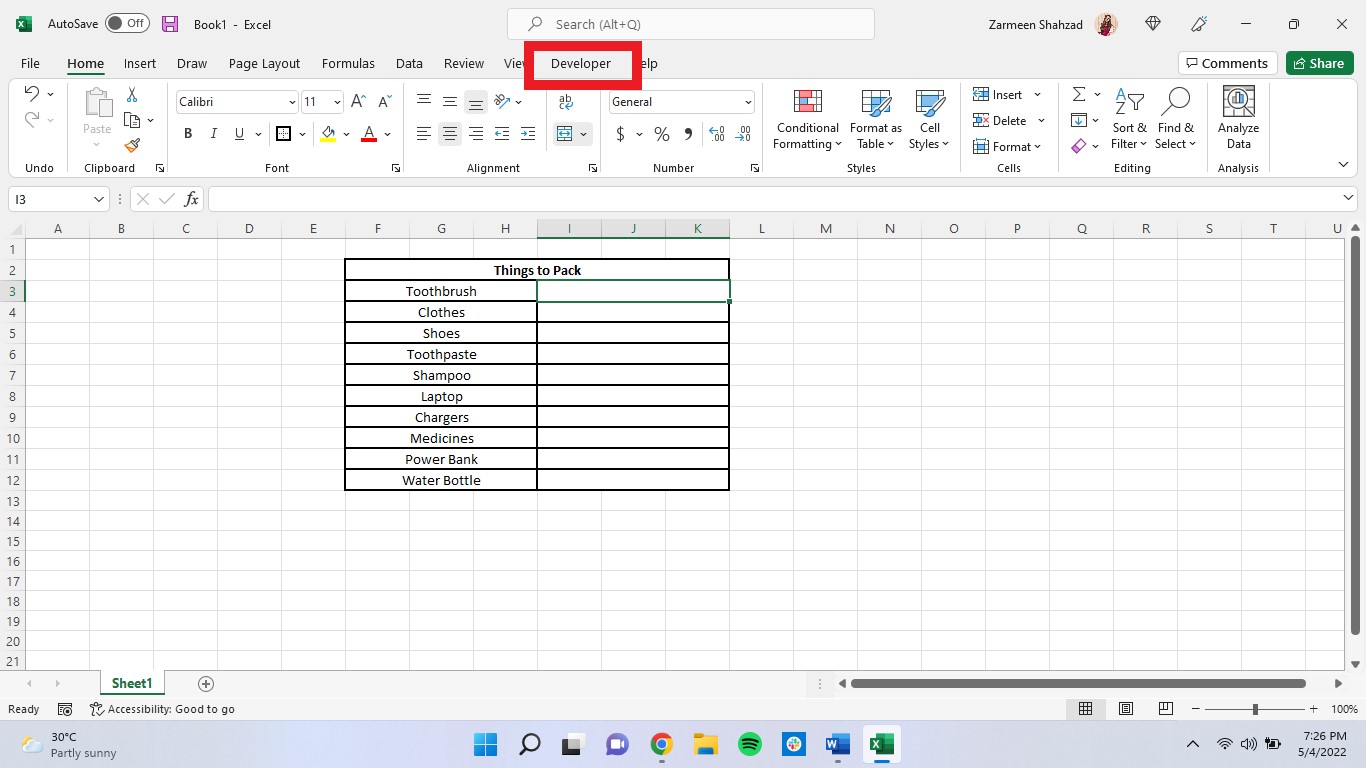
Excel’s Developer tab offers native tools for inserting form controls like checkboxes. Here’s how to do it:
- Enable the Developer tab:
- Navigate to ‘File’ > ‘Options’.
- Select ‘Customize Ribbon’.
- Check the box beside ‘Developer’ under ‘Main Tabs’.
- Click ‘OK’ to apply changes.
- Insert a Checkbox:
- Go to the ‘Developer’ tab and click on ‘Insert’.
- Select ‘Form Controls’ and choose the checkbox.
- Click on your spreadsheet where you want the checkbox to appear.
- Customize the Checkbox:
- Right-click on the checkbox to edit text, align, or change size.
- Link the checkbox to a cell by selecting ‘Format Control’ and choosing a cell to link to, which will display ‘TRUE’ or ‘FALSE’ as you toggle the checkbox.
2. Inserting Checkboxes via Excel Formulas

If you prefer not to use the Developer tab or need checkboxes integrated within your cells, formulas can come in handy:
- Create a checkbox effect with CHAR function:
- Use
=CHAR(168) & CHAR(251)to create a character that looks like a checkbox. It won’t be interactive but serves visual purposes.
- Use
- Link checkboxes to other cells:
- Insert
=IF(A1=TRUE,CHAR(252),CHAR(168))in a cell where ‘A1’ is the cell linked to a checkbox. This formula shows a checked or unchecked box based on the value in A1.
- Insert
3. Using Third-Party Add-Ins

For more advanced or visually appealing checkboxes, third-party add-ins might be the solution:
- Download and Install an Add-In:
- There are several Excel add-ins available that allow for enhanced checkbox functionality and design.
- Integrate Add-In into Excel:
- After installation, you can access these tools usually through an additional tab or menu within Excel.
- Customize and Use:
- These add-ins typically provide easy-to-use options for checkbox customization, including colors, styles, and linking options.
💡 Note: When using the Developer tab, remember to save your Excel file as a macro-enabled workbook (.xlsm) to preserve the form controls.
💡 Note: The CHAR formula for checkboxes can vary based on the font used. Make sure to use fonts that support these special characters.
Adding checkboxes to your Excel spreadsheets doesn't have to be complicated. Each of the three methods outlined above offers different levels of customization and interactivity, catering to various user needs. Using the Developer tab provides traditional form controls, formulas give you flexibility without additional software, and add-ins can enhance the visual appeal and functionality of your checkboxes. By incorporating these techniques, you can manage data more efficiently and make your spreadsheets more engaging for those who interact with them.
How do I link a checkbox to a cell?

+
To link a checkbox to a cell, right-click on the checkbox, select ‘Format Control’, and under ‘Control’, enter the cell reference you want to link to. This cell will then show TRUE when checked and FALSE when unchecked.
Can I use checkboxes in Excel without the Developer tab?

+
Yes, you can simulate checkboxes using Excel formulas or by formatting cells with special characters that resemble checkboxes.
What are the benefits of using third-party add-ins for checkboxes in Excel?

+
Third-party add-ins can provide more advanced options like custom styles, more interactive controls, and seamless integration with other Excel functions, enhancing the user experience and productivity.


