3 Ways to Print Excel Sheets on One Page

Printing an Excel spreadsheet can often be a challenge, especially when dealing with large data sets or multiple sheets that need to fit onto a single page. This guide will walk you through three effective methods to ensure your Excel sheets print on just one page, improving both the readability and presentation of your data. Whether you're preparing for a meeting, creating a handout, or just wanting to save some paper, these methods will streamline the process.
Method 1: Adjusting Page Layout
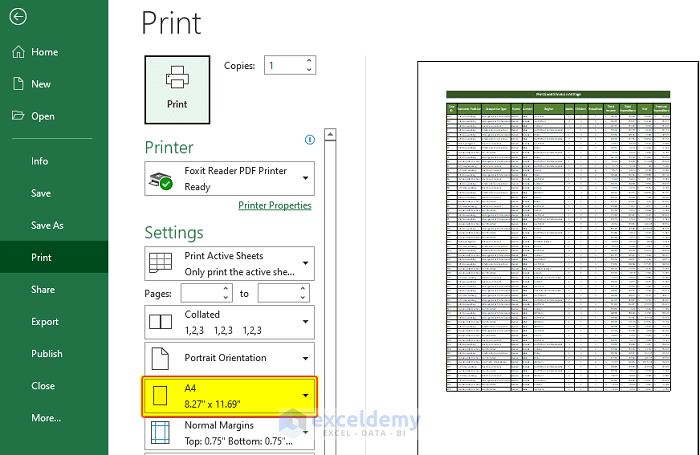
The first approach involves adjusting your Excel page layout settings to control how your data is printed. Here’s what you need to do:
- Go to the Page Layout Tab: From your Excel worksheet, click on the ‘Page Layout’ tab at the top.
- Scale to Fit:
- Click on ‘Scale to Fit’ in the Page Setup group.
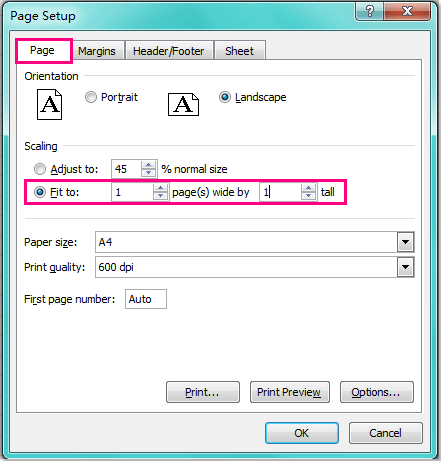
- Adjust the ‘Width’ drop-down to ‘1 page’ and ‘Height’ to ‘Automatic’. This tells Excel to automatically adjust the scale so that the print fits on one page width-wise.
- Margins: Set your margins to narrow or custom to give yourself more space if needed.
- Orientations: Landscape orientation often allows more columns to fit on one page.
- Print Preview: Use ‘Print Preview’ to see how your changes affect the layout. Adjust accordingly.
📝 Note: Remember that shrinking your data to fit on one page might make the text very small, potentially reducing readability.
Method 2: Manually Adjusting Column Widths and Row Heights
If your data set is just slightly too large for a single page, manually adjusting column widths and row heights can help:
- Column Width:
- Click on the column header to select the column.
- Right-click and choose ‘Column Width’ to adjust the width manually.
- Row Height:
- Click on the row number to select it.
- Right-click, select ‘Row Height’, and adjust manually.
- Wrap Text: If your cells contain large amounts of text, using the ‘Wrap Text’ feature under ‘Home’ > ‘Alignment’ can help manage space.
- Merge Cells: To save space, consider merging cells with the same data.
📚 Note: Be cautious when merging cells as it can complicate sorting, filtering, or working with the data later on.
Method 3: Using Excel’s Page Break Preview
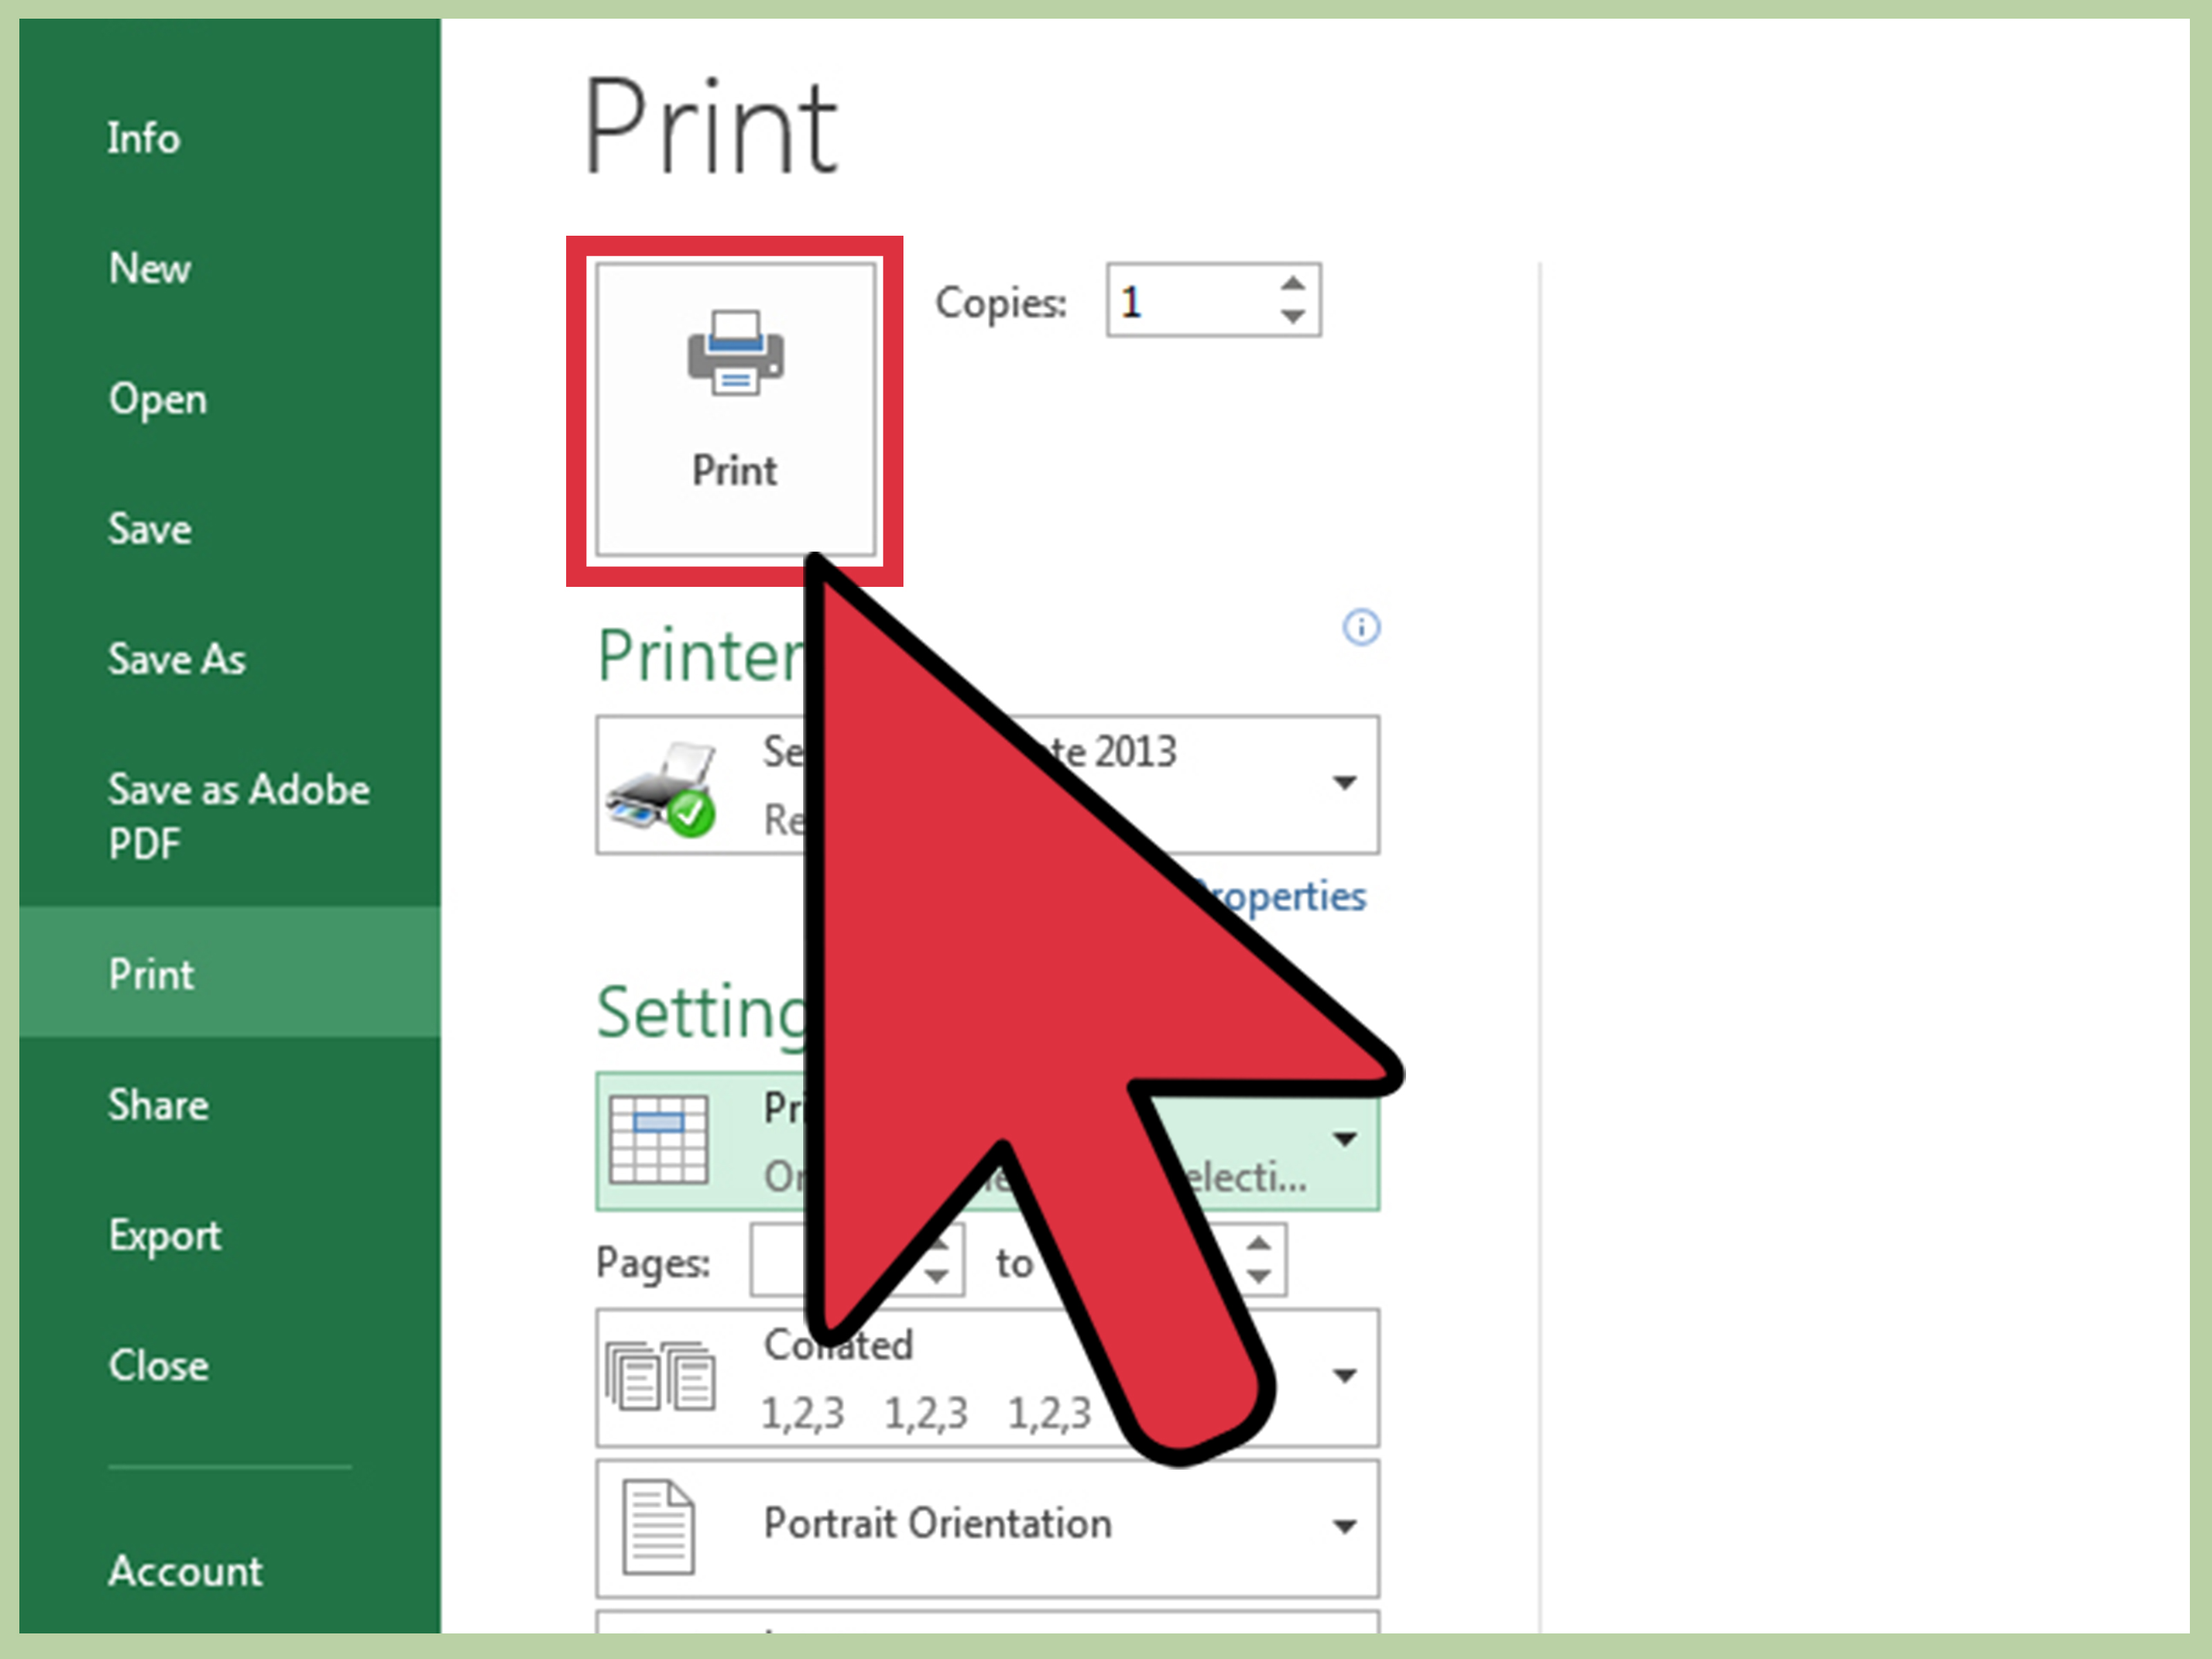
The Page Break Preview feature in Excel allows you to see where automatic and manual page breaks will occur, providing you control over where your data gets cut:
- View Page Breaks:
- Go to the ‘View’ tab.
- Click on ‘Page Break Preview’.
- Adjust Breaks: Drag the blue lines (automatic page breaks) or insert your own by right-clicking and selecting ‘Insert Page Break’.
- Fit to One Page: Use the ‘Page Layout’ settings as mentioned in Method 1 to fit your content once you’ve adjusted the breaks.
This method provides the most hands-on control over how your Excel document will print, allowing for precise adjustments to ensure all data fits on one page.
In summary, managing how your Excel data prints involves a combination of settings adjustments and manual tweaking. Here are the key takeaways:
- Adjust Page Layout: Use the ‘Scale to Fit’ options, along with custom margins and orientations to make your data fit neatly on one page.
- Manual Adjustments: Modify column widths, row heights, and use features like Wrap Text or Merge Cells to manage space more efficiently.
- Page Break Preview: Utilize this view to control where pages break, ensuring your data is presented as you wish.
By mastering these techniques, you can ensure your Excel sheets are printed efficiently, reducing paper waste while maintaining data clarity and presentation quality.
Can I save a custom print setup in Excel?

+
Yes, you can save your print settings by creating a print macro or using the Save As feature with Page Layout included. However, remember that print settings are workbook-specific, not worksheet-specific.
Will these methods affect the readability of my data?
+
They might, especially if you scale down significantly. Always check the Print Preview or print a test page to ensure the text size is still readable.
How do I avoid splitting data across pages?

+
Use the Page Break Preview to manually adjust where pages break, ensuring critical data stays together. Also, consider using ‘Keep Rows Together’ under ‘Table Properties’ if dealing with tables.
