Effortlessly Insert Excel Sheets into Word: A Simple Guide

Welcome to our comprehensive guide on how to insert Excel sheets into Microsoft Word documents. Whether you're working on a report, creating a presentation, or simply need to share data in a visually engaging manner, merging information from Excel into Word can significantly enhance your documents. In this article, we'll walk through the step-by-step process, ensuring that your workflow remains smooth and your data remains perfectly formatted.
Why Integrate Excel and Word?

Excel and Word are two of the most widely used tools in the Microsoft Office suite. Here are a few compelling reasons to integrate them:
- Visual Impact: Data is easier to digest when presented visually, and Excel’s charts and tables can add professional appeal to your Word documents.
- Data Integrity: By linking Excel sheets to Word, you ensure that your data remains up-to-date. Changes in Excel automatically reflect in Word.
- Collaborative Work: Sharing documents with embedded spreadsheets allows for a more interactive and collaborative work environment.
Step-by-Step Guide to Insert Excel Sheets into Word

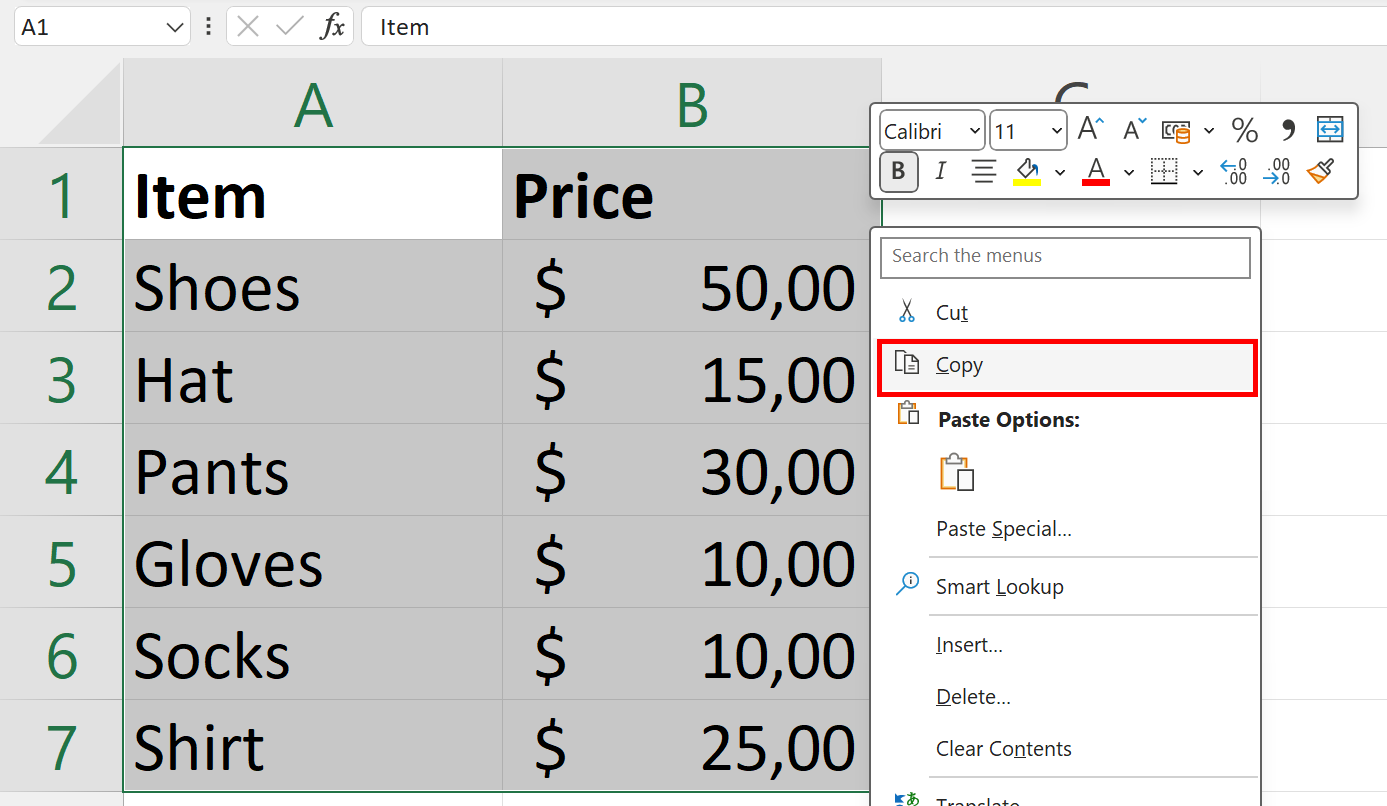
Step 1: Open Your Excel File

Begin by opening your Excel spreadsheet which contains the data or charts you wish to insert into your Word document. Make sure your Excel file is up to date and saved in your preferred location.
Step 2: Open Microsoft Word

Open Microsoft Word and navigate to where you’d like to insert the Excel sheet. Ensure that your cursor is in the correct position within the document.

Step 3: Insert Excel Table

To insert the Excel data into your Word document:
- Go to the Insert tab in Word.
- Click on Object in the Text group.
- Select Create from File in the dialog box that appears.
- Click Browse, navigate to your Excel file, and select it.
- Choose Link to File if you want the document to automatically update when the Excel file changes. Otherwise, leave it unchecked for a static copy.
- Click OK.
📝 Note: When linking Excel to Word, it's advisable to save the Word document in a location where it can continue to access the linked Excel file. Ensure your file paths are well-managed to avoid broken links.
Step 4: Format and Adjust Your Inserted Data

Once your Excel data is in Word:
- Resize: You can resize the table or chart by clicking on it and dragging the corner handles.
- Adjust Appearance: Right-click the object and choose Format Object to change borders, colors, and other visual elements.
- Auto-fit: If you want the table to automatically adjust to the width of the page, select AutoFit Contents or AutoFit Window from the Layout tab under Table Tools.
Step 5: Keep Excel Data Updated

If you chose to link your Excel file to your Word document, here’s how to keep it current:
- Open the Word document.
- Right-click on the linked Excel object.
- Select Update Link or Update Links from the context menu.
This ensures that any changes made in the Excel file since the last update will now appear in your Word document.
Step 6: Finalize Your Document

Review your document for layout consistency, check the data integrity, and ensure that the Excel table or chart fits well within your content. Make any necessary adjustments to ensure readability and aesthetic appeal.
In conclusion, integrating Excel sheets into Word documents not only simplifies the process of sharing complex data but also enhances the visual appeal and interactivity of your documents. With the ability to link or embed data, you maintain the flexibility to either keep your document up-to-date or maintain a static snapshot of the data. This synergy between Excel and Word makes document preparation more efficient, allowing you to focus on the analysis rather than the formatting. Through careful management of linked files and a good understanding of the tools available, you can leverage the power of both applications to present your data in the most compelling manner.
Can I Edit an Excel Chart in Word?

+
Yes, you can edit an embedded Excel chart directly within Word. However, for full functionality, it’s recommended to edit the original Excel file and then update the link in Word.
How Do I Update the Linked Data in Word?

+
To update linked data in Word, right-click on the linked object, and choose Update Link or Update Links from the context menu. This will refresh the data from the Excel file.
What Happens If I Move the Linked Excel File?

+
If you move the linked Excel file, Word won’t be able to update the data. You’ll need to re-link the document by going back to the Insert Object dialog, choosing Link to File, and browsing for the new location of your Excel file.


