Efficiently Split Data Across Multiple Excel Sheets
Working with large datasets in Excel can be challenging, especially when you need to split your data across multiple sheets for better organization, analysis, or sharing purposes. Whether you're dealing with a massive spreadsheet for project management, inventory control, or data analysis, knowing how to efficiently distribute your data across different sheets can significantly enhance your workflow efficiency. Here's how you can achieve this seamlessly.
Why Split Data in Excel?
- Clarity and Focus: Smaller sets of data are easier to manage and analyze.
- Sharing: Sharing specific parts of data with different stakeholders without exposing sensitive information.
- Automation: Using Excel formulas or VBA (Visual Basic for Applications) to automate data distribution.
Step-by-Step Guide to Split Data
Using Formulas
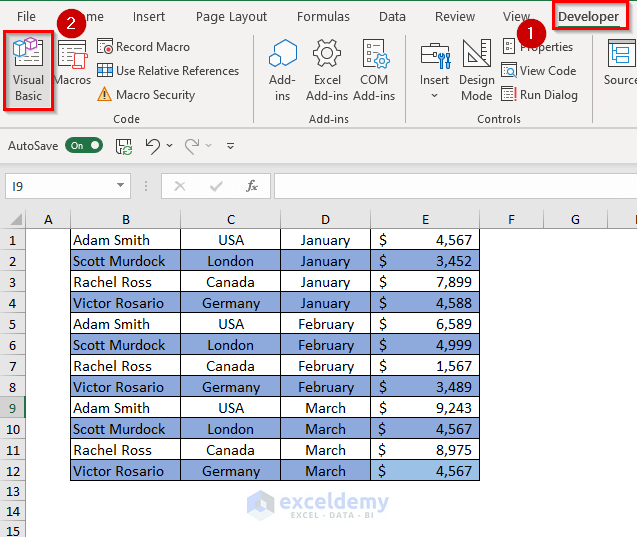
Excel doesn’t have a built-in ‘split’ function, but you can use helper columns and formulas to distribute data:
- Create a helper column with a formula to assign records to sheets:
- Copy this formula down the column next to your data.
- Sort the data by the helper column so that records are grouped by the sheet they should go into.
- Use the Move or Copy function to move the sorted groups into the respective sheets.
=IF(ROW(A2)>=1 AND ROW(A2)<=500,"Sheet1",IF(ROW(A2)>500 AND ROW(A2)<=1000,"Sheet2","Sheet3"))📝 Note: Always backup your data before performing any split operation, as miscalculations can lead to data loss.
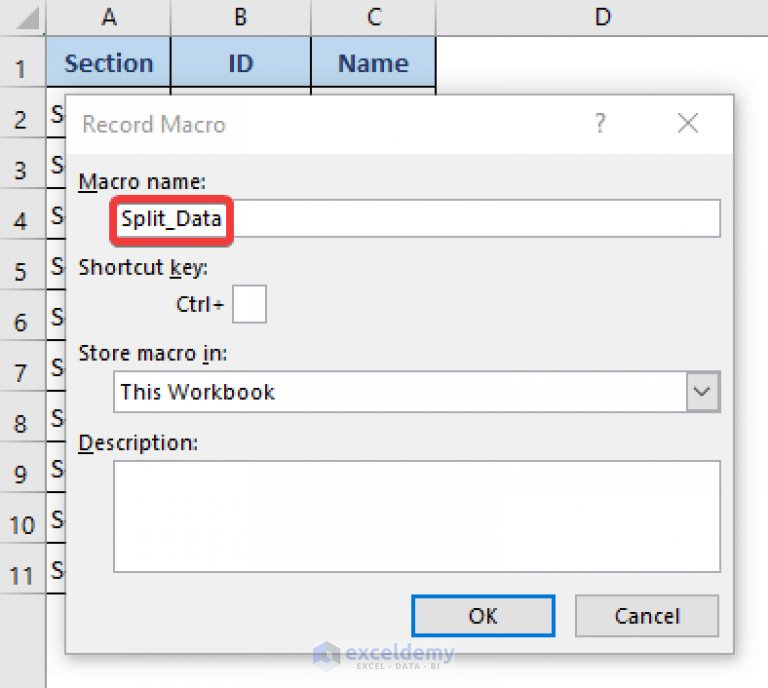
Using VBA
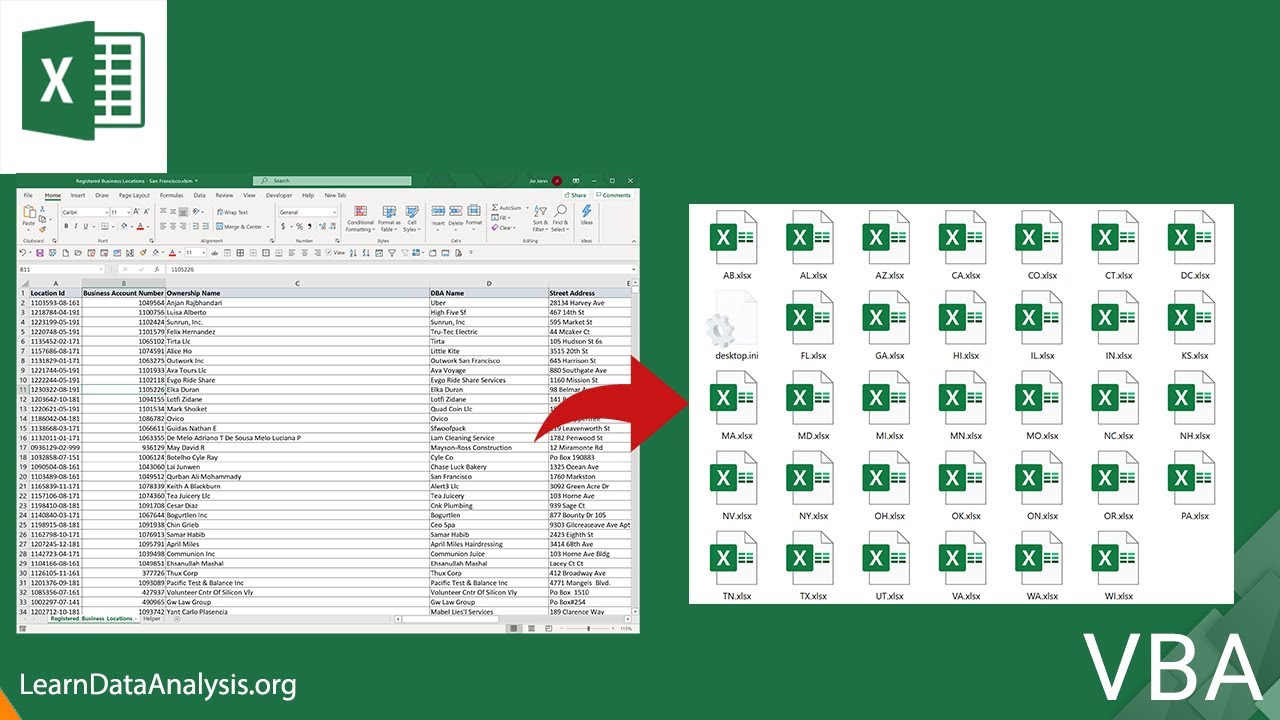
For larger datasets, VBA can automate the process:
Sub SplitDataToSheets()
    Dim ws As Worksheet
    Dim wsNew As Worksheet
    Dim rngData As Range
    Dim lastRow As Long
    Dim i As Long
    Dim splitSheet As String
    Dim dict As Object
    Set dict = CreateObject("Scripting.Dictionary")

    ' Set the main worksheet
    Set ws = ThisWorkbook.Sheets("Sheet1")
    lastRow = ws.Cells(ws.Rows.Count, 1).End(xlUp).Row

    ' Populate dictionary with keys and sheet names
    For i = 2 To lastRow
        splitSheet = ws.Cells(i, 1).Value 'Assuming split criteria is in column A
        If Not dict.Exists(splitSheet) Then
            Set wsNew = ThisWorkbook.Sheets.Add(After:=ThisWorkbook.Sheets(ThisWorkbook.Sheets.Count))
            wsNew.Name = splitSheet
            dict.Add splitSheet, Nothing
        End If
    Next i

    ' Copy data to respective sheets
    For Each key In dict.Keys
        Set wsNew = ThisWorkbook.Sheets(key)
        ws.Range("A1:I" & lastRow).AutoFilter Field:=1, Criteria1:=key
        ws.Range("A1:I" & lastRow).SpecialCells(xlCellTypeVisible).Copy
        wsNew.Range("A1").PasteSpecial Paste:=xlPasteAll
        wsNew.Range("A1:I1").AutoFilter
    Next key

    ' Clear the autofilter
    ws.AutoFilterMode = False
End Sub
🚀 Note: This script assumes that your data begins at A1 and the splitting criteria are in column A. Modify accordingly for your dataset structure.
Using Power Query

Excel’s Power Query (Get & Transform) tool can also be used for more complex data manipulation:
- Load your data into Power Query.
- Create a new column to assign the sheet names.
- Use the Group By feature to split data into groups.
- Load each group into a new sheet.
Managing Split Data
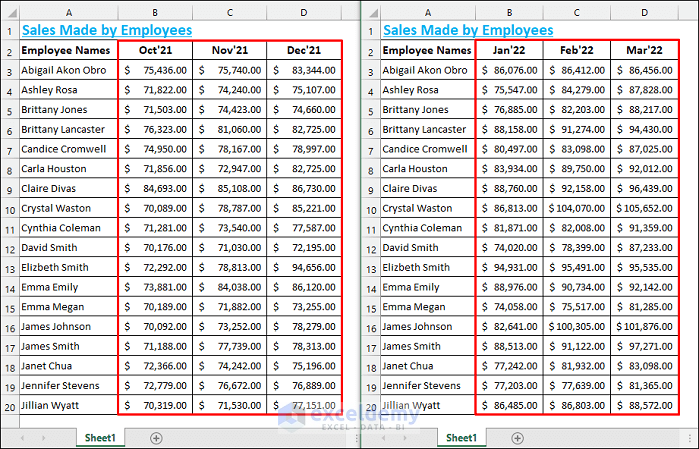
Once you’ve split your data, managing it efficiently becomes crucial:
- Create a master sheet with links or PivotTables to quickly navigate between the different sheets.
- Use named ranges for easier reference and formula creation across sheets.
Remember, splitting data across multiple sheets not only organizes your work better but also makes sharing specific information with colleagues or stakeholders more straightforward and secure.
SEO Optimization Tips

- Incorporate keywords like “Excel”, “Split Data”, “Data Management”, and “VBA” in your text.
- Use internal links to guide users to related content on your blog or resources on managing Excel data.
- Keep your URL clean with SEO-friendly slugs related to the topic.
By following these strategies, your Excel workbooks will not only look cleaner and more manageable but will also be better suited for collaborative efforts or data presentation purposes. Efficiently splitting data helps in maintaining data integrity and reducing errors, which are often a challenge when working with large datasets.
Can I undo the split if I make a mistake?
+
Yes, you can undo by closing the workbook without saving and reverting to a backup or by manually merging sheets back into the original. Always ensure you have a backup before splitting data.
What if my data exceeds the maximum number of sheets?
+
If you exceed Excel’s sheet limit (which is 255 sheets per workbook in the latest versions), consider splitting your data into multiple workbooks or reconsider your splitting criteria to create fewer sheets.
How do I ensure data consistency when splitting data?

+
By using formulas or VBA to automate the process, you can ensure each sheet has consistent data based on predefined criteria. Regularly check for discrepancies and use validation rules if necessary.
Can this process be used for date-specific data?
+
Absolutely, you can split data by dates, for example, creating separate sheets for each month or quarter by using date formulas in your helper column or VBA script.


