Screenshot Guide: Capture Excel Sheets with Ease

Introduction to Capturing Excel Sheets

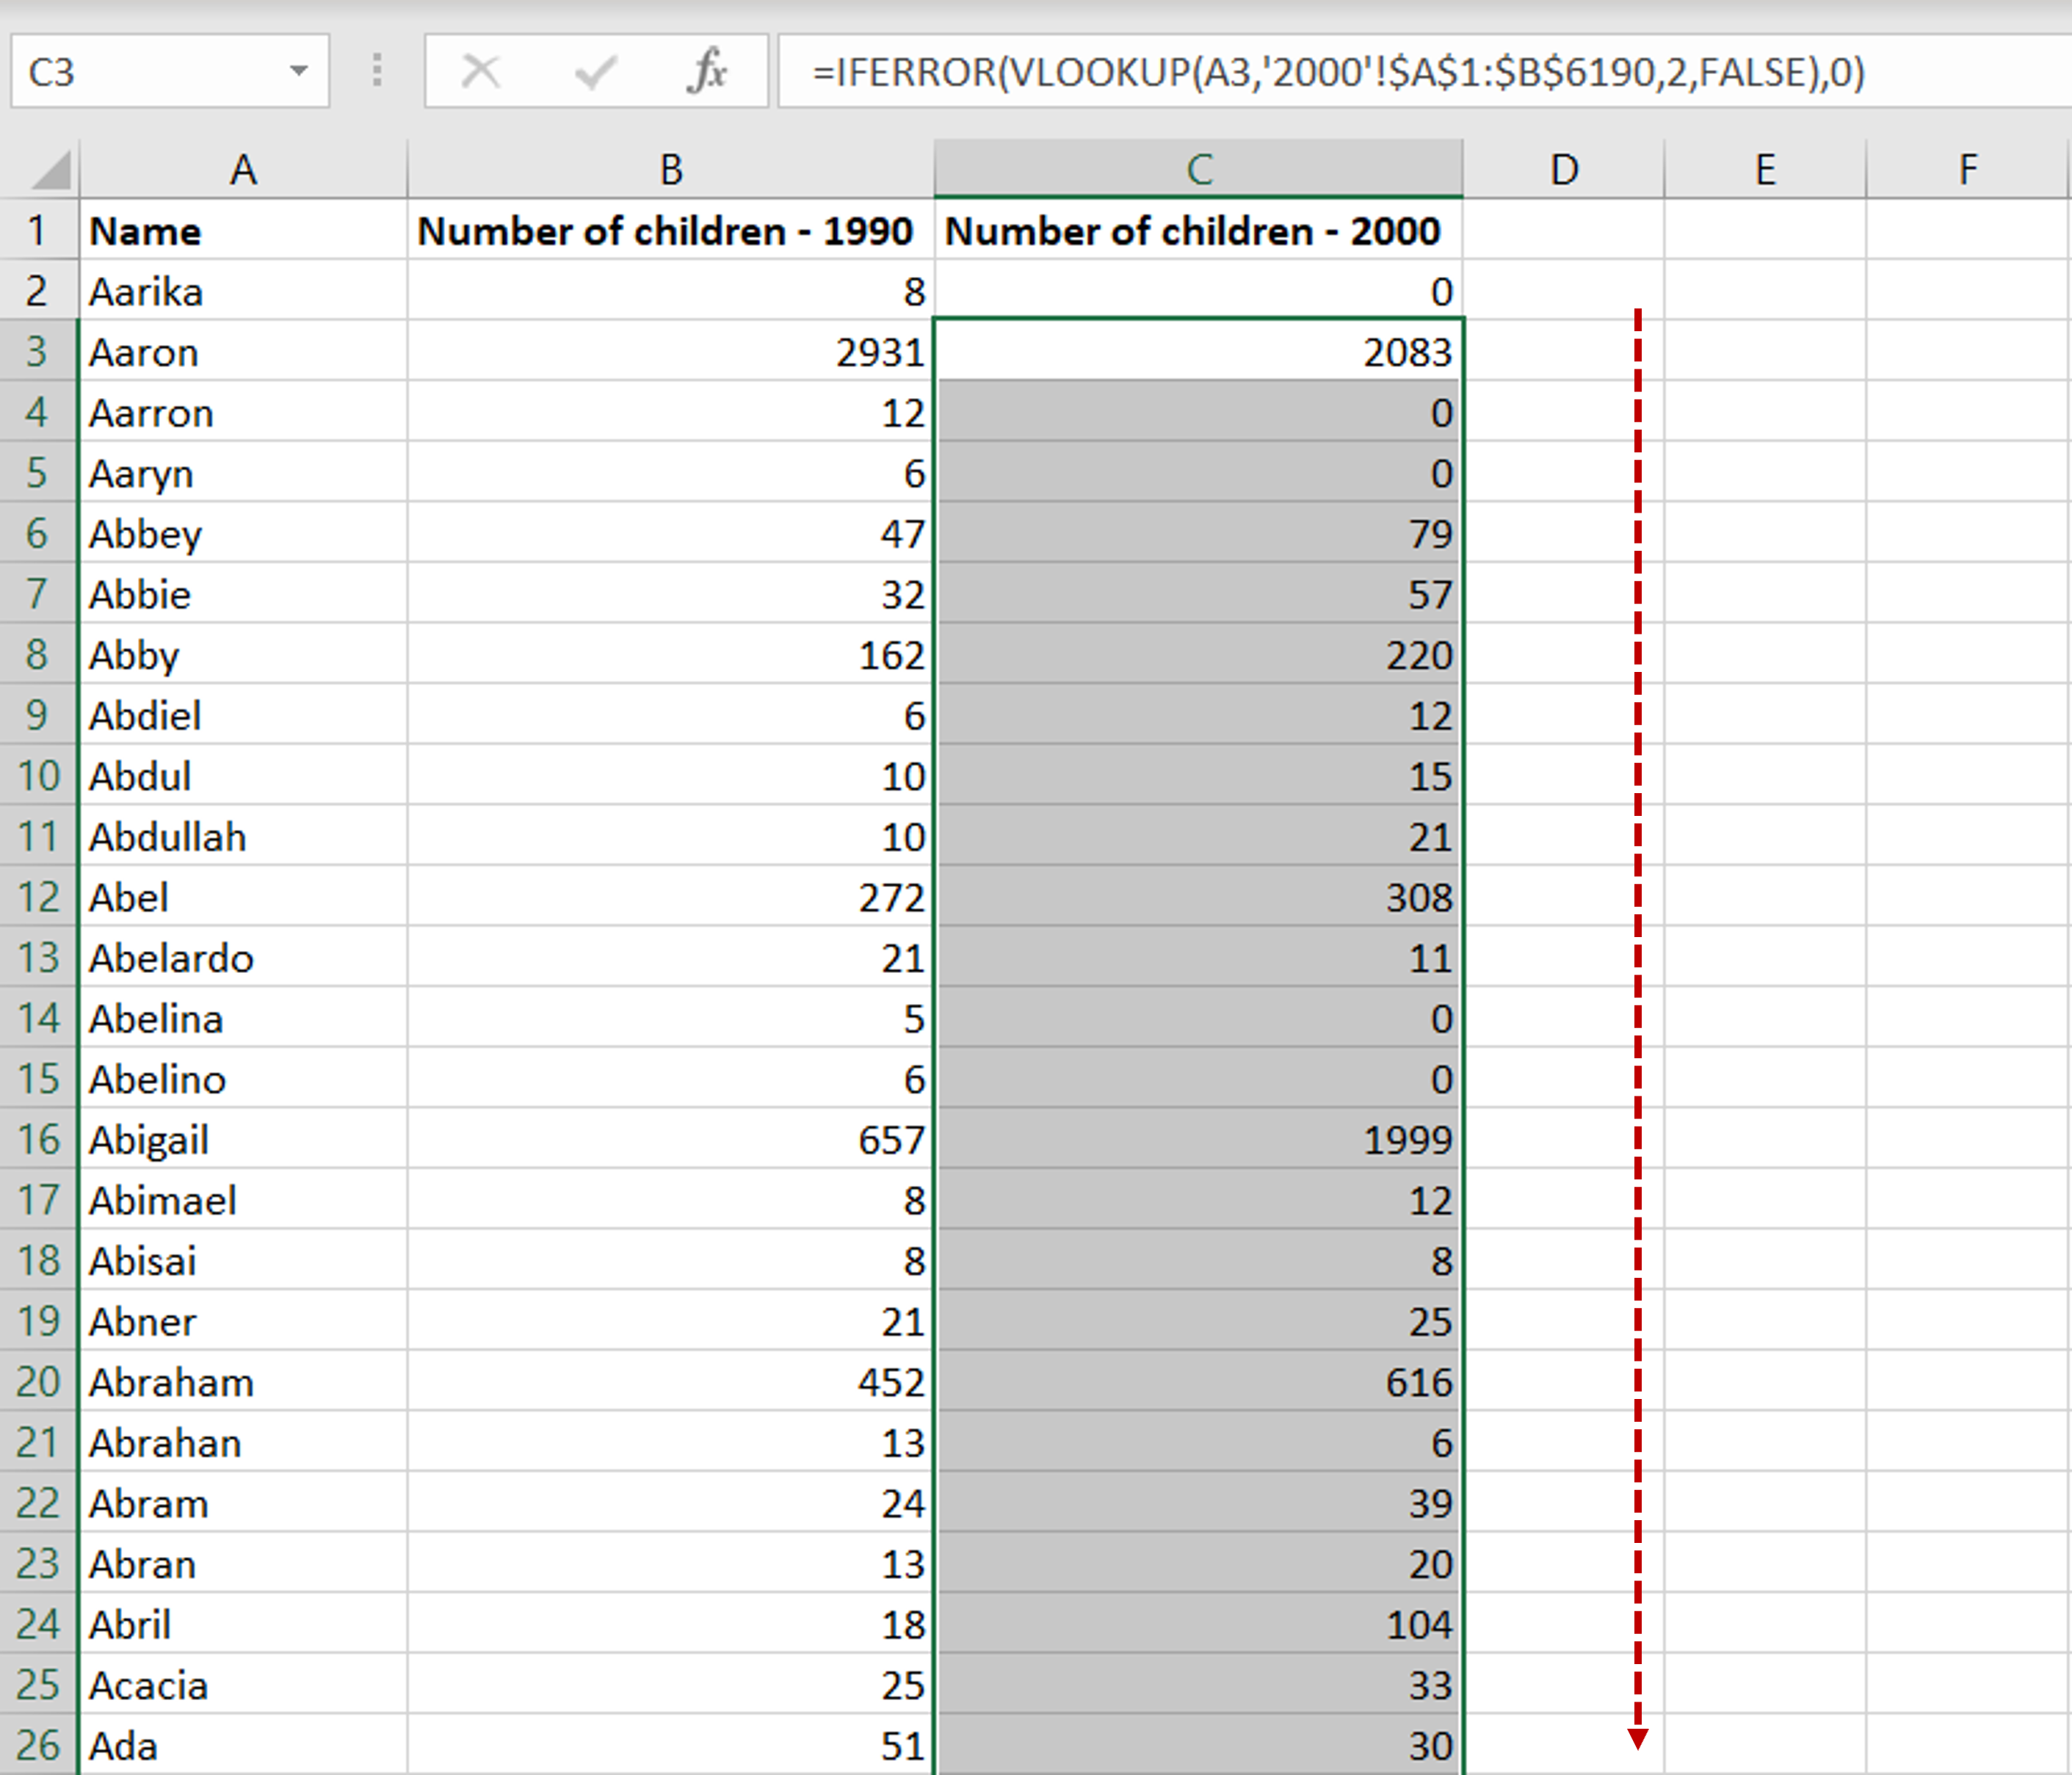
Excel is an essential tool for various data-driven tasks, from financial analysis to project management. With the increasing need for sharing and presenting data effectively, capturing Excel sheets as screenshots has become a valuable skill. This guide will explore the multiple methods for capturing Excel spreadsheets, ensuring that your data presentations are both visually appealing and informative.
The Importance of Screenshots

Screenshots serve multiple purposes in the realm of Excel:
- Visual Communication: They offer a clear and immediate snapshot of complex data for presentations or reports.
- Documentation: Screenshots help in documenting how data was set up, making it easier to share findings or issues with others.
- Training: For educational purposes, screenshots can guide users through specific Excel functionalities or procedures.
- Compliance and Audit: In many industries, capturing data is essential for compliance, audit trails, and quality control.
Tools and Methods for Capturing Excel Screenshots

1. Windows Snipping Tool

The Snipping Tool on Windows allows you to capture:
- Full Screen
- Active Window
- Rectangular Selection
- Free-form Selection
To use it:
- Open Excel with your sheet ready.
- Press Windows + Shift + S or open the Snipping Tool from the Start menu.
- Select your preferred snip type.
- Capture the part of the sheet you want.
✂️ Note: Some functions of the Snipping Tool might differ slightly based on the Windows version.
2. Mac’s Screenshot Feature

MacOS provides several key combinations for screenshots:
- Command + Shift + 4 to select an area.
- Command + Shift + 3 for a full-screen capture.
- Command + Shift + 4, then Space to capture a specific window (useful for Excel windows).
✂️ Note: To include the cursor in the screenshot, hold down the Option key while capturing.
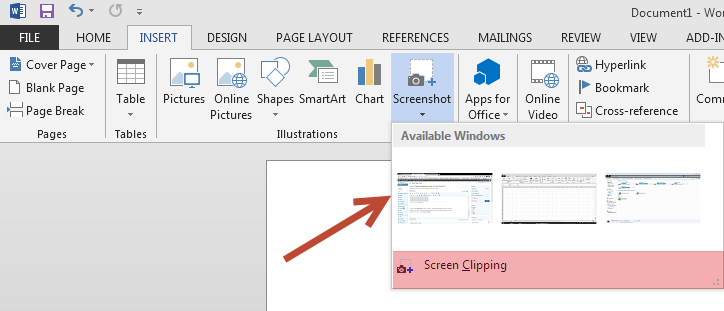
3. Built-in Excel Screenshot Feature

Excel has an in-built screenshot function:
- Go to the Insert tab.
- Choose Screenshot from the Illustrations group.
- If Excel is open, it will list your available Excel windows for capture.
✂️ Note: This method captures only the portion of the worksheet visible on your screen, not the entire data range.
4. Third-Party Software

Software like Snagit, Greenshot, or Lightshot offer:
- Advanced editing capabilities.
- Scrolling capture for long spreadsheets.
- Integration with cloud storage for sharing.
- Hotkey shortcuts for quick captures.
Advanced Techniques for Capturing Excel Sheets

1. Excel’s “Camera Tool”

Excel’s Camera Tool lets you:
- Create a live snapshot of a range of cells.
- Place it on another worksheet or workbook.
To use it:
- On the Quick Access Toolbar, add the Camera command.
- Select the range you wish to capture.
- Click the Camera icon, then click where you want to paste the snapshot.
📸 Note: This method dynamically updates the snapshot if changes are made in the original range.
2. VBA Script for Automatic Screenshot

VBA can automate screenshot captures:
Sub CaptureSheetScreenshot()
    Dim o as Object
    Set o = CreateObject(“WIA.ImageFile”)
    o.LoadFile Application.ActiveWorkbook.FullName, True
    o.SaveFile “C:\myScreenshot.png”
End Sub
📸 Note: This script requires you to have the Windows Image Acquisition (WIA) library installed.
3. Using Conditional Formatting for Visual Clarity

Conditional Formatting can make your screenshots more informative:
- Highlight Cells: Rules can be applied to highlight cells based on criteria like values or formulas.
- Data Bars, Color Scales, or Icon Sets: Add visual cues to your data.
4. Printing as PDF for High-Quality Captures

While not exactly a screenshot:
- Select Print and choose PDF as the printer.
- Adjust print settings to ensure all necessary data is captured.
- Save the PDF file for sharing or editing.
Wrapping Up

Mastering the art of capturing Excel sheets as screenshots provides numerous advantages, from communicating complex data effectively to maintaining thorough documentation. By exploring the various tools and techniques outlined, you can select the best approach for your specific needs, whether it’s for professional presentations, training sessions, or personal data management. Remember that the key to creating useful screenshots is not just capturing the data but also presenting it in a way that is visually clear, informative, and engaging for your audience.
What are the benefits of using screenshots in Excel?

+
Screenshots in Excel allow for visual presentation, documentation, training, and compliance audits, making them an essential tool for sharing data effectively.
How can I capture a specific area of an Excel sheet?

+
Use the Windows Snipping Tool or Mac’s Command + Shift + 4 key combination to select and capture a specific area of your Excel sheet.
Are there tools for capturing very long spreadsheets?
+
Yes, third-party tools like Snagit can perform a scrolling capture to capture content that extends beyond the visible area of the screen.


