5 Easy Ways to Split an Excel Sheet Effectively

Excel is an incredibly versatile tool for data management, yet as datasets grow, organizing and analyzing them can become cumbersome. Splitting Excel sheets can significantly enhance your data analysis and presentation. Here's a detailed guide on five effective methods to split your Excel sheets for optimal efficiency.
1. Using Excel's Built-In Split Function

Excel provides a straightforward split function that divides a worksheet into four separate panes:
- Select the cell where you want to split the sheet.
- Go to View > Window > Split.
- Vertical and horizontal lines appear where the sheet will split.
- Adjust these lines by dragging them to desired positions.

💡 Note: Remember to save your workbook after making changes.
2. Freeze Panes for Consistent View

When dealing with long lists, keeping headers or important rows and columns in view can be essential:
- Select the row or column below or to the right of where you want to freeze.
- Navigate to View > Freeze Panes and choose your option.

This method doesn't split the sheet but keeps headers in place while scrolling.
3. Dividing Data into Separate Worksheets

For large datasets or when segmenting data is necessary, creating new worksheets is beneficial:
- Right-click the worksheet tab, select Move or Copy.
- Select New sheet under the "Before sheet" dropdown.
- Click OK to create a new worksheet with the original data.
- Use functions like
VLOOKUP,INDEX, andMATCHto reference data between sheets.
| Function | Description |
|---|---|
| VLOOKUP | Looks for a value in the first column of a table and returns a value in the same row from another column. |
| INDEX | Returns a value from within a table based on row and column number. |
| MATCH | Searches for a specified item in a range of cells, and then returns the relative position of that item in the range. |

4. Filtering Data to Create Dynamic Views

Filtering allows you to view specific data without physically splitting sheets:
- Select the data range or entire worksheet.
- Click Data > Filter to display dropdown arrows.
- Choose criteria from the dropdowns to filter data.
Filtered views help in creating dynamic data displays that can be adjusted for different needs.
5. Using Macros to Automate Sheet Splitting

For more advanced data manipulation:
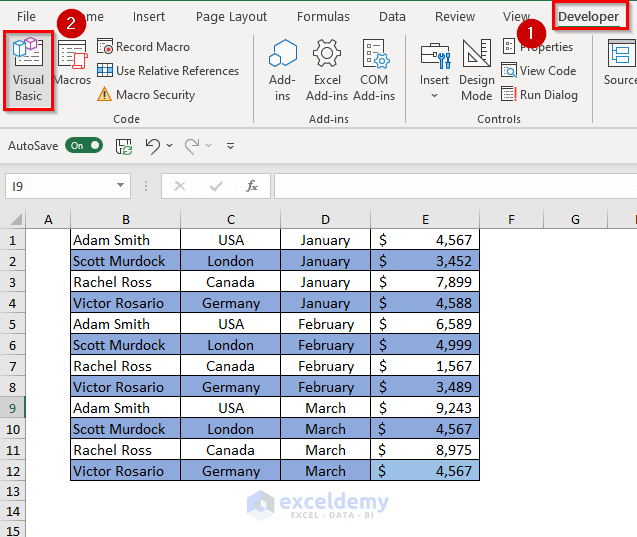
- Press Alt + F11 to open the VBA editor.
- Insert a new module and enter the following macro:
Sub SplitWorksheet() Dim ws As Worksheet Dim lastRow As Long, i As Long Dim newWS As Worksheet Set ws = ThisWorkbook.Sheets("Sheet1") lastRow = ws.Cells(ws.Rows.Count, "A").End(xlUp).Row For i = 1 To lastRow If ws.Cells(i, "A") = "SplitHere" Then ws.Rows(i + 1).EntireRow.Cut Set newWS = Worksheets.Add(After:=Worksheets(Worksheets.Count)) newWS.Name = "Split" & i newWS.Cells(1, 1).PasteSpecial xlPasteAll End If Next i End Sub - Run the macro to automatically split your sheet where cells contain "SplitHere."
🧠 Note: VBA macros can perform complex tasks but require user permissions for execution.
In conclusion, splitting your Excel sheets can greatly improve your ability to work with and analyze data efficiently. Whether you're managing projects, running reports, or handling large databases, these techniques offer various methods tailored to different needs. From simple built-in tools to advanced macro automation, Excel provides a spectrum of options to enhance your data management experience.
Can I split Excel sheets vertically or horizontally?

+
Yes, you can split sheets both ways using the split function under View > Window > Split.
Does splitting an Excel sheet affect the original data?

+
No, splitting a sheet does not modify the underlying data unless you manually delete or move data. It only affects the view or structure of the workbook.
How can I revert a split view?

+
Go to View > Window > Split and drag the split line until the sheets are rejoined or click Split again to remove the lines.


