5 Simple Ways to Set Headers in Excel Sheets

Understanding Excel Headers


In today’s data-driven world, organizing information is not just a necessity but an art. Microsoft Excel, with its robust features, offers various ways to sort and structure data effectively. One of the most fundamental aspects of organizing your spreadsheet is setting headers. Headers not only provide a quick overview of the content within each column or row but also play a critical role when you want to sort, filter, or format your data.
1. Basic Header Insertion

The simplest method to set headers in Excel involves:
- Selecting the row or column: Click the header or the first row/column you wish to use as headers.
- Typing the header names: Start entering the data for your headers.
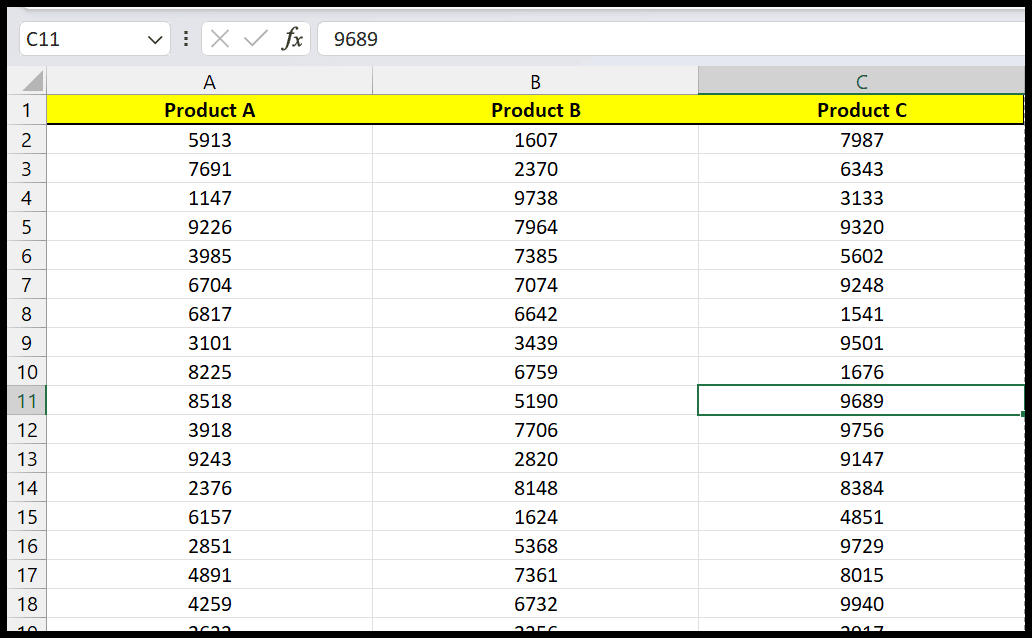
- Using cell formatting: Bold text, center align, or change font to distinguish headers from data.
2. Using Tables to Format Headers

Excel tables offer dynamic features that automatically generate headers with additional functionalities:
- Select Your Data Range: Highlight the range of cells you want to convert into a table.
- Insert Table: From the ‘Insert’ tab, choose ‘Table’. Ensure ‘My table has headers’ is checked.
- Customize Table Style: Use the ‘Table Design’ tab to customize how your headers look.
| Option | Effect |
|---|---|
| Banded Rows | Provides alternating colors for rows |
| First Column | Highlights the first column with a different background |
| Last Column | Applies special formatting to the last column |

3. Freeze Panes for Stationary Headers

If your data spans over multiple rows, you might find it challenging to keep track of the headers. Freezing panes ensures that headers remain visible:
- Select below or to the right of the headers: Click the cell right below or to the right of your headers.
- Activate Freeze Panes: Go to ‘View’ > ‘Freeze Panes’ and choose an option based on your spreadsheet’s layout.
- Ensure header visibility: Your headers will now stay in place when scrolling through your data.
4. Creating Headers with Data Validation

To ensure data consistency, headers can be used to implement data validation:
- Select the Cell: Choose the first cell in your header row.
- Set Data Validation: Go to ‘Data’ > ‘Data Validation’. Here you can define the type of data that can be entered in the columns below.
🌟 Note: Data validation rules based on headers provide an excellent way to maintain data integrity across your entire spreadsheet.
5. Headers with Advanced Formatting Options

For complex data sets, advanced formatting can make your headers stand out:
- Conditional Formatting: Highlight headers with different colors based on criteria.
- Custom Borders: Add distinctive borders to emphasize headers.
- Merging Cells: Combine cells for multi-column headers or to provide extra context to your headers.
In this ever-evolving landscape of data management, setting headers correctly is not just about aesthetics but functionality. Whether you’re creating a simple list or managing a complex database, Excel’s header features help to:
- Provide a clear structure to your spreadsheet.
- Simplify data entry and validation.
- Enhance readability for both you and those who view your spreadsheets.
Understanding and utilizing these header-setting techniques will undoubtedly improve your efficiency and data management prowess in Excel. Remember, the key is to experiment with these methods to find what works best for your specific data needs. With the techniques outlined above, you are well-equipped to tackle any data organization challenge with confidence.
Can I change the color of my headers automatically?

+
Yes, you can use conditional formatting to change the color of headers automatically based on certain conditions, like when they are selected or meet specific criteria.
What’s the best way to insert headers for large datasets?

+
For large datasets, using Excel Tables is highly recommended. This not only inserts headers but also provides features like automatic expansion and banded rows for better readability.
How do I sort my data without affecting the headers?

+
When using the sorting feature, Excel automatically recognizes the headers and excludes them from the sorting process if they are formatted correctly. Ensure your headers are in row 1 and are not included in the sort range.


